Upcycle Old Furniture into a House for Your Pet
Last updated August 21, 2024

Leo Bui is a houseplant enthusiast who found his passion for indoor gardening through trial and error in plant care from books, research, and friends in the local and online plant community. Leo's documentation of his plant care routine and daily humorous stories on social media bring joy and entertainment to those who follow him. Through musical parody reels, Leo's ways of simplifying common plant care tips and practices make growing houseplants more fun and less stressful for inexperienced plant parents.
A Note From The Home Depot
Give that old furniture in your house a new purpose. Join Leo Bui as he transforms two table ends
into his pet's new house.
Table of Contents
Upcycle Old Furniture into a House for Your Pet
Upcycled Space for Pets
Gather Your Materials and Tools
Make Your First Cuts for the House
Sand the House
Cut and Attach the Back Piece
Upcycle Old Furniture into a House for Your Pet
Upcycling puts a new spin on home DIY projects.
Upcycling furniture is not just about brushing a fresh coat of paint on an old dresser or replacing a damaged tabletop. It is about transforming and elevating old furniture pieces into something else, different than their original functions and styling, while recycling and reusing parts and materials that still hold great value.
Upcycled Space for Pets
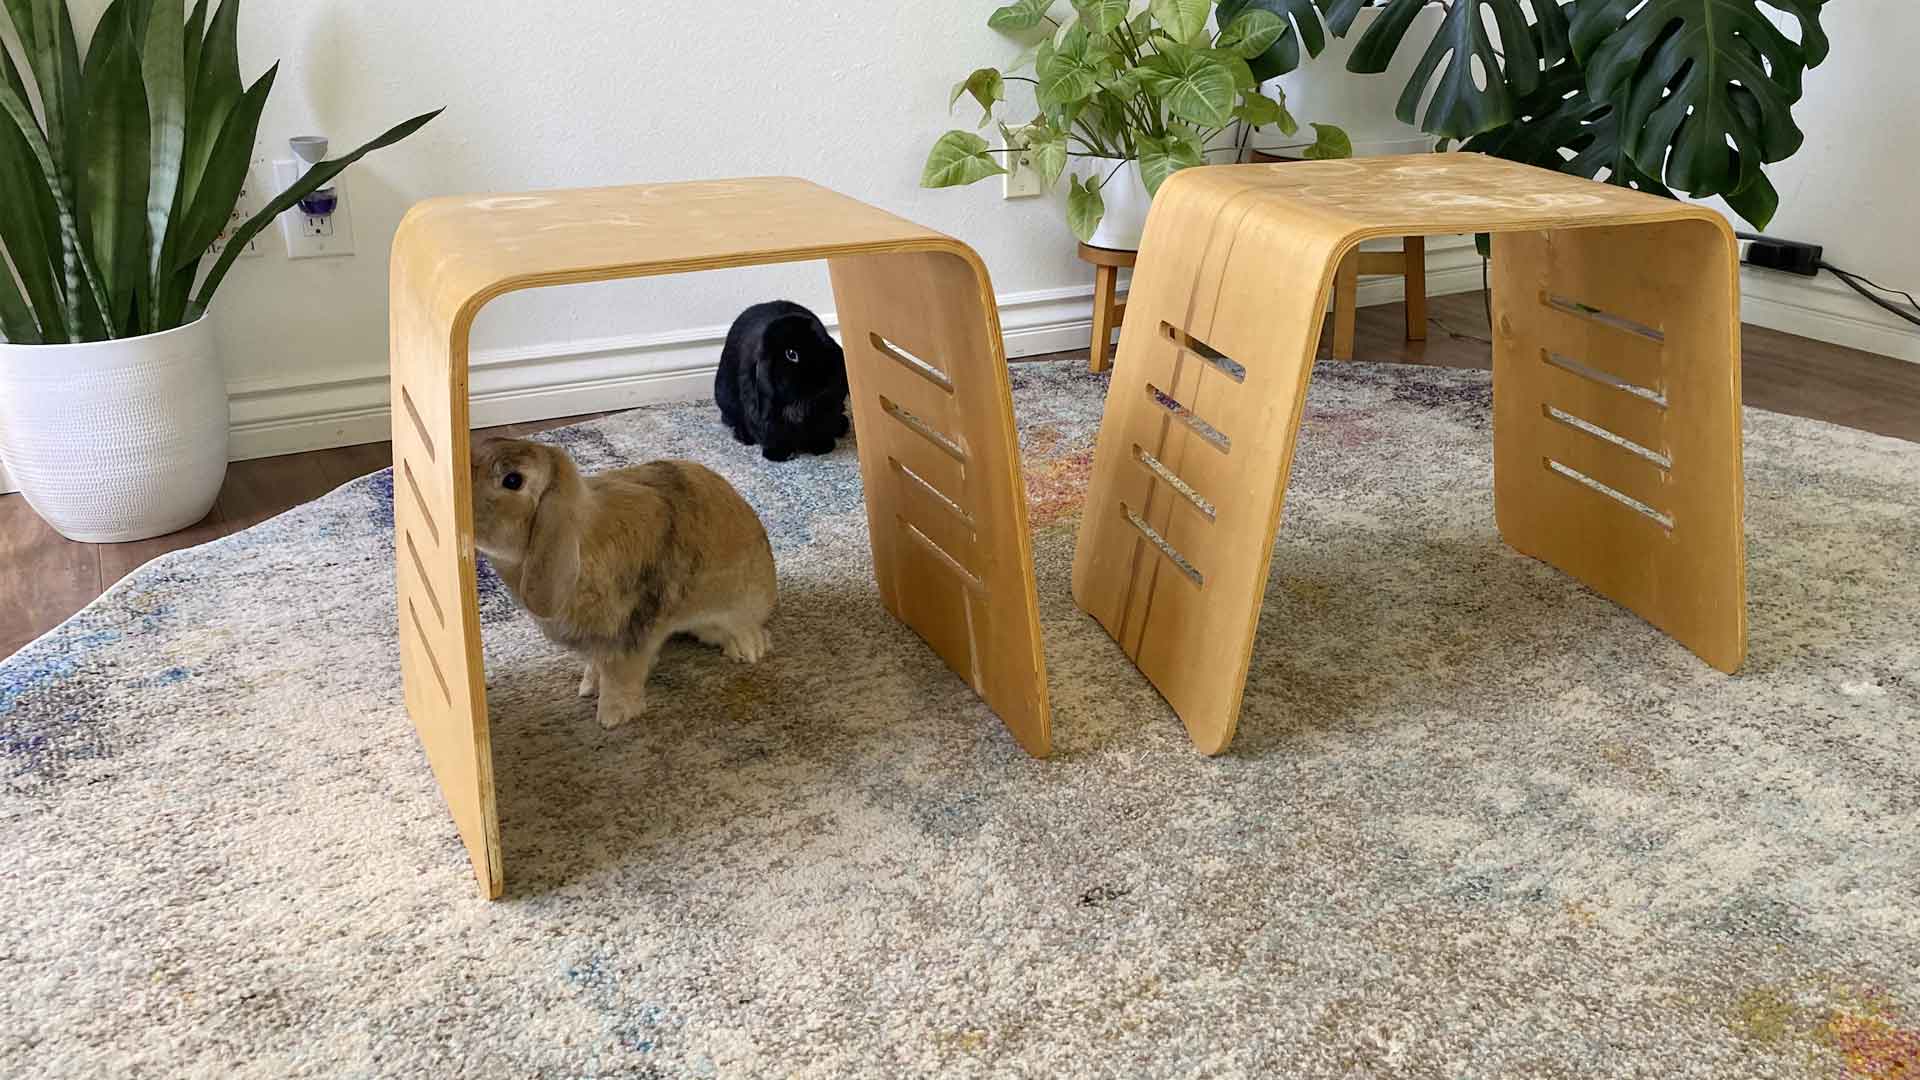
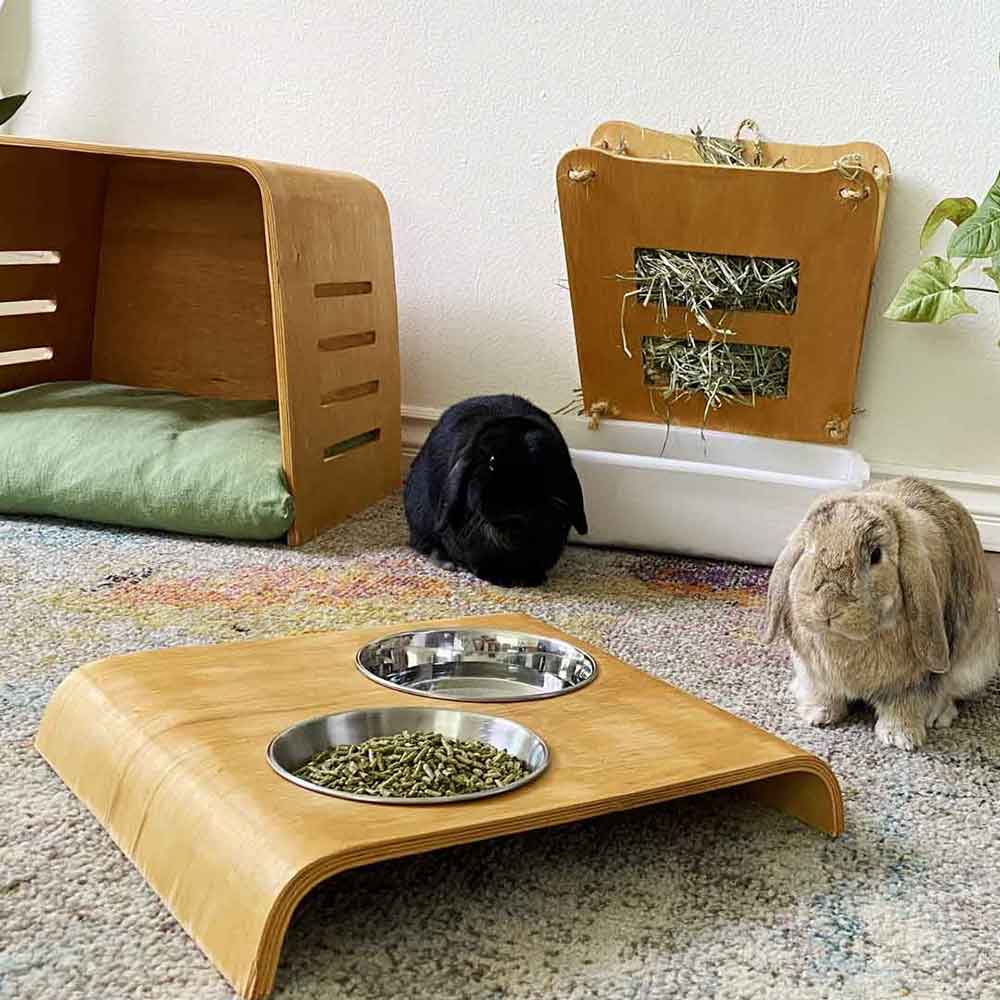
In this project, we will be upcycling two end tables into some fun items for pet rabbits—a hiding house, a hay dispenser, and a food and water bowl holder. These can also be used for a cat or smaller dogs as well.
Gather Your Materials and Tools
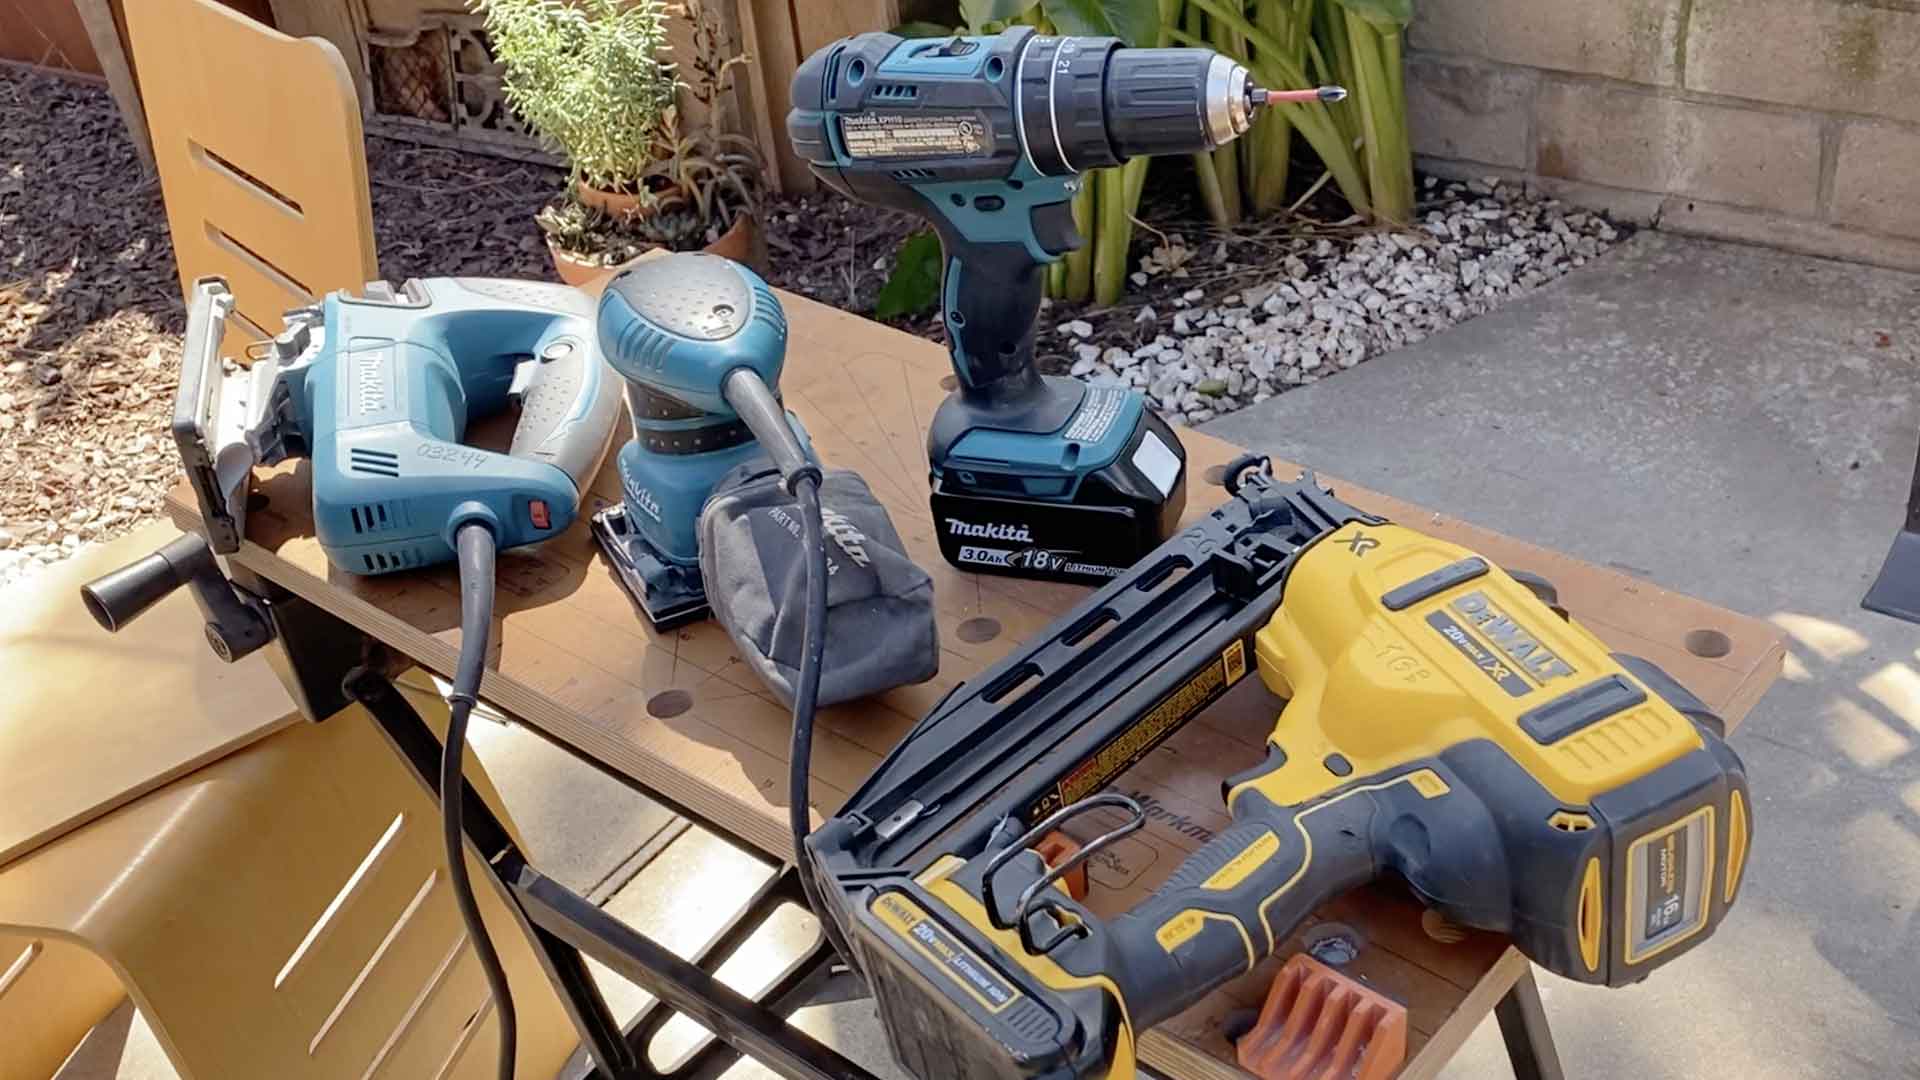
DIY projects can be fun but also intimidating for some of us, especially when you don’t have the proper tools. Power tool rentals from The Home Depot can ease stress with their vast selection of tools that cater to any job from repairs, painting, yard work, building, or carpentry. For this project, we will need a jigsaw, nail gun, palm sander, and of course, other cutting blades and wood stain.
When working with old furniture that requires trimming and cutting, items made of solid wood are preferred. Materials like particle board won’t hold their shape or have good support after being altered. Their surfaces won’t be as easy to sand down before applying a new coat of paint, so keep that in mind when you select old furniture pieces for your upcycling projects.
Make Your First Cuts for the House
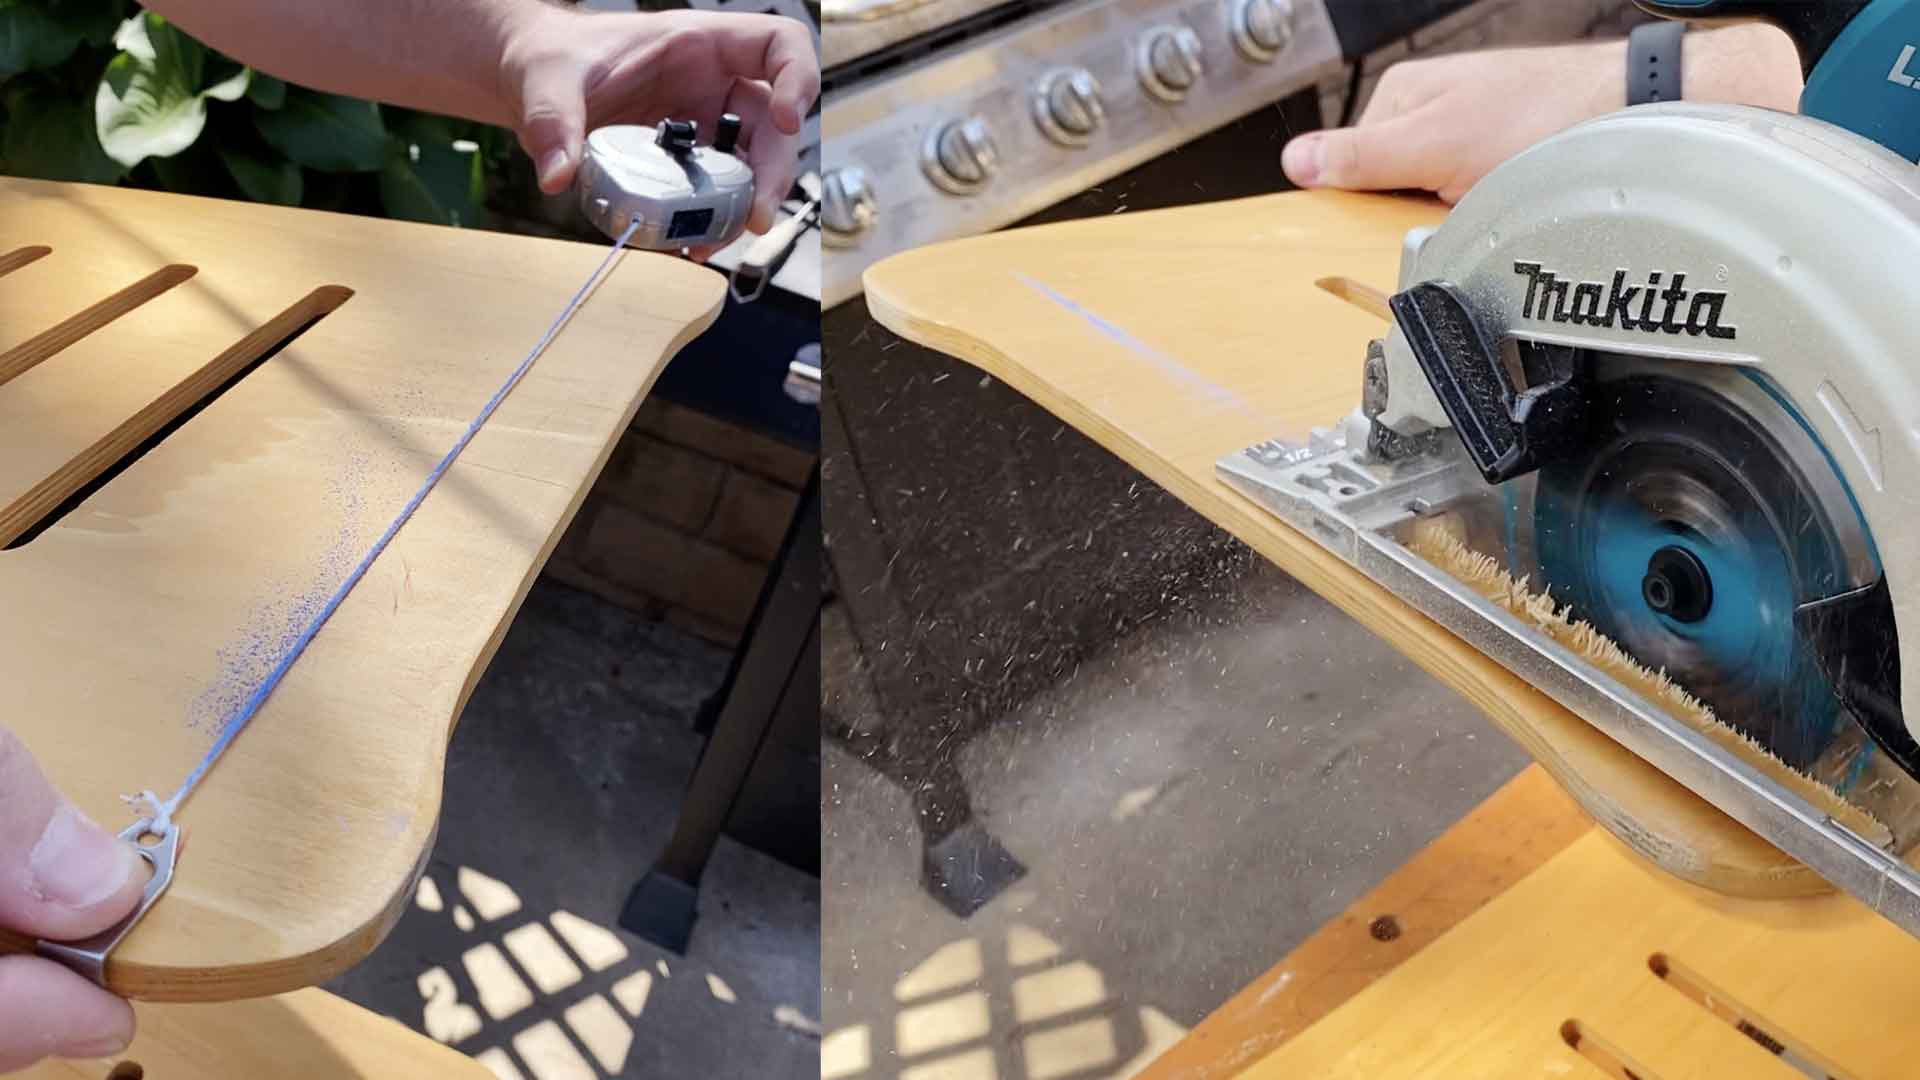
The first step is to trim off the curved edges at the foot of the end table. This will make it easier to attach a backing for what will be our new bunny hiding house. Use a chalk line to help mark where it needs to be cut. A circular saw is recommended for this as it will create a straight, precise cut.
Sand the House
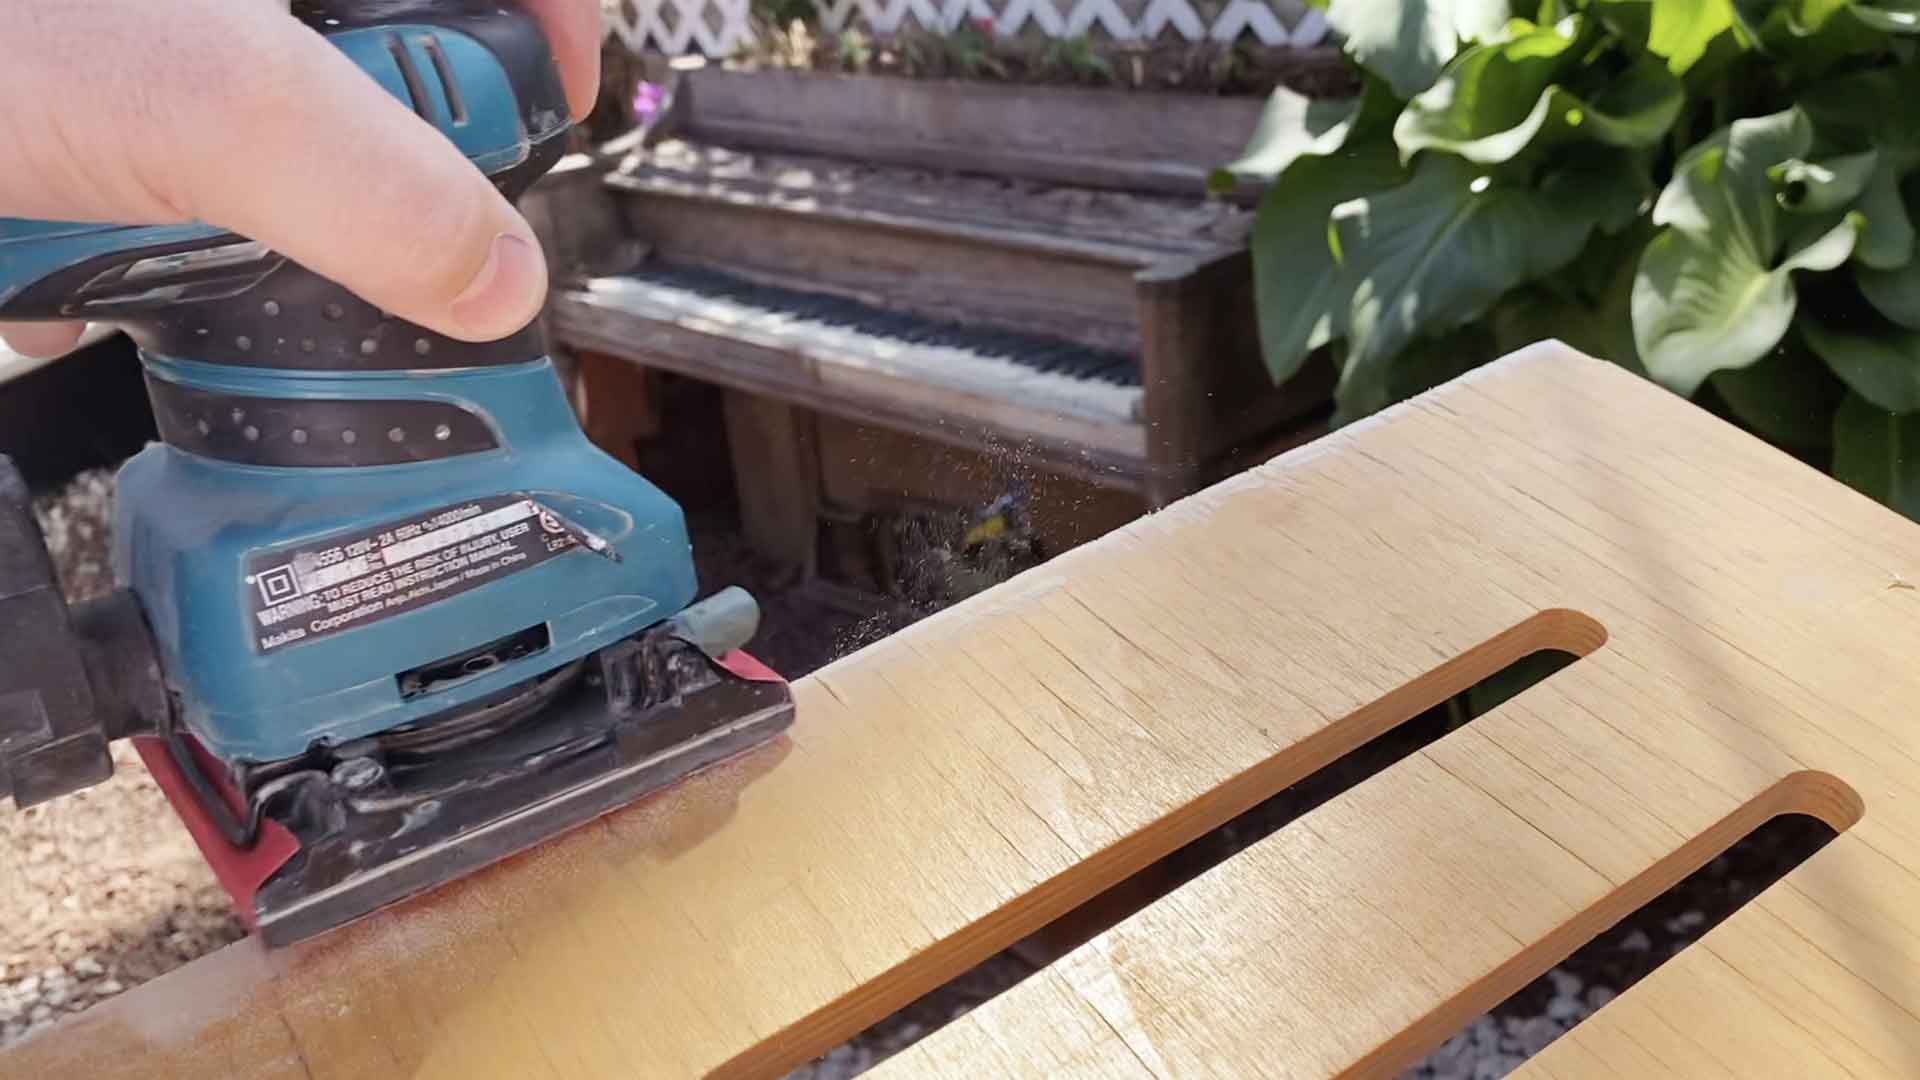
Sand off the rough edges after the initial cut with a palm sander and 150-grit paper. Depending on the desired texture of wood, different number grit paper can be used. The smaller the number, the finer and smoother the surface after sanding.
Cut and Attach the Back Piece
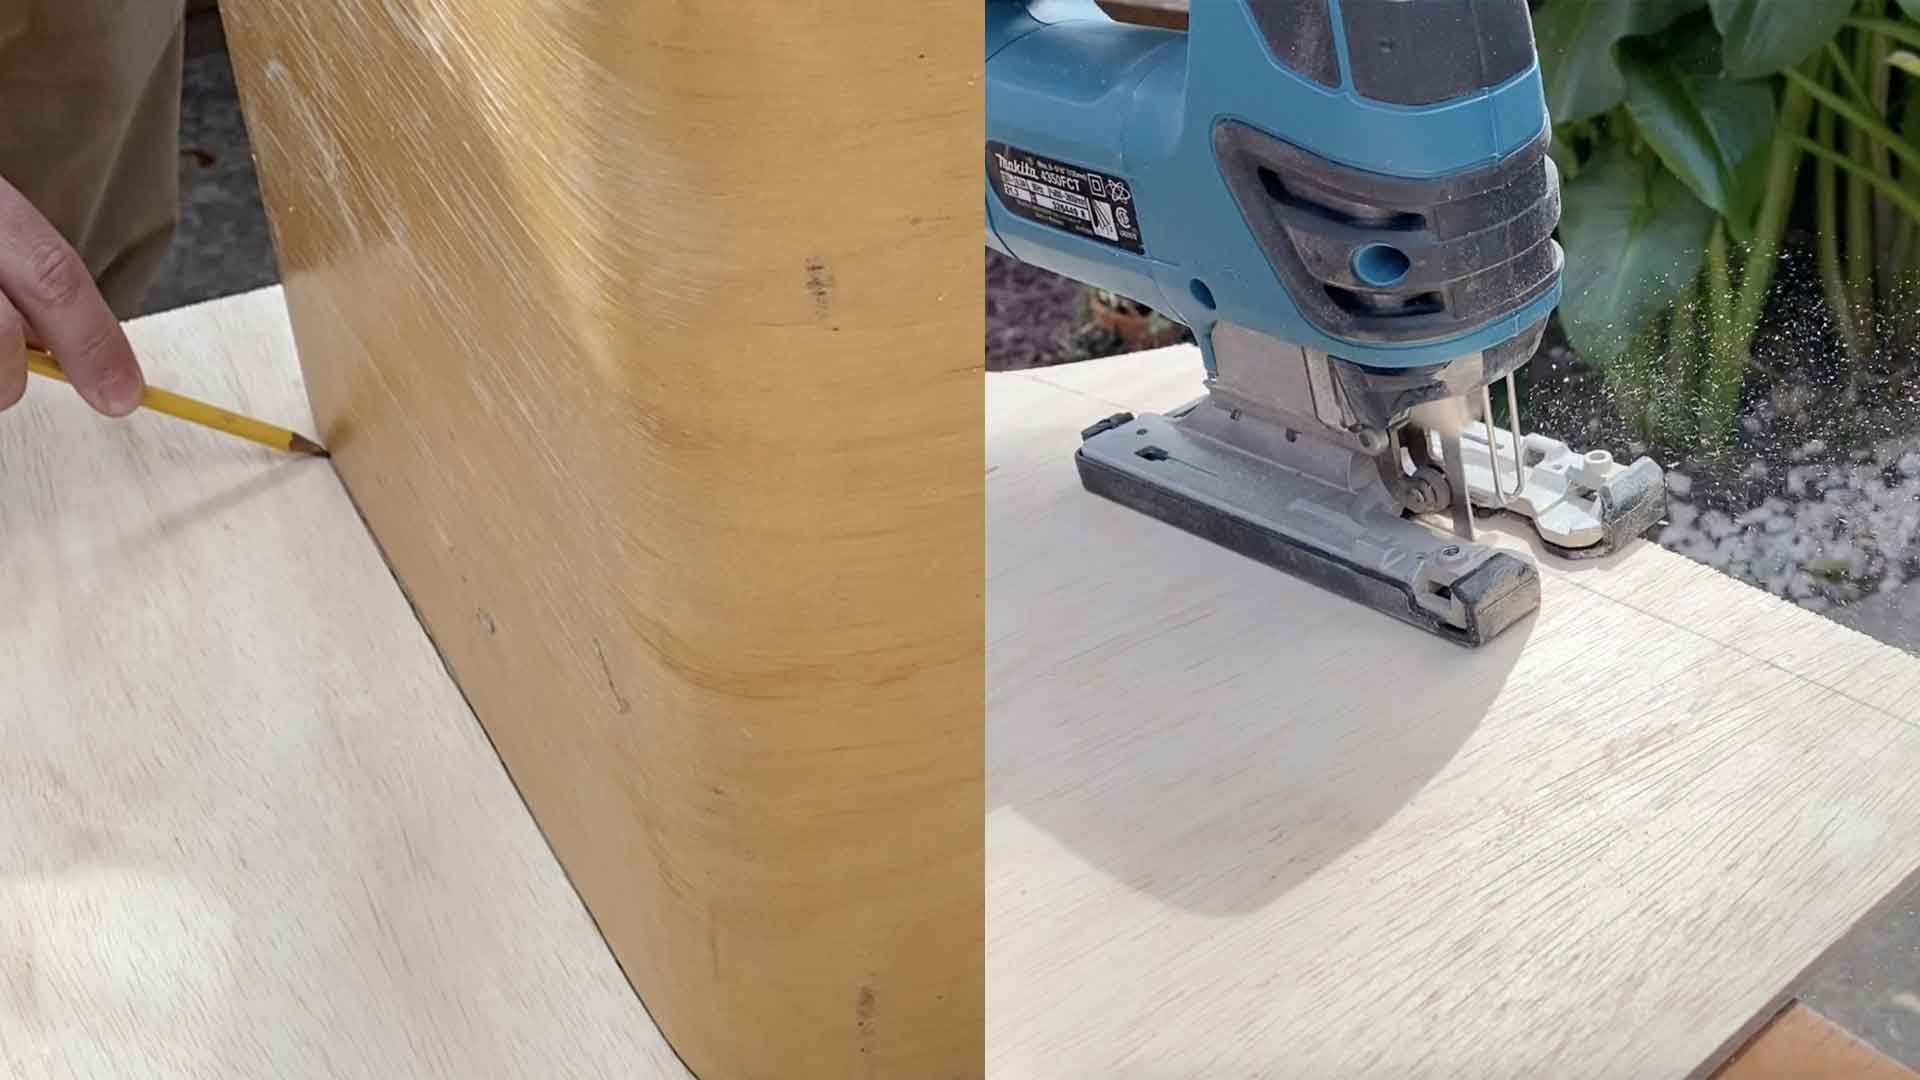
We’re cutting out the backing of the bunny house on a new piece of wood using a jigsaw. Jigsaws allow you to cut curved edges since the blade is more flexible and the saw can change directions.
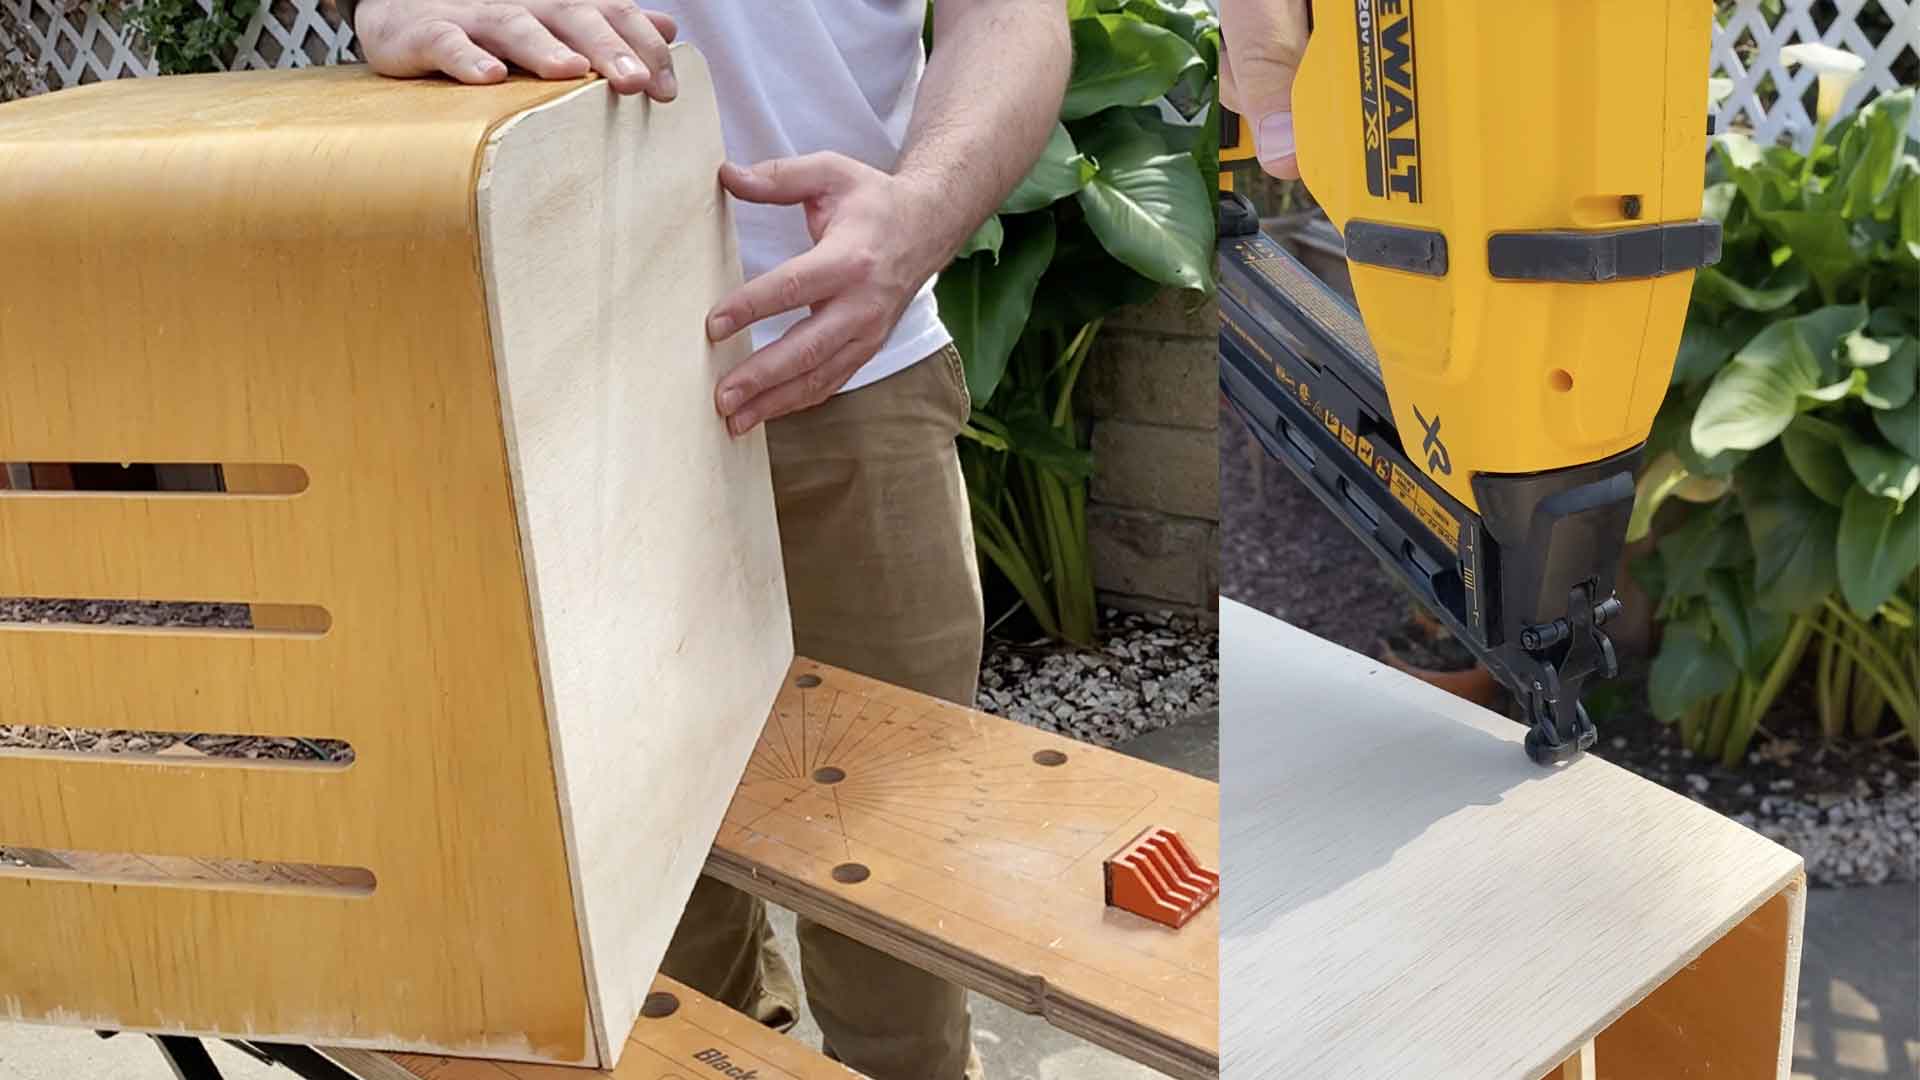
Proceed to sand off other rough edges. Then apply glue and attach the backing we just cut to the end table using a nail gun.
Create the Food and Water Holder
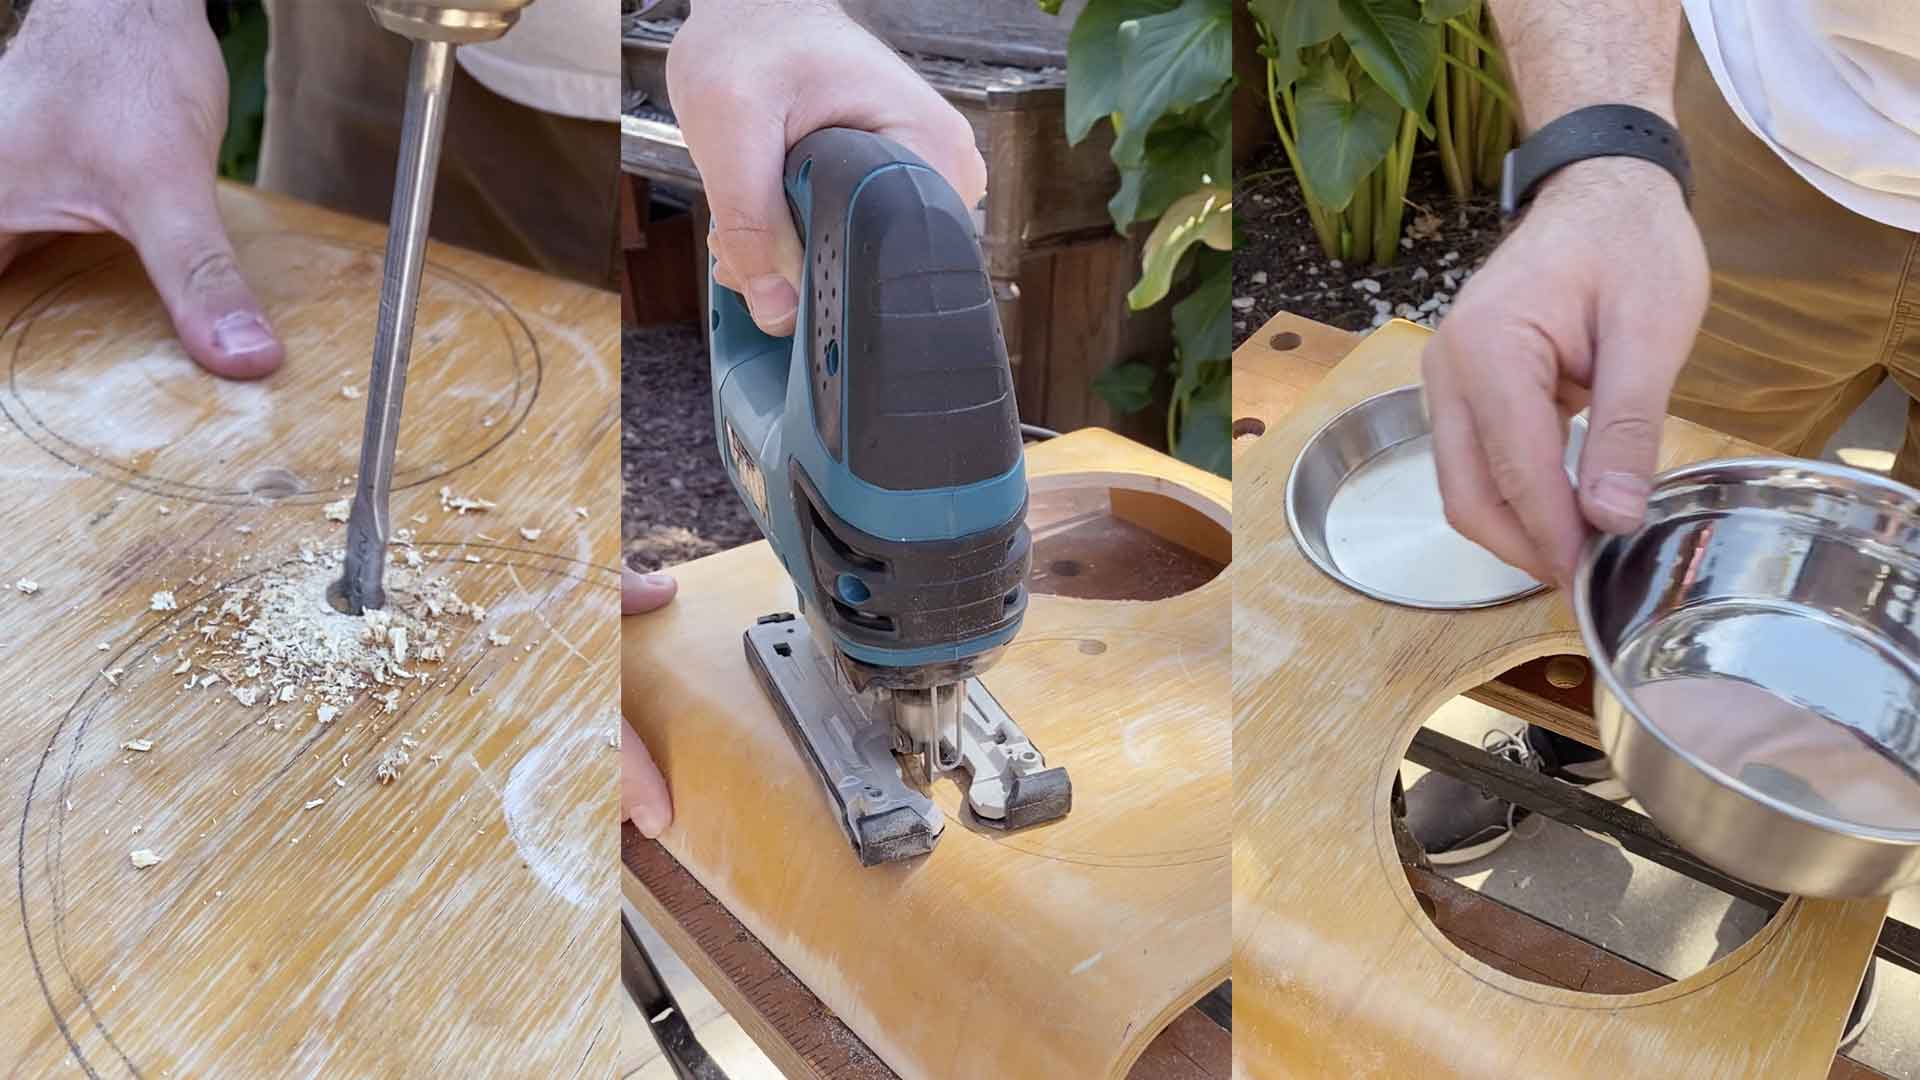
The second end table will be cut really short from the side, and the top will be used to make a food and water bowl holder. Measure and cut out two circles that are slightly smaller than the actual food and water bowl. You can use a hole saw for this or drill smaller holes and cut around the big circles with a jigsaw.
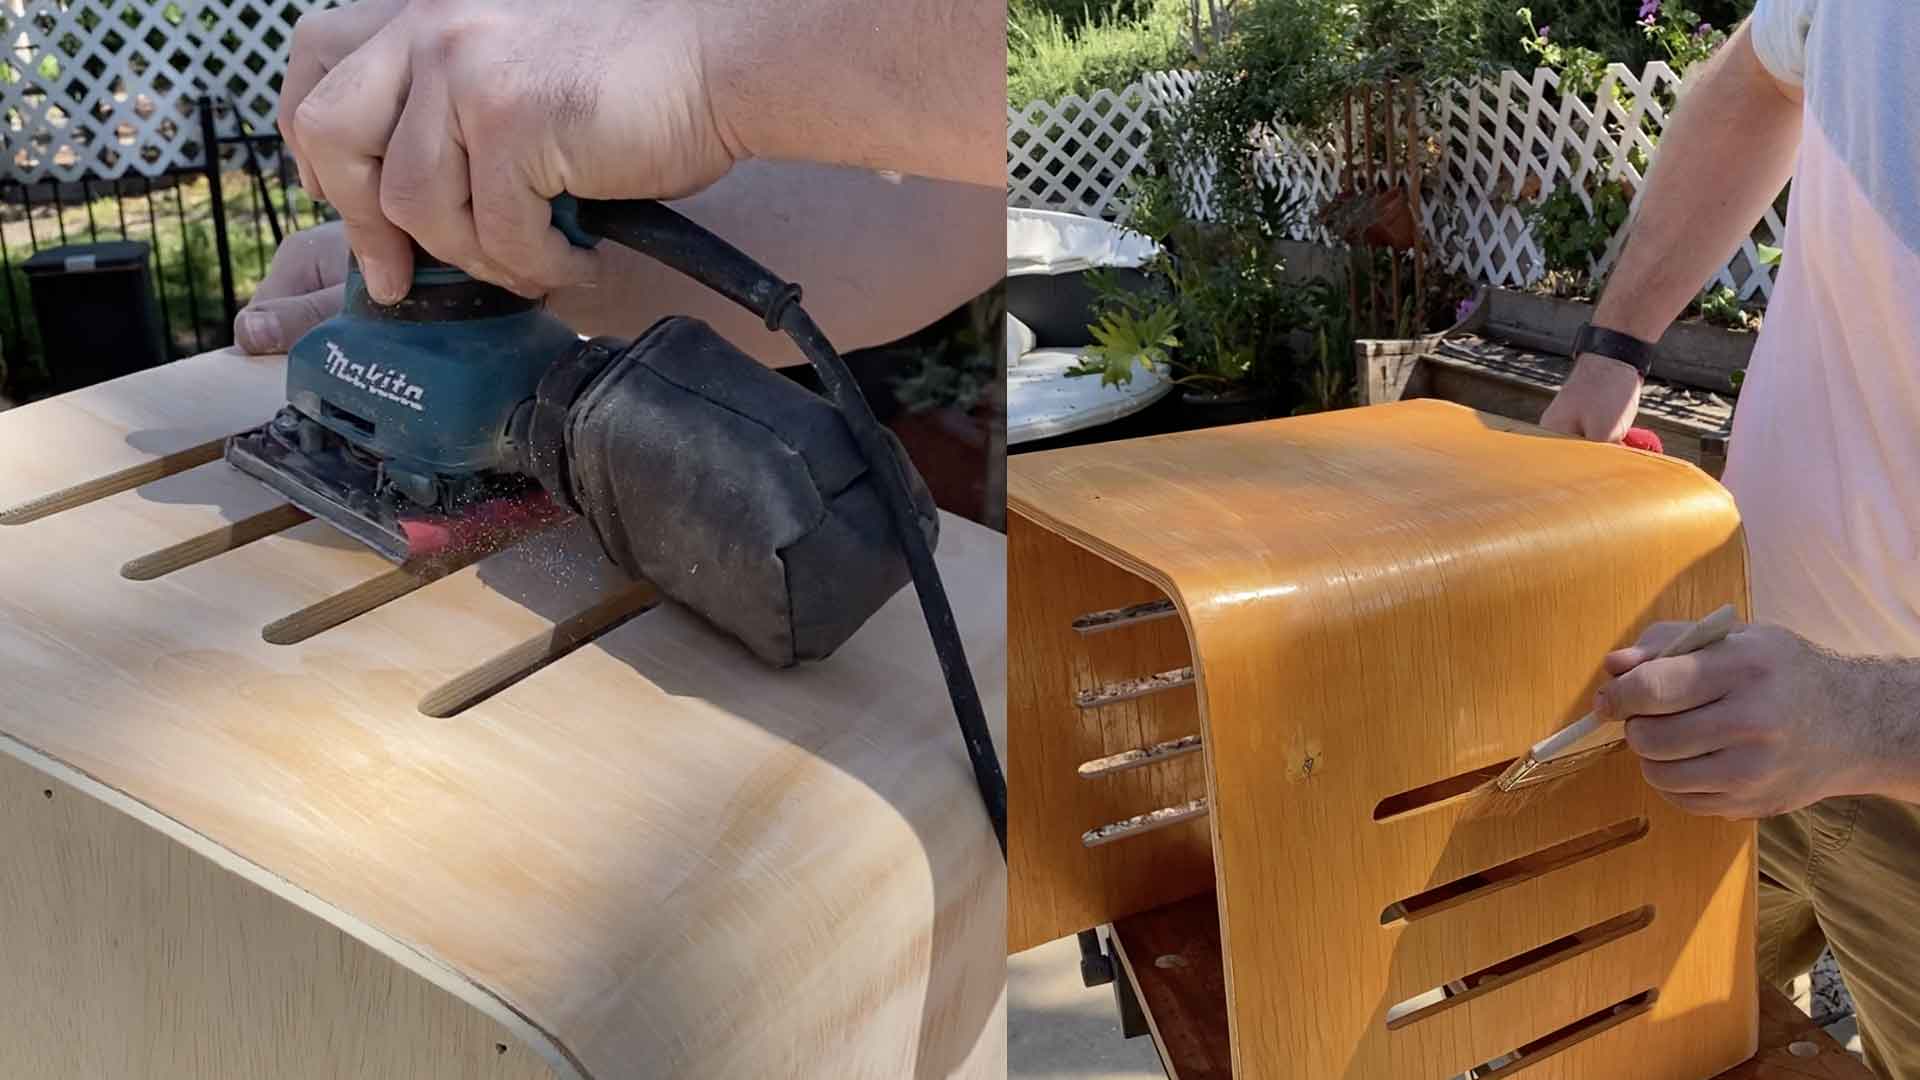
After cutting and assembling all the pieces, sand down all surfaces with a 220-grit sandpaper to get rid of any scratches, stains, or minor damage, leaving a uniform and super smooth surface. You can paint these new items any color that matches the decor of your home, but since bunnies might be chewing on this, a thin layer of wood stain and sealant should suffice.
Let Your Pet Enjoy!
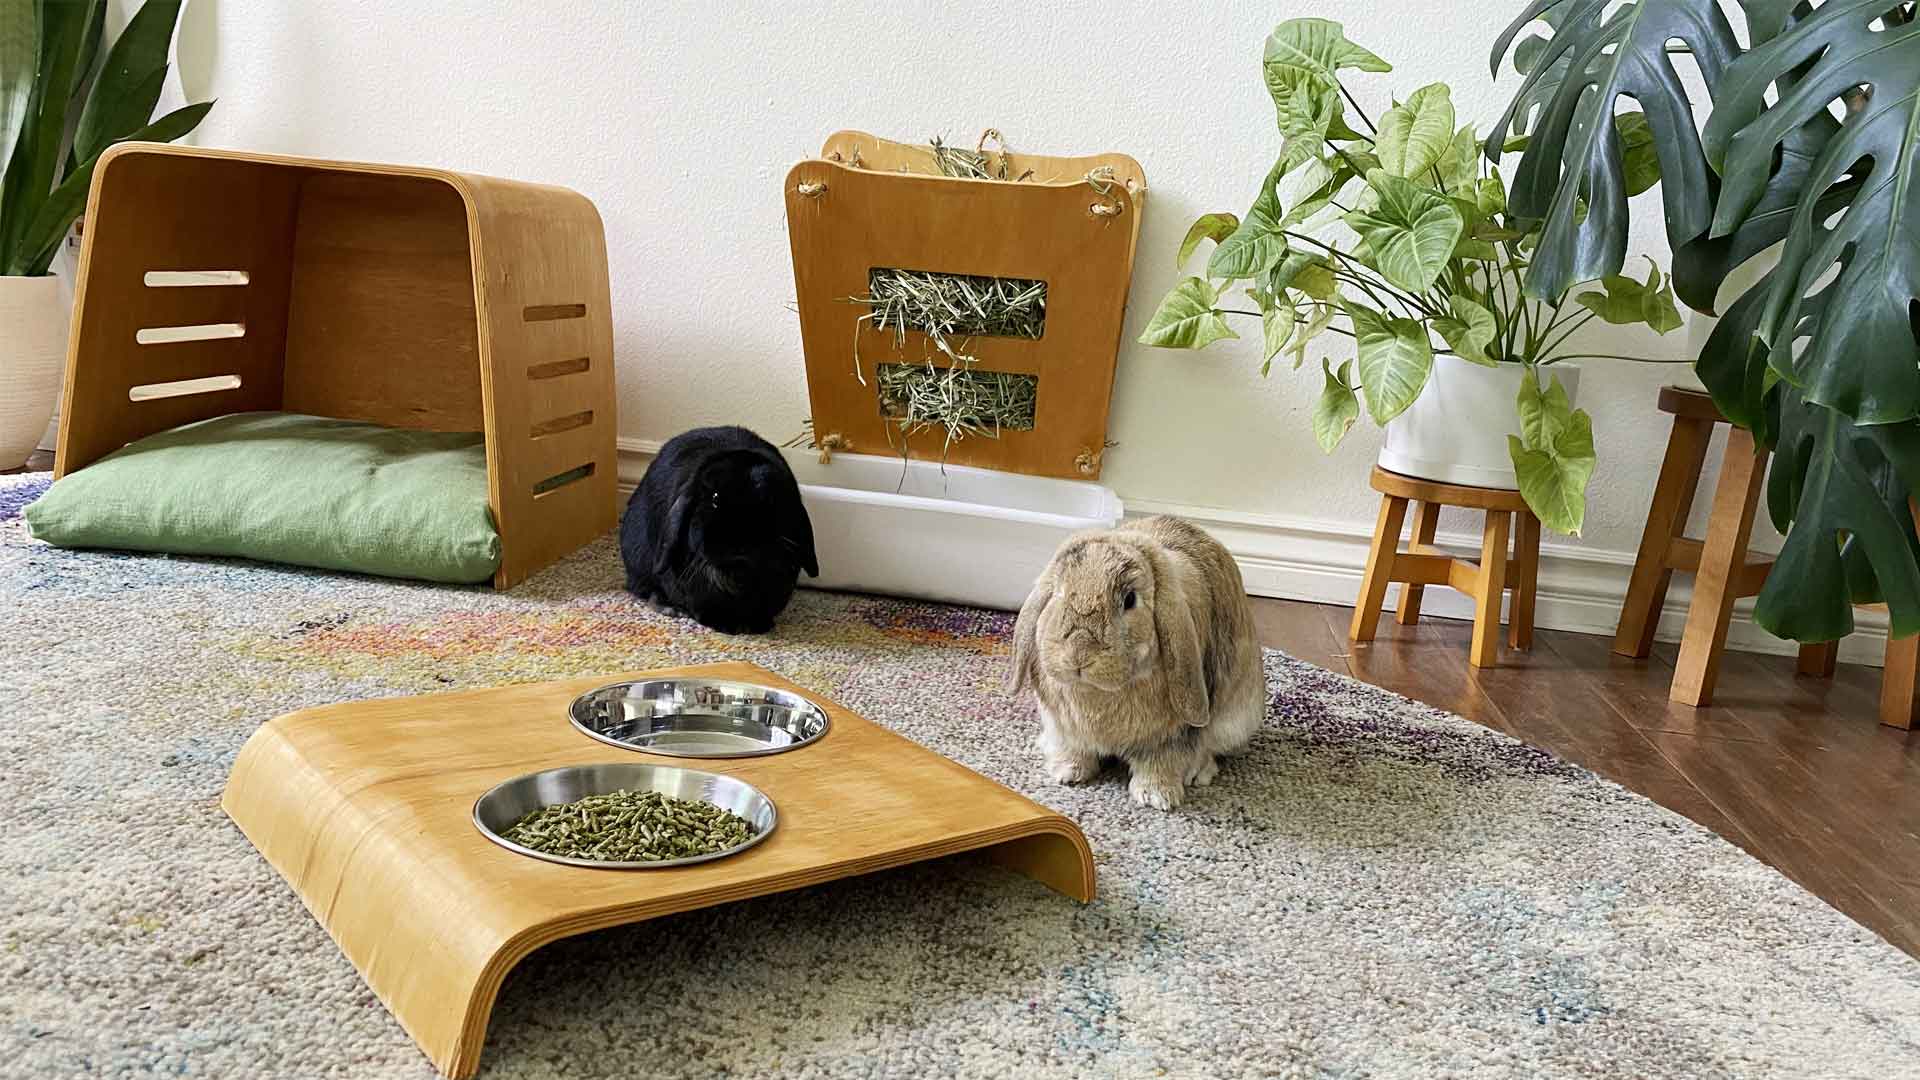
I hope this gives you some inspiration for your next DIY upcycling project as you turn something old into something new, creative, and exciting.
This post was created in partnership with The Home Depot. The author may have received compensation for this article and associated images or video, potentially in the form of products and/or services. All expressed opinions and experiences are the author’s own words.


