Upcycled DIY Playground
Last updated August 21, 2024

Vanessa is a Deaf DIY creator and lifestyle blogger who strives to help others find home wherever they are. Through her blog Find Our Joy, she celebrates her journey of motherhood and DIY adventures through delicious recipes, fun home projects and more.
A Note From The Home Depot
One person’s trash is indeed another person’s treasure! Upcycle a found playhouse with Vanessa Bacellar of Find Your Joy. Follow along as she spruces up a playhouse with tools and supplies from The Home Depot, making it a fabulous outdoor play and storage space for her family!
Table of Contents
Upcycled DIY Playground
Reuse the Abandoned Playhouse
To Build a Deck with Storage
Cut List
Styling the Space
Final Reveal
Upcycled DIY Playground
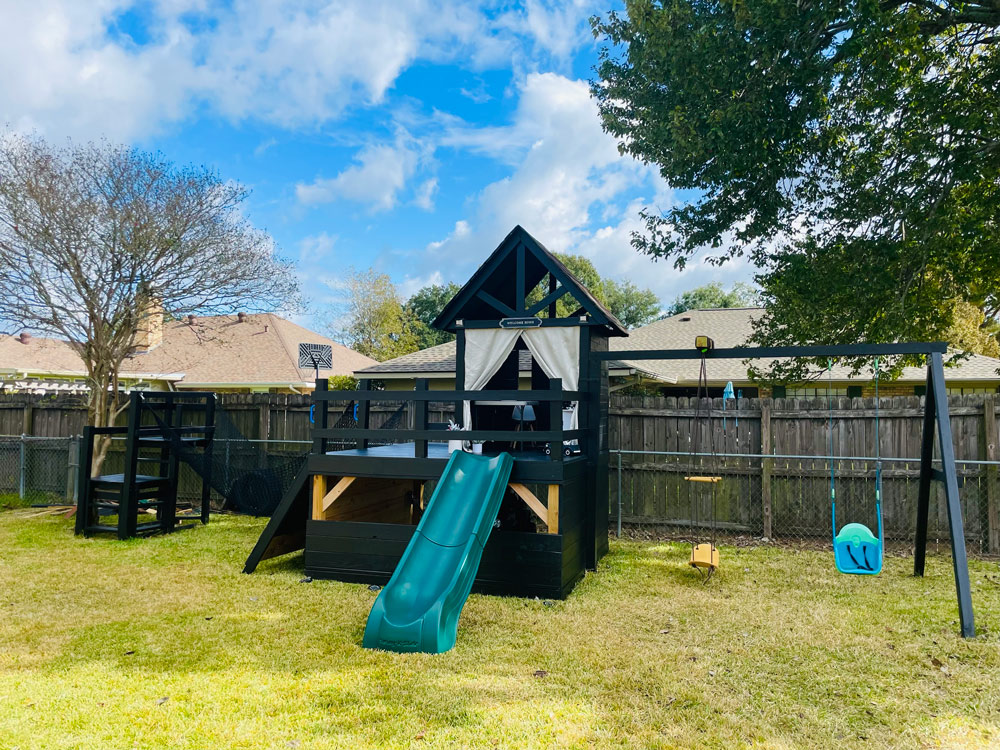
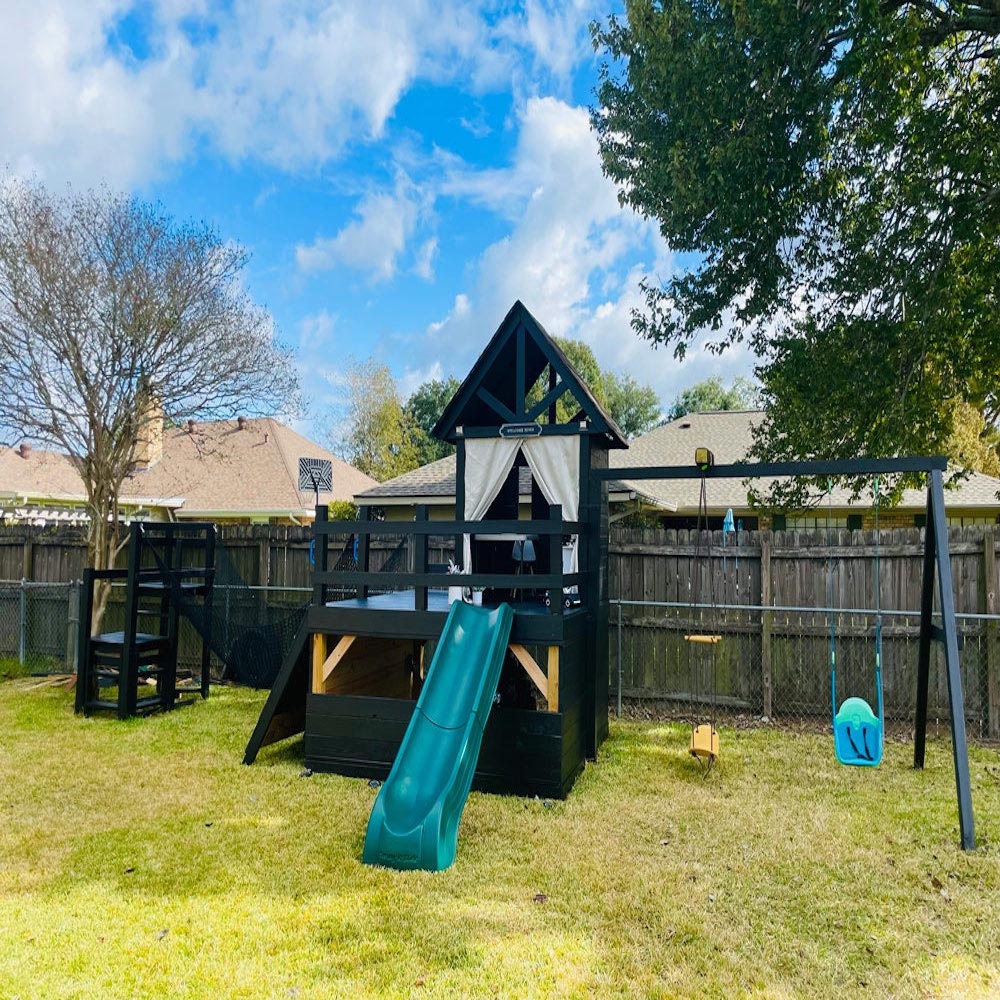
The reveal of my Orange Tank–winning upcycled playhouse project is here! My son has been playing in the playhouse ever since I finished it, and each time I add something new, his face always lights up! I was excited when I won the Orange Tank competition from the Haven Conference 2021, because with The Home Depot’s help, I was able to do more with the playhouse.
Reuse the Abandoned Playhouse
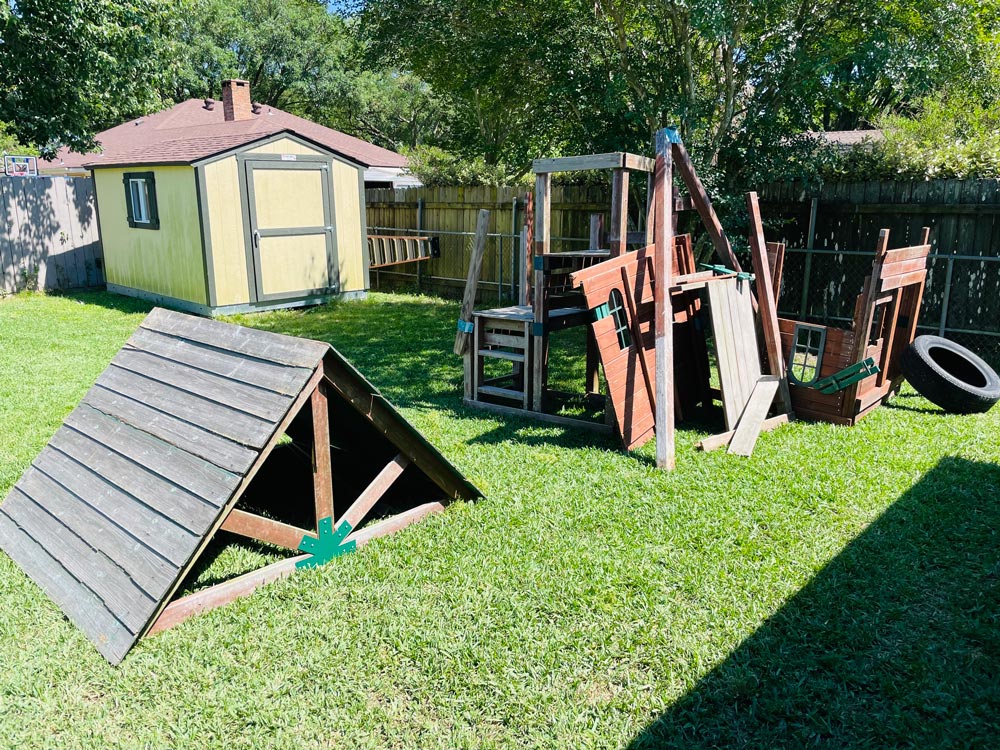
I found such a gem left abandoned on the side of the road during my dog walk! As someone who loves to upcycle things and doesn’t like seeing things go to waste at a landfill, it gave me inspiration to give my child a fun place to play outdoors. The first step was figuring out how to beautify the playhouse and make it as functional as possible. I had a vision to make it a bold house that would be fun to play with. I wanted to make sure that it had a huge deck with storage, because it would be handy to hide the toys or convert it for movie night.
To Build a Deck with Storage
It’s easier to build a deck with two or three people, so my mother helped me get the base built and leveled. (Make sure you wear your safety glasses to protect your eyes!).
You will have to cut some of the timbers, so here is a cutting guide for reference:
Cut List
(4) 4” x 4” x 10’ #2 pressure-treated timber
cut in half on each board
(8) 2” x 6” x 12’ #2 prime ground contact pressure-treated lumbers in 3 cuts - each board for diagonal supports
(4) 2” x 6” x 8’ #2 prime kiln-dried southern yellow pine lumbers
- cut enough to fit vertically inside of your bottom deck frame
To build the base, attach one of the 2” x 6” boards on the bottom and another one on the top of two of the 4’”x4’”x5’ (which are the 4”x4”x10’ timbers cut in half) timbers using the exterior construction screws.
Repeat three more times so that you have four of those to join the sides together. To add the joist, add all of the 2” x 4” boards sideways and space them out evenly between the outer boards inside the top frame vertically with the construction screws for deck flooring support.
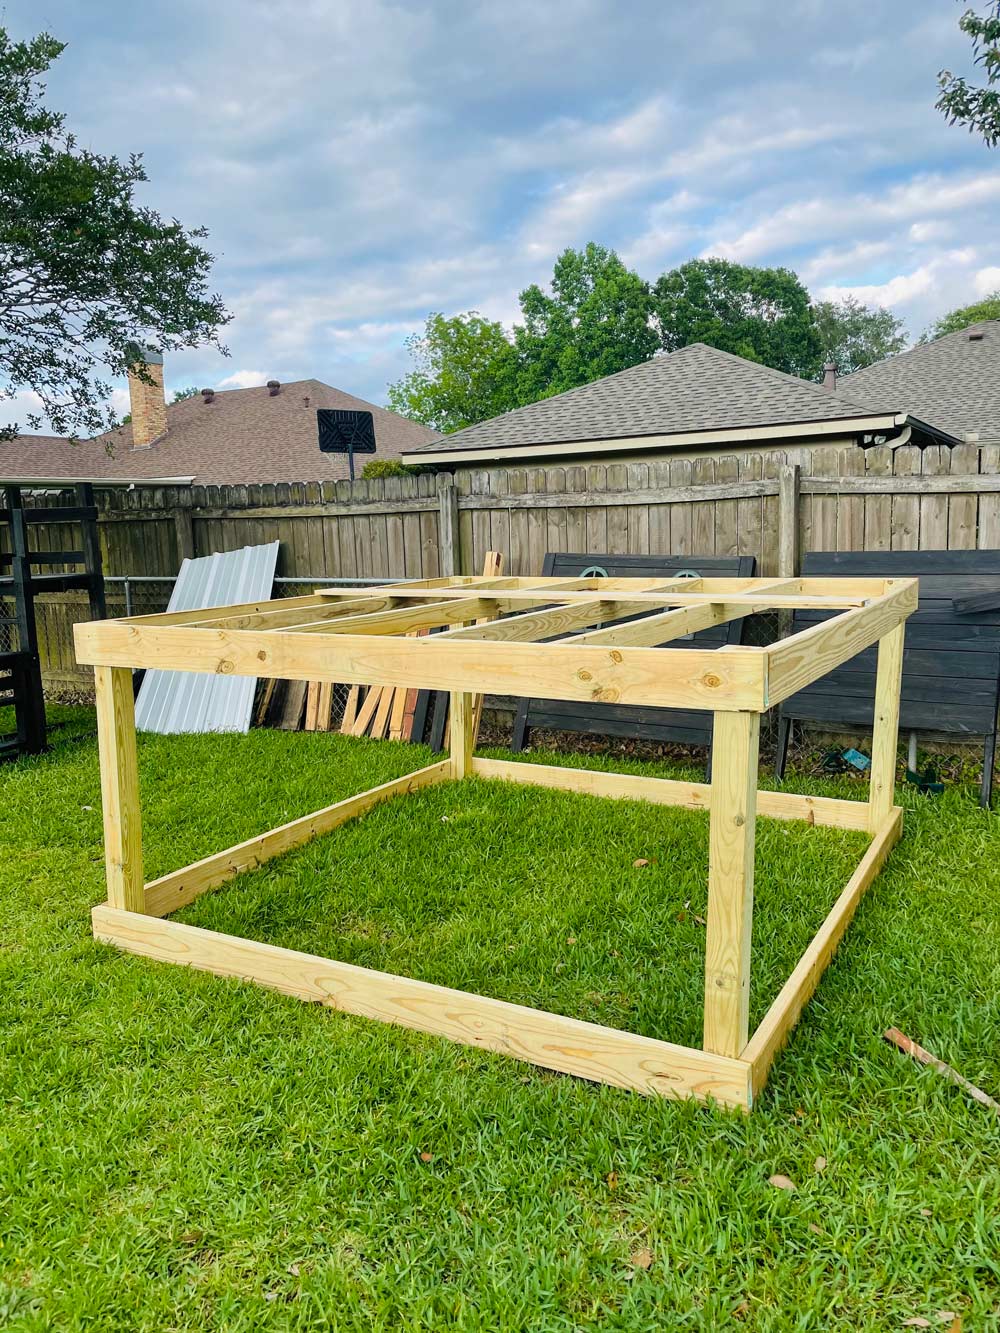
Add a diagonal support under the top deck on each corner for additional support. Add all of the 1” x 6” boards with little space out between them on top of the joists for the deck floor in the opposite direction of the joists as horizontal. Add two each of the 2” x 2” x 8’ #1 pressure-treated southern pine lumber on top and bottom of the deck walls (front and sides). Add the rest of the 2” x 6” prime kiln-dried southern yellow pine lumber for the deck walls on the sides (six on each side) and half (three) in the front wall leaving the back access open.
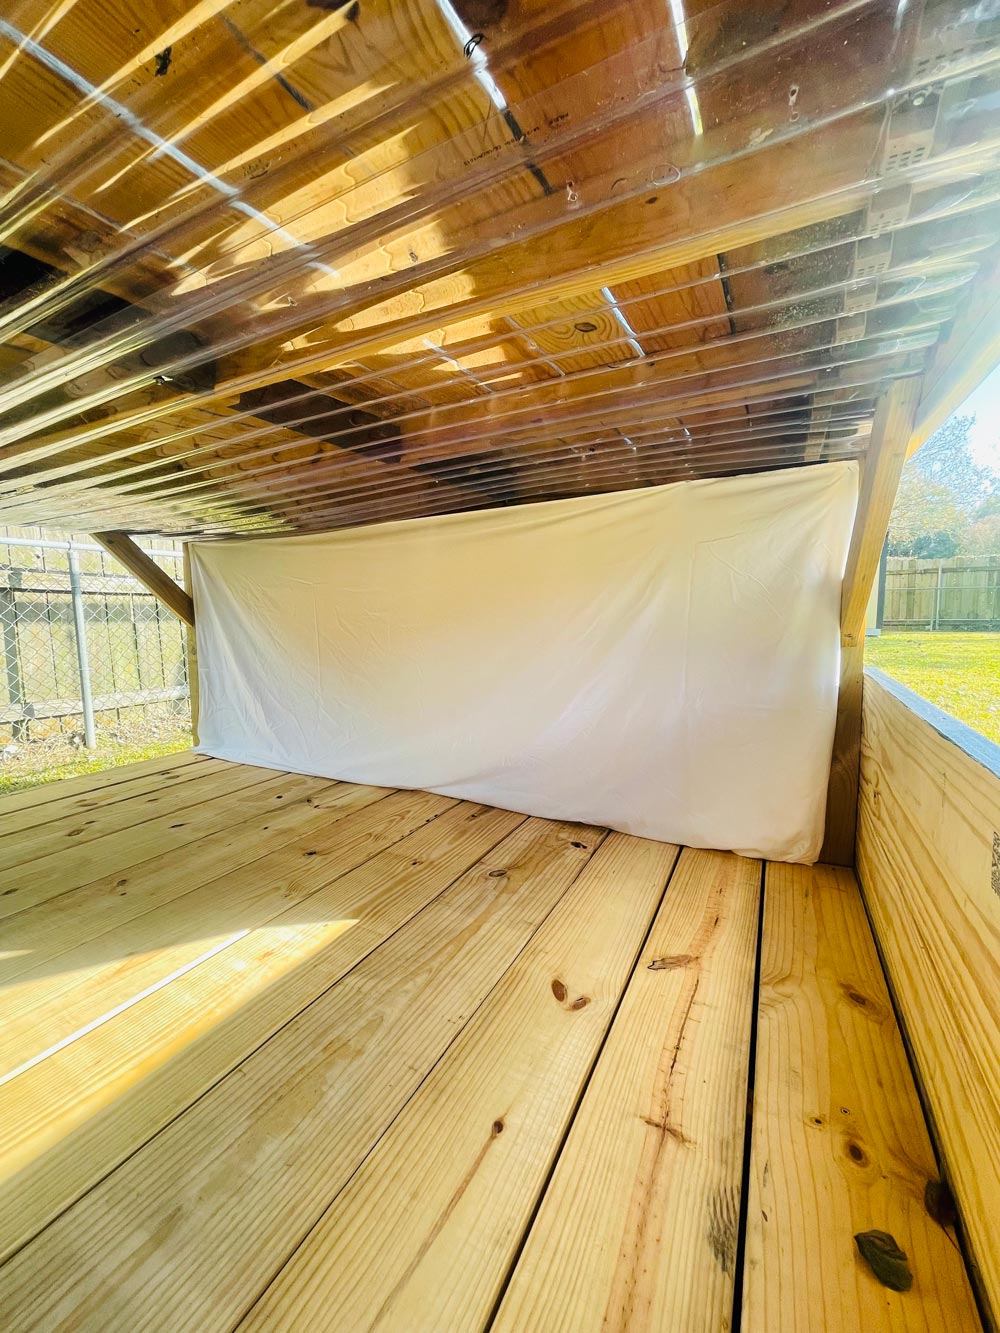
I personally use the storage area in many ways. You can use it for movie night by using a projector screen and outdoor lounge; to store the kids’ vehicles, bikes or any other things that you would like to store under the deck; or convert it into a sandbox. You can even add an extra playhouse space there. To see more other ways that you can get creative with this project, go to findourjoy.com.
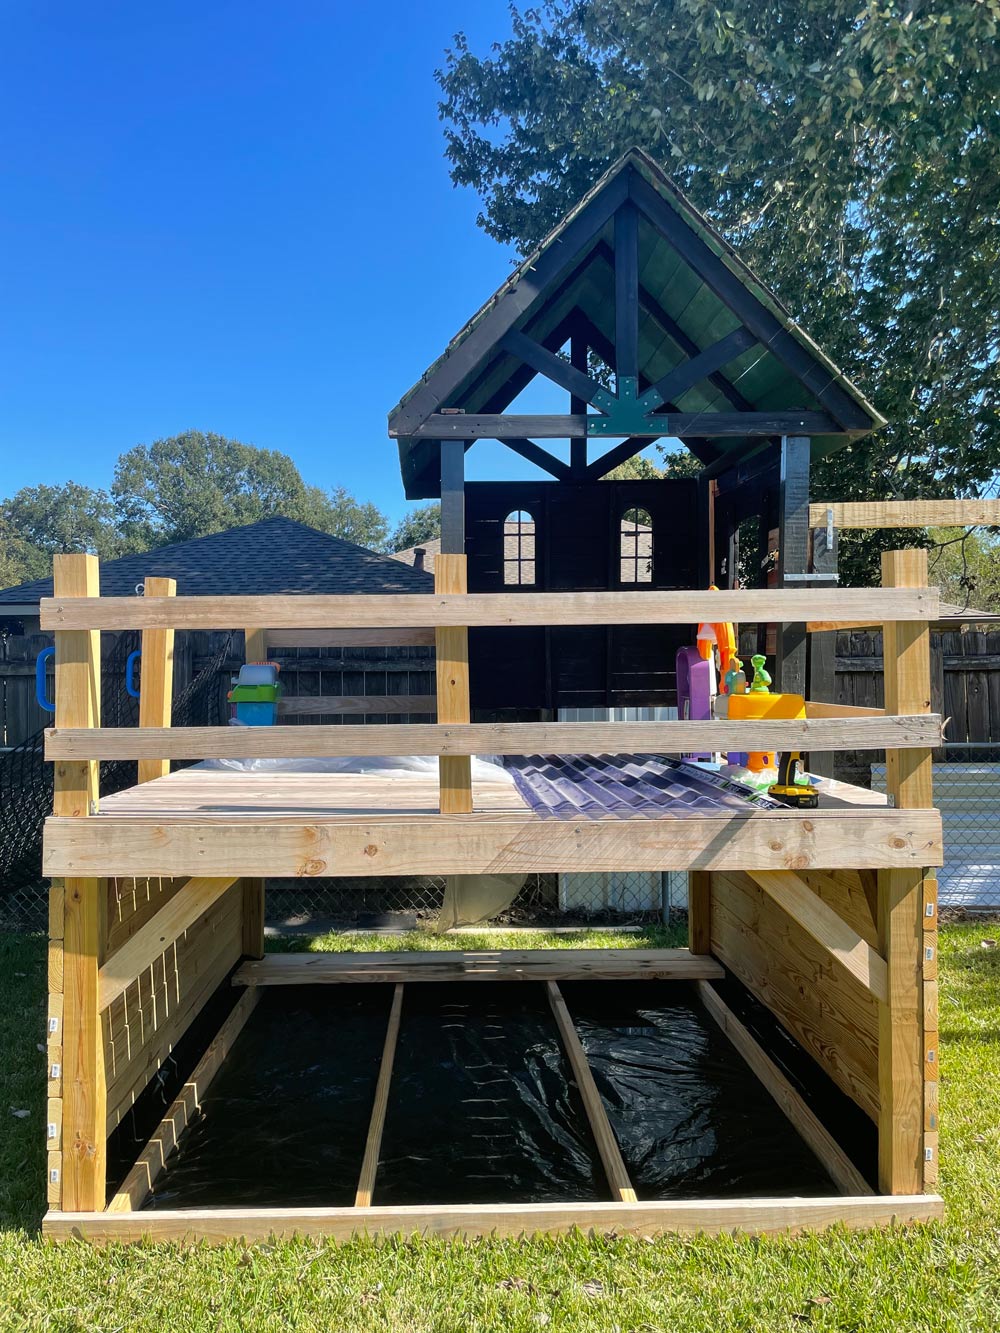
To build the storage, you will need to attach the black film on the ground to prevent the grass growth and moisture with stapler and staples on the ground wood frame all around. Add four of the 2” x 6” Planks on the ground frame on top of the film to be used as joists vertically with construction screws [204959302] and then add 2” x 10” boards horizontally with little space cut out in between.
You will also need to cut the boards so that they will fit on the corners—I have a cutting hack for this on my Instagram @findourjoy. To prevent the rain from coming through to the storage, tilt the PVC roof panels with closure strips underneath and secure it with fasteners.
Styling the Space
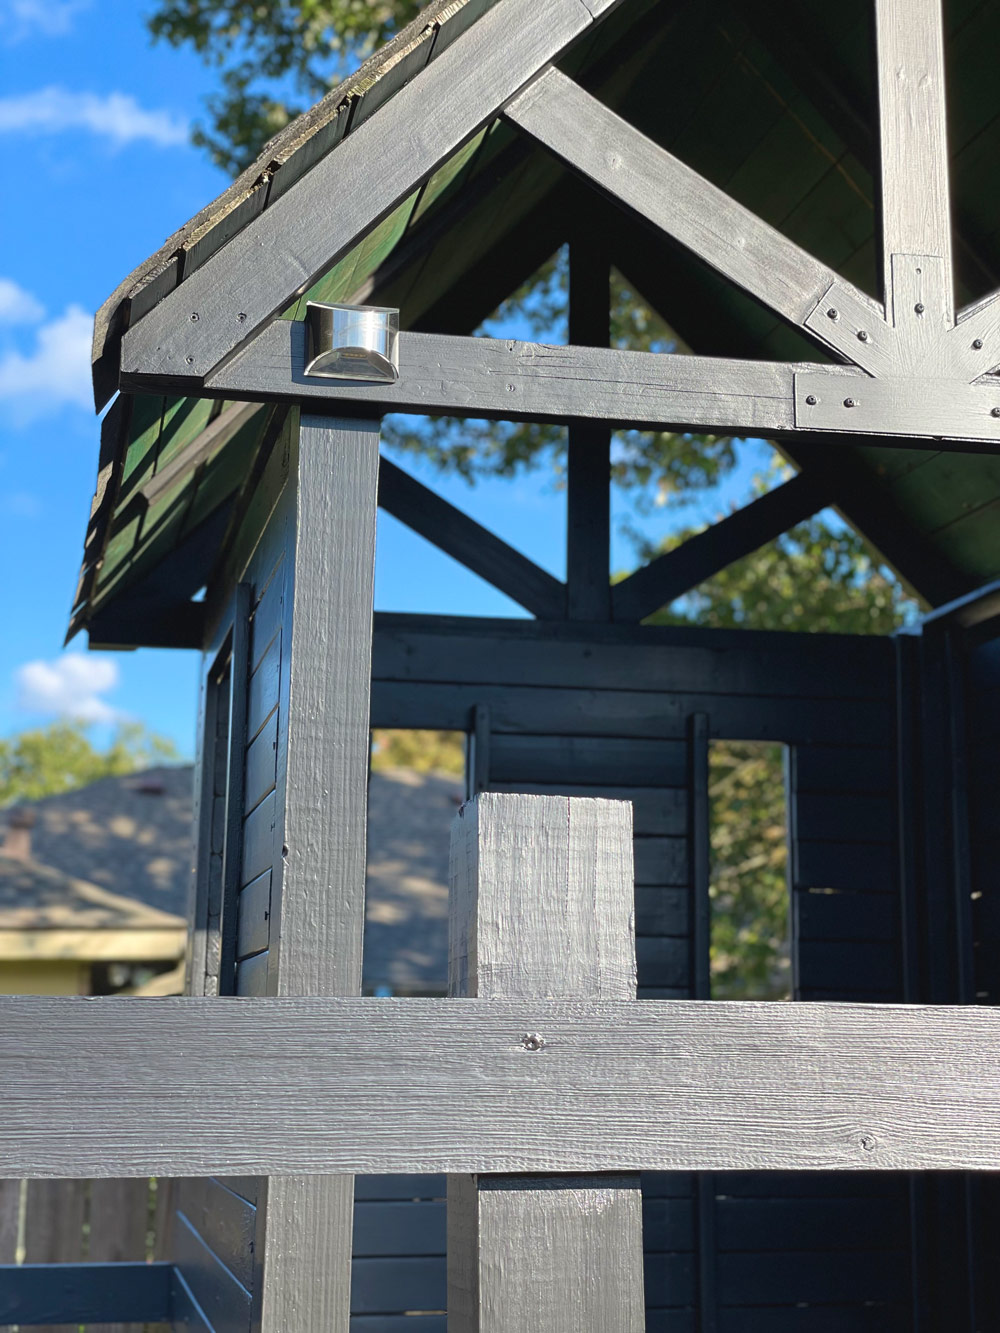
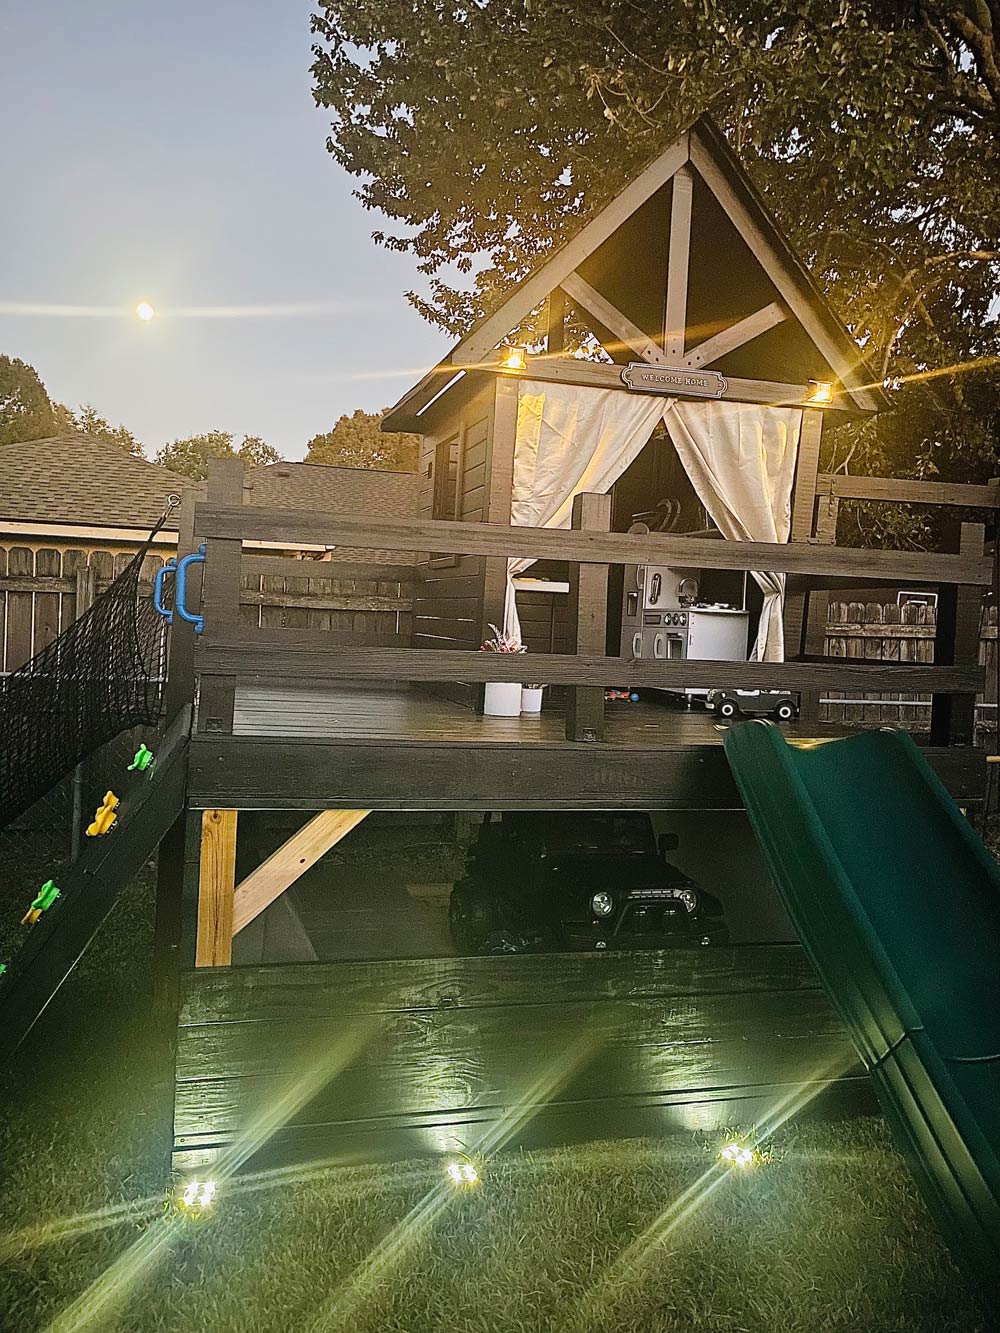
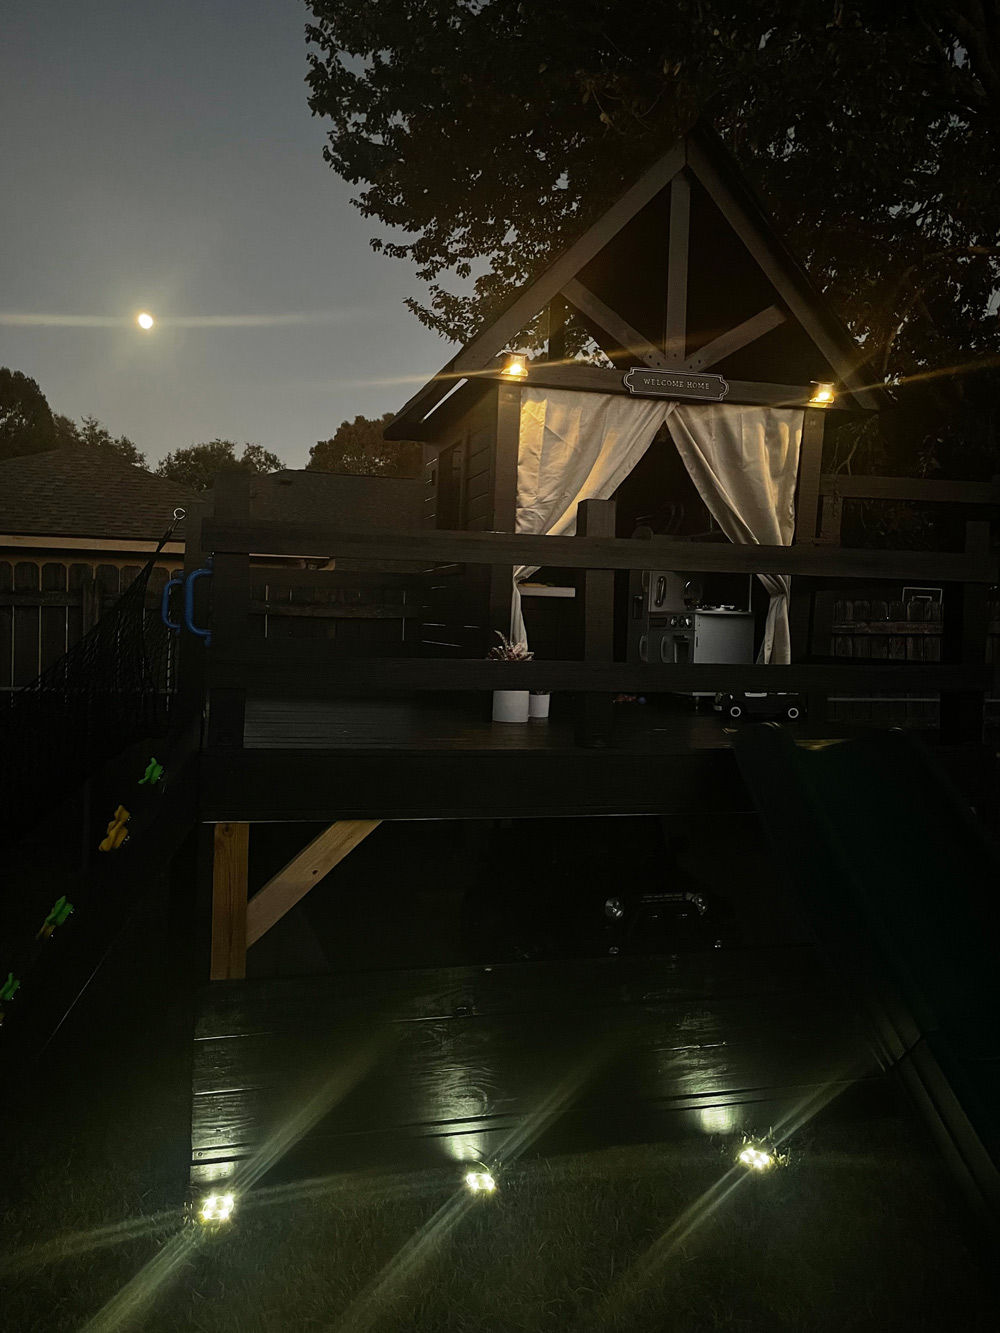
My favorite part of the project was putting everything together and adding the finishing touches. It is those final details that makes a space look different and a real home. I found a free kitchen toy on the curbside of the road (you can find one here from The Home Depot), so I snatched it up because it was perfect for the vision I had for the playhouse. My kid loves to play with the kitchen so much, especially at night, so I added lights.
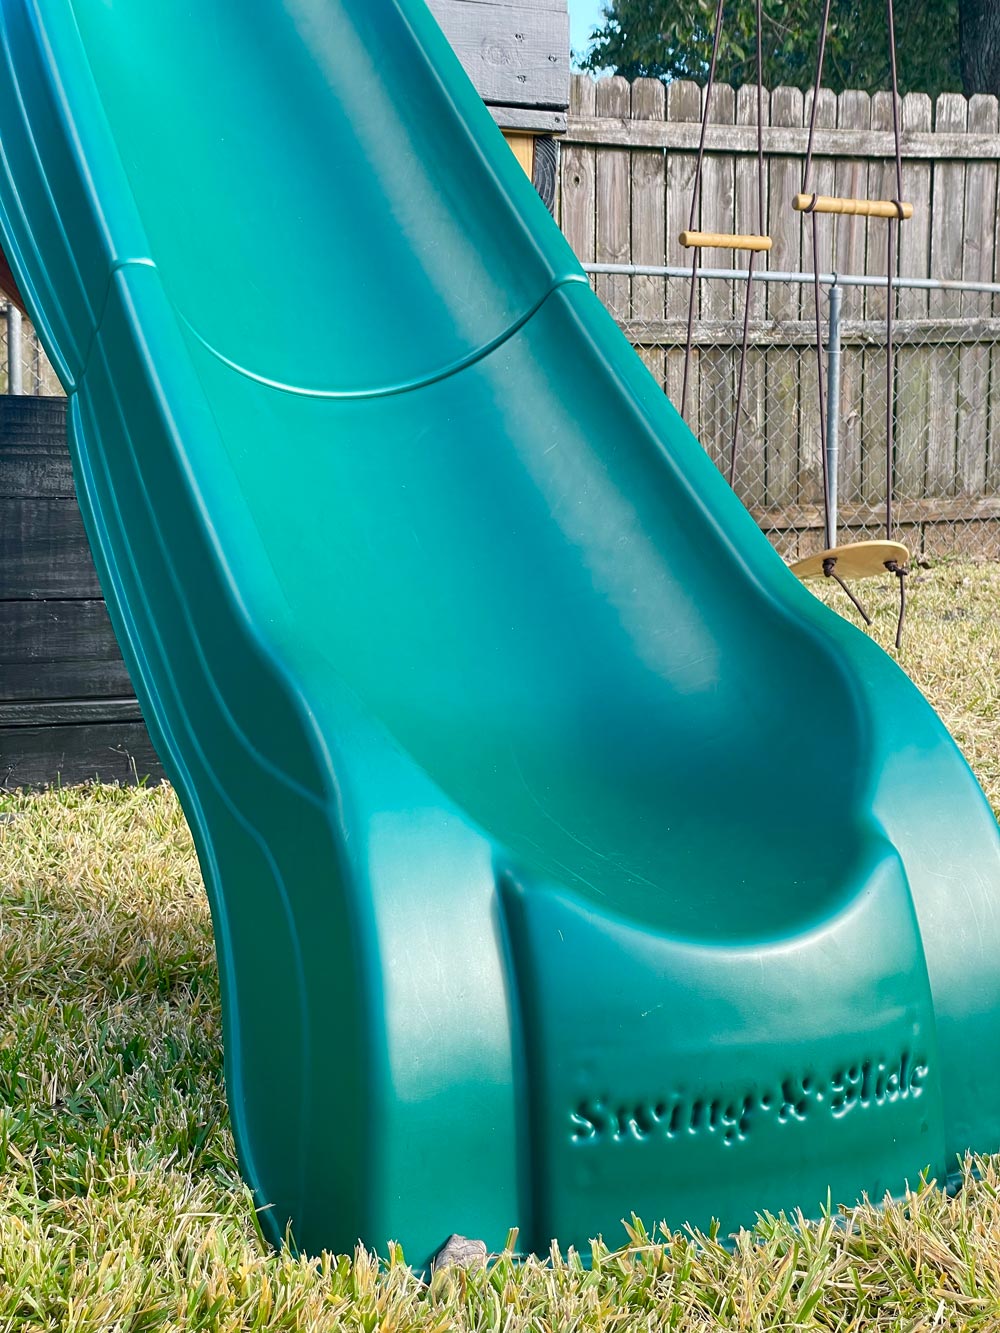
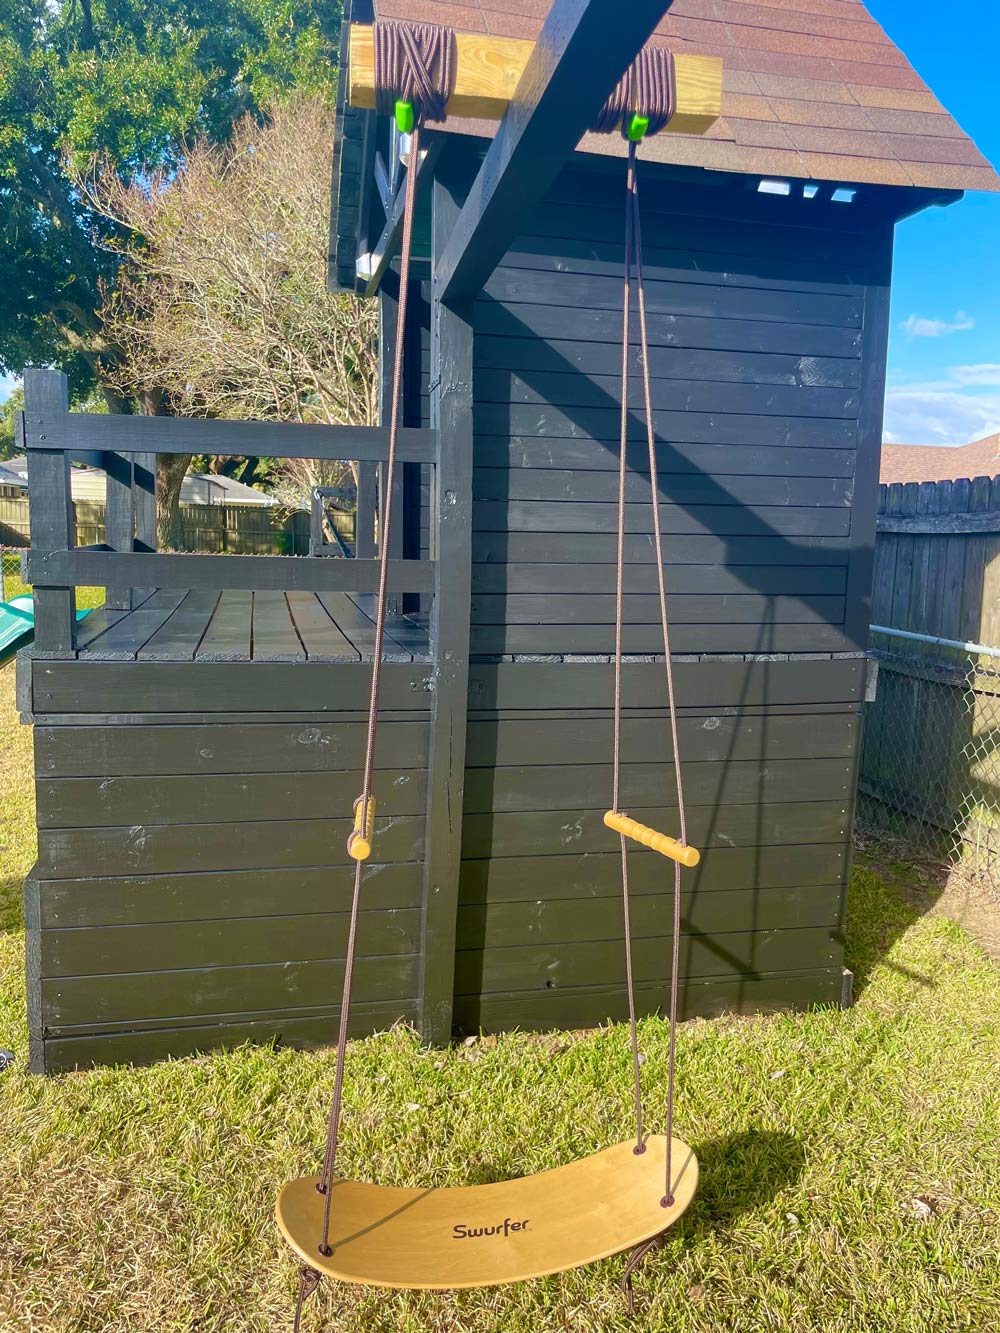
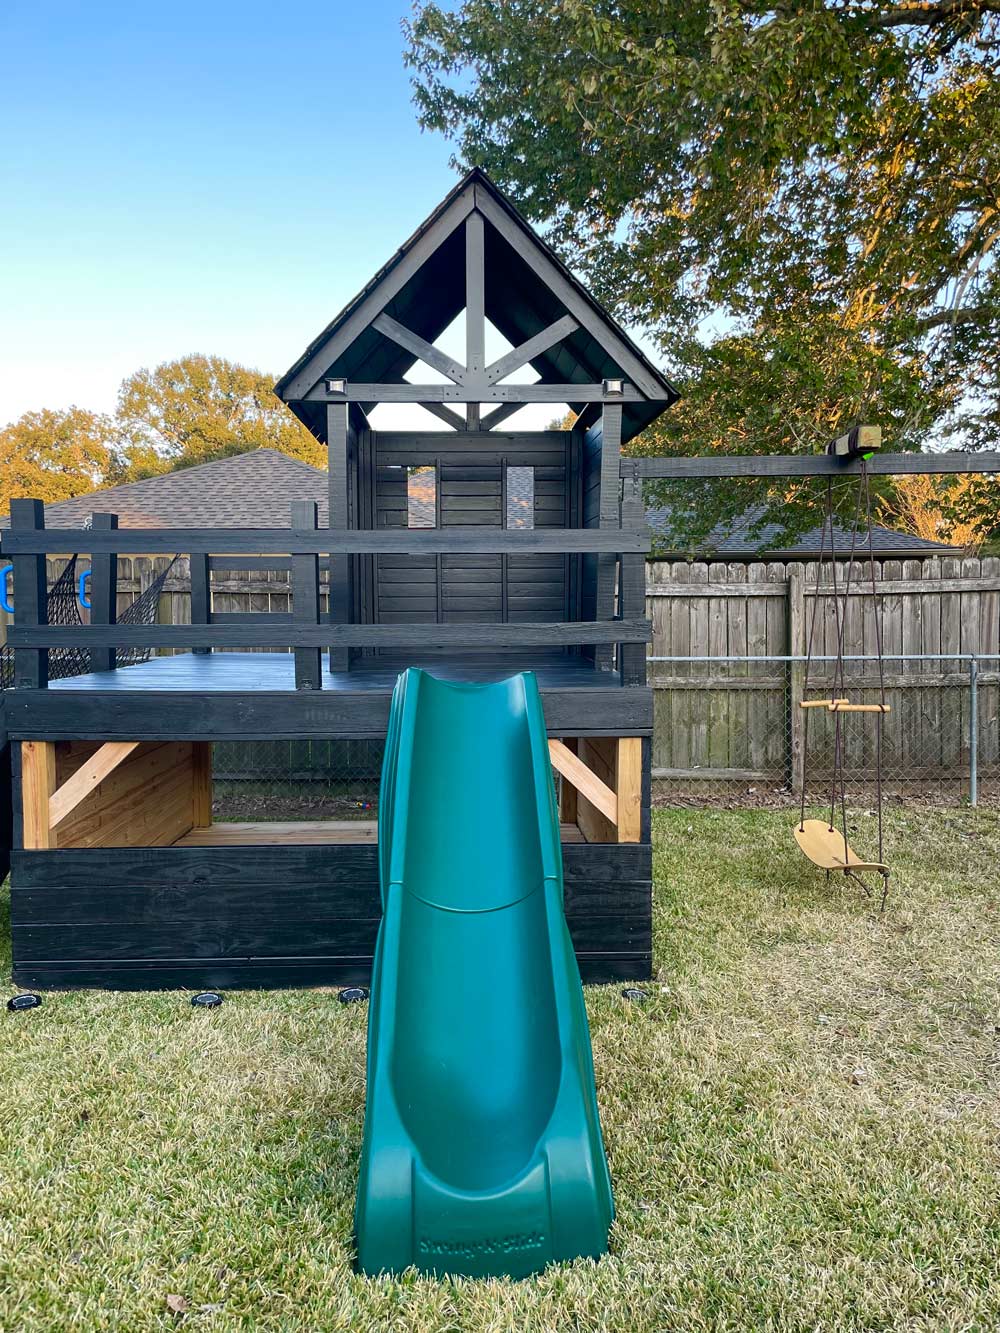
The slide was a must and the surfboard is so fun to play with. I added a rock climbing wall and a walking net for my son to have more fun with. I also included a curtain to block out the heat and for him to have a little bit of privacy. There is a bed sheet under the storage for the projector to display the movies. The couch and blanket are perfect there too! I added flower pots, a truck toy and a wreath just in time for Christmas!
What a wonderful time of the year and it is my greatest joy to give this to my child. This was such a great project that really added to the whole scene.


Final Reveal
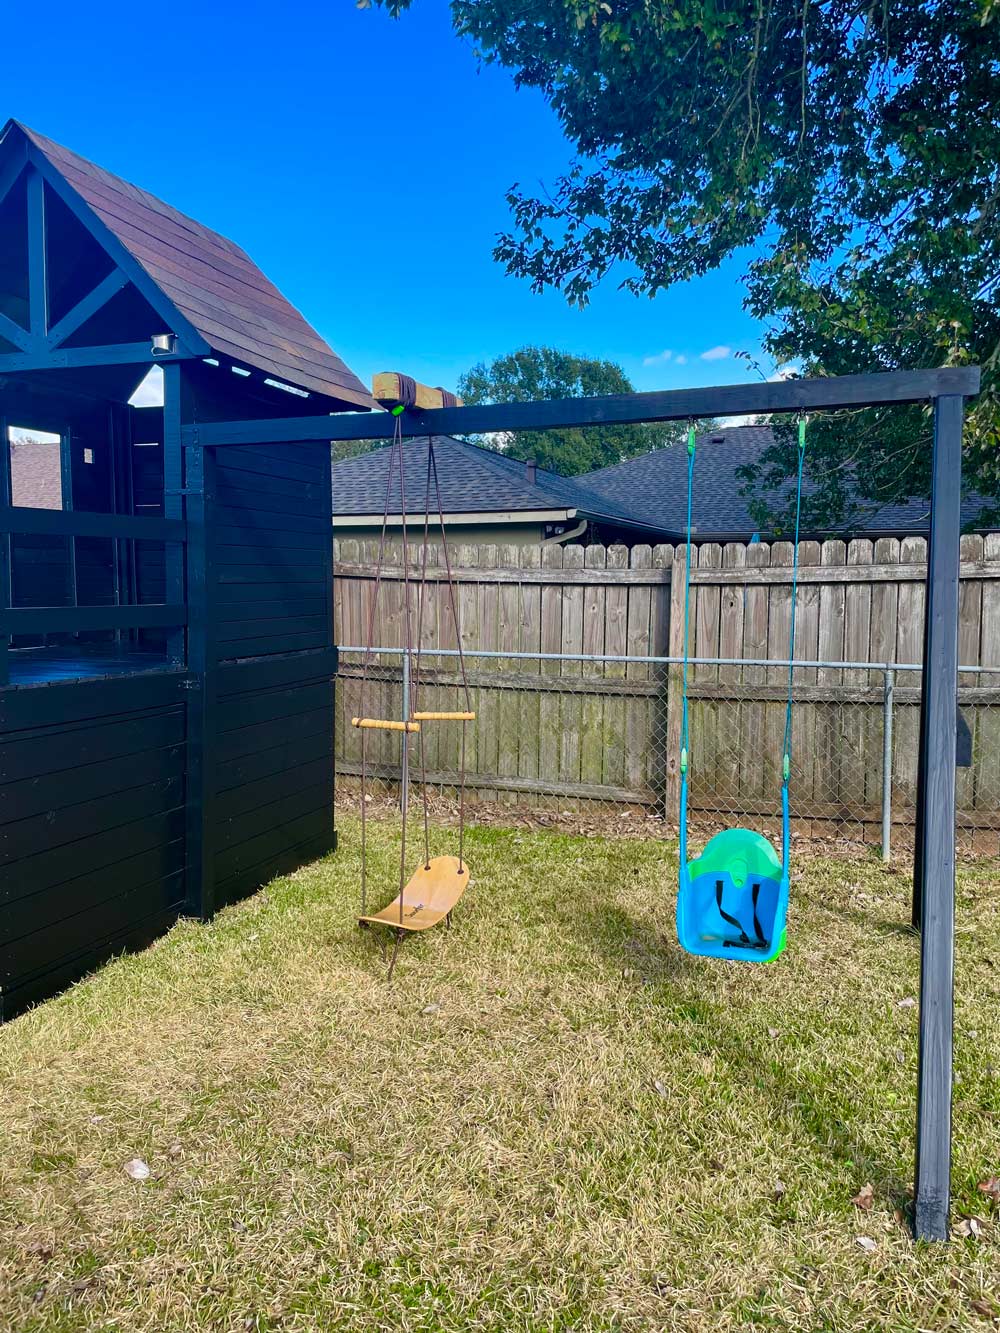
So here it is, my upcycled playground in all its glory! I took photos spaced out throughout the day (with and without styling the space) so you can see how it looks during the day and evening. If you enjoy seeing this project, come to my page www.findourjoy.com for more projects!
Special thanks to The Home Depot for giving my child the childhood he deserves! None of this would have been possible without The Home Depot App. The app makes it easy to browse, explore and find instructions. It tells you how many are in the stock, where they are located in the store, provides customer reviews and gives you options to purchase the item online to either have it picked up at curbside or delivered to your door/store (sometimes with free shipping)! The mobile app will give the product details that come with instructions/assembly which is helpful if you accidentally lose the manual. The user-friendly directions also show you how to take care of your product. It gives comparisons for similar products, specifications, customer reviews and questions to answer on selected products. All of this could be at the touch of your fingers with the convenience of downloading the Home Depot App.
This post was created in partnership with The Home Depot. The author may have received compensation for this article and associated images or video, potentially in the form of products and/or services. All expressed opinions and experiences are the author’s own words.


