Difficulty
Intermediate
Duration
2-4 hours
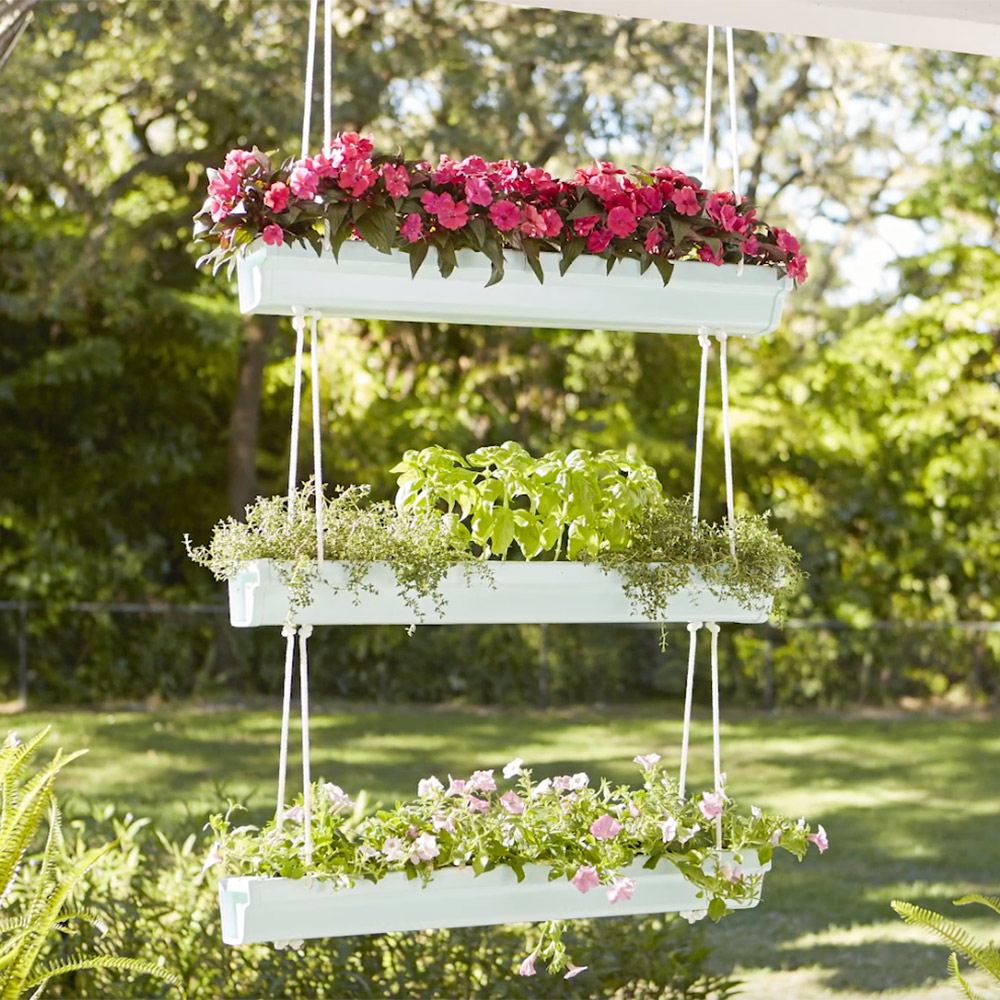
If you’re in need of some new hanging planters, this DIY project is perfect for giving you more real estate to display your plants. It’s inexpensive, practical and fashionable, and you can make it yourself in under two hours and with just a few tools. This project guide walks you step-by-step through the process of building a three-row hanging planter with gutter material. Make your own hanging planter large enough to contain three full rows of your favorite plants with this DIY project.
Measure and Mark
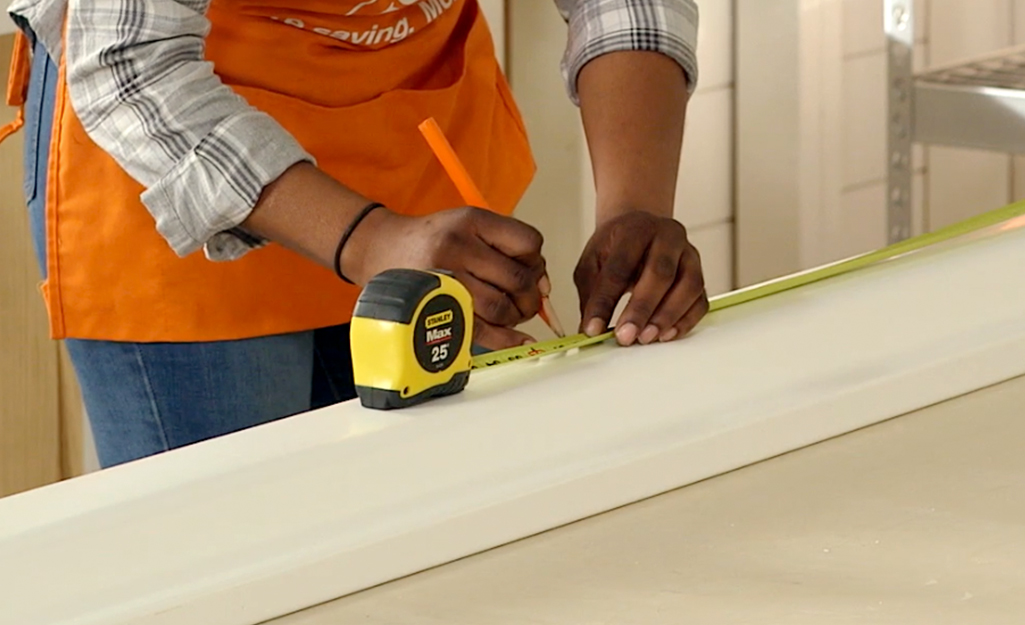
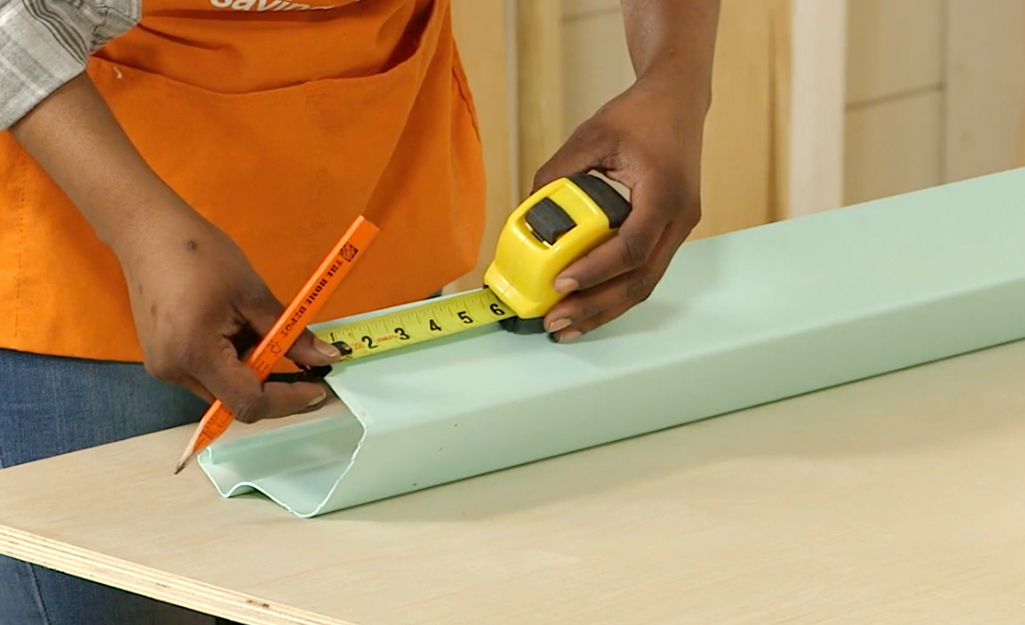
Measure and mark three 30-inch sections from the 10-foot gutter and two 10-foot sections from the rope using measuring tape.
Tools:
- Pencil
- Measuring tape
- Jig saw
- Electric drill
- 3/8-inch drill bit
- Safety glasses
Materials:
- Gutter
- Gutter caps
- Rope
- Plant hooks
- S-hooks
- Spray paint
Cut Materials
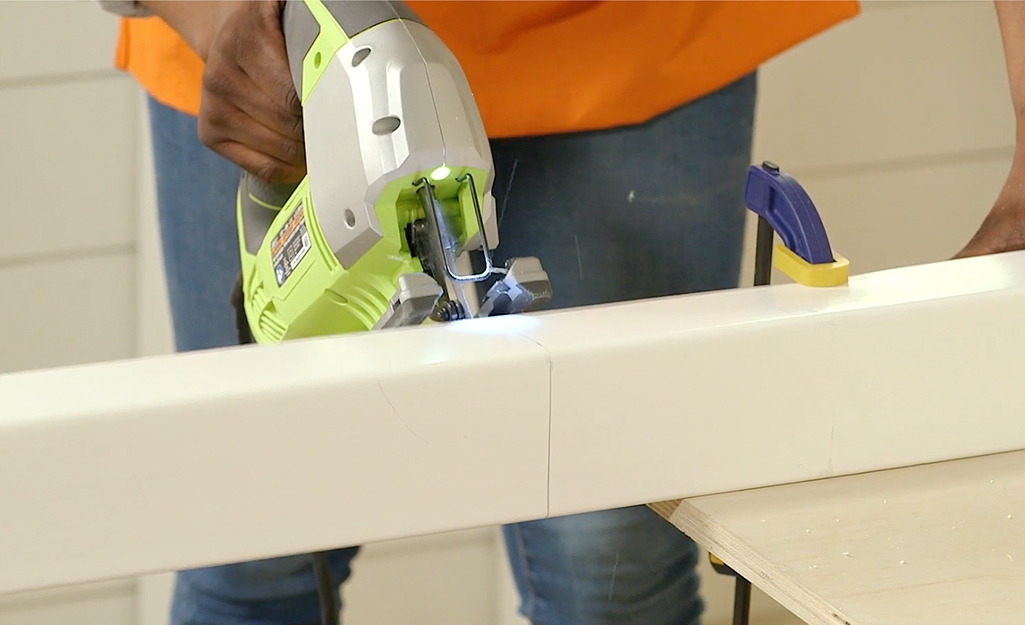
As the old saying goes, “measure twice, cut once.” Always double-check your measurements before you cut—a simple error can prevent the planters from hanging properly when it’s time to assemble.
Refer to the below cut diagram to make sure everything is even. Once everything looks even, you’re ready to cut—you’ll have some excess gutter material leftover that you can use for another hanging planter or for a different project.
- Cut three 30-inch sections from the 10-foot gutter using the jig saw.
- Cut two 10-foot sections from the rope using heavy-duty scissors or a box cutter.
Safety Tip: Always wear proper eye protection when operating any type of saw.
Go to Cut Diagram

See diagram for reference.
Paint or Stain
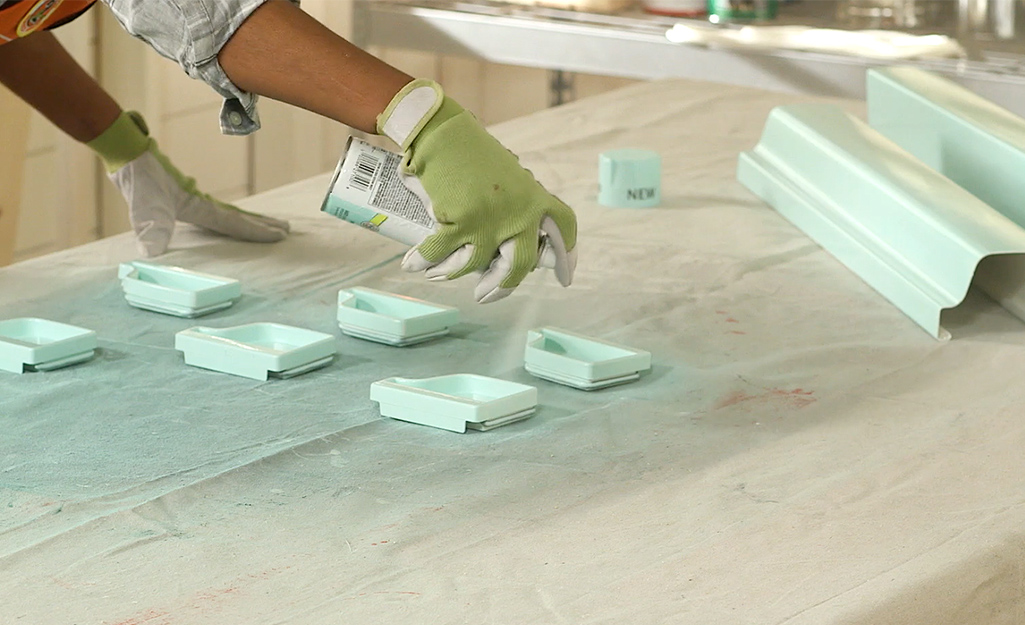
- If you want to customize the look of your hanging gutter planter, spray paint it. You can coordinate the color with whatever you plan to grow in the planter, or you can paint it to match your decor.
- If your gutter pieces are made from metal, lightly sand them, then wipe them with a damp cloth to remove dust and oils. If your gutter pieces are made from plastic, choose a spray paint that will adhere to plastic.
- Spray paint the pieces outside or in a well-ventilated area, and allow them to fully dry before you assemble to prevent any blemishes on the finish. If the planter will be placed outside, use an exterior spray paint.
- Paint all gutter pieces and allow to fully dry prior to assembly.
Measure Gutter Holes
- Turn all gutters upside down.
- Measure and mark 3 inches in from the short side and 1/2-inch in from the long side on all four corners of all three gutter sections.
- Turn all gutters right side up.
- You should now have two marks on each side of all three gutter sections.
Tip: Don't forget to measure twice! Refer to the diagram below.
Drilled Hole Placement Diagram
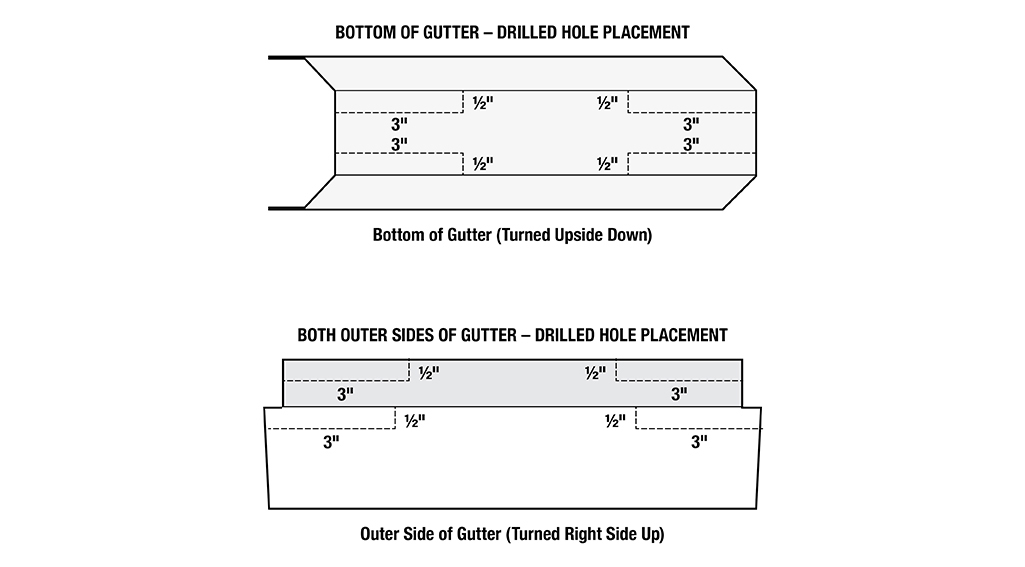
See the diagram for reference. It will help you mark the holes for the rope to ensure proper assembly and hanging.
Drill All Holes
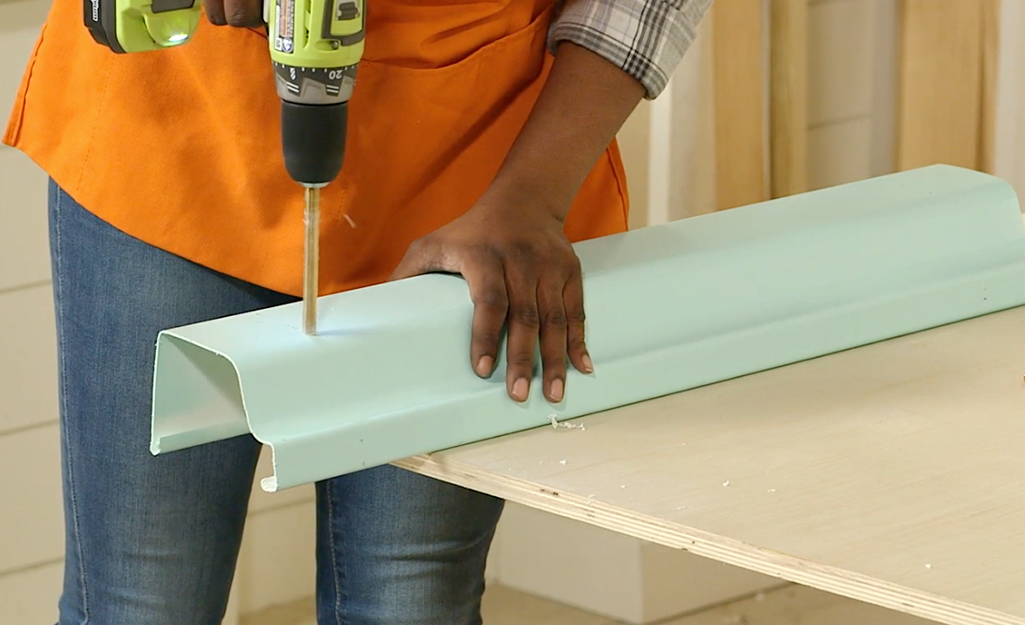
- Using a 3/8-inch drill bit, drill holes where the marks were made.
- There should be four holes in the bottom and two holes on both of the top, outer sides of all three gutter sections.
Tip: Depending on the type of plants used, you may need to drill several very small drainage holes on the bottom of the gutter section to allow drainage.
Thread Rope and Tie Knots
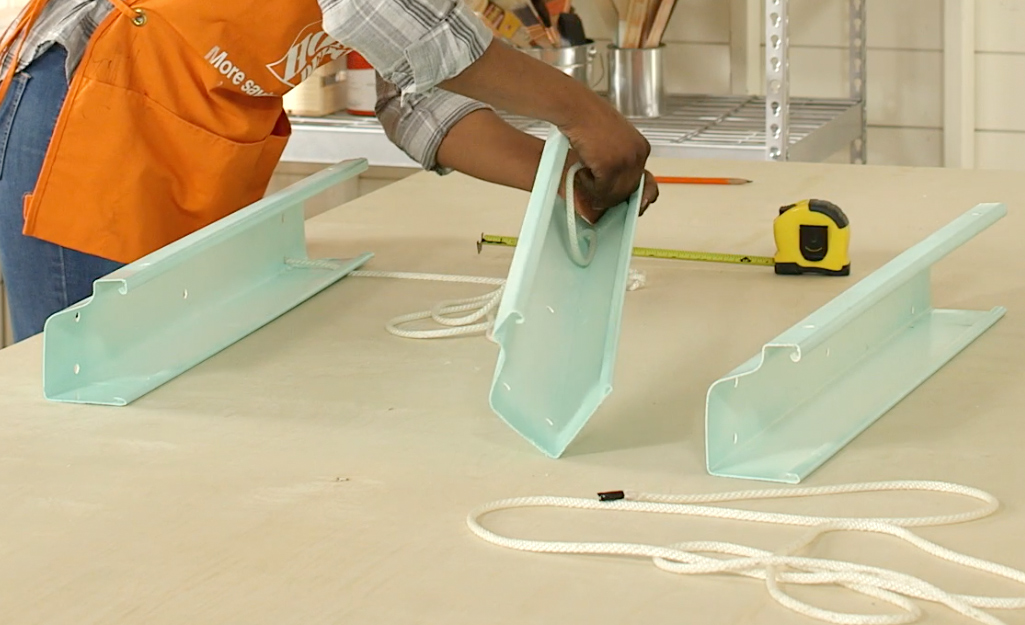
- Tie a knot at one end of the 10-foot rope.
- Thread the unknotted end of the rope through one of the holes in the bottom of the left gutter section and then out the hole in the side.
- Repeat threading up through the bottom hole and out through the side hole on the next two left gutter sections.
- Measure 12 inches of slack and tie a knot between the second and third sections.
- Once all three gutter sections are threaded, loop the rope and thread it back down the inside hole of the left gutter.
- Once the rope has been threaded down through the last remaining bottom hole of the third gutter section, be sure to make a final knot and cut any excess rope.
- Repeat these steps for the right side of the gutter with the other 10-foot rope.
- Refer to this diagram below for a clear visual guide to the threading process.
Tip: Wrapping the end of the rope with tape makes threading easier.
Thread Rope Diagram
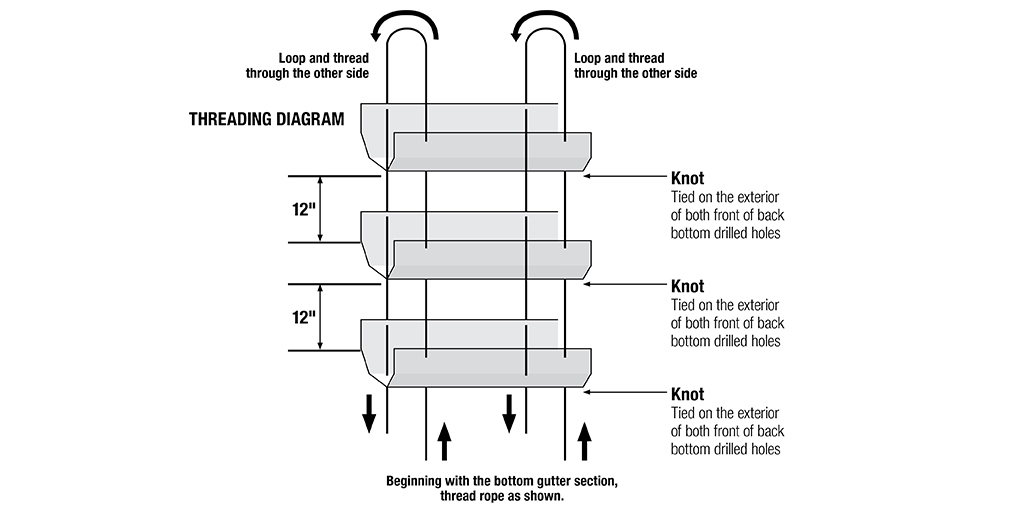
See the diagram for reference. Once you’ve threaded and secured all the rope to the proper lengths, your hanging gutter planter is almost complete, except for the finishing touches and hanging.
Place End Caps
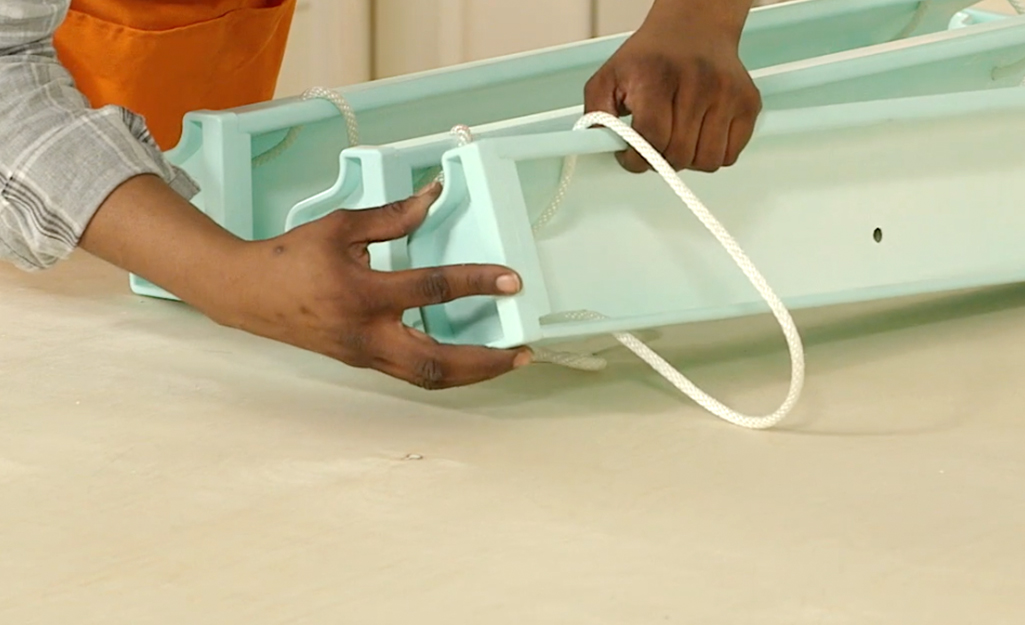
Place all end caps on both ends of the three gutter sections.
Loop Hook and Hang
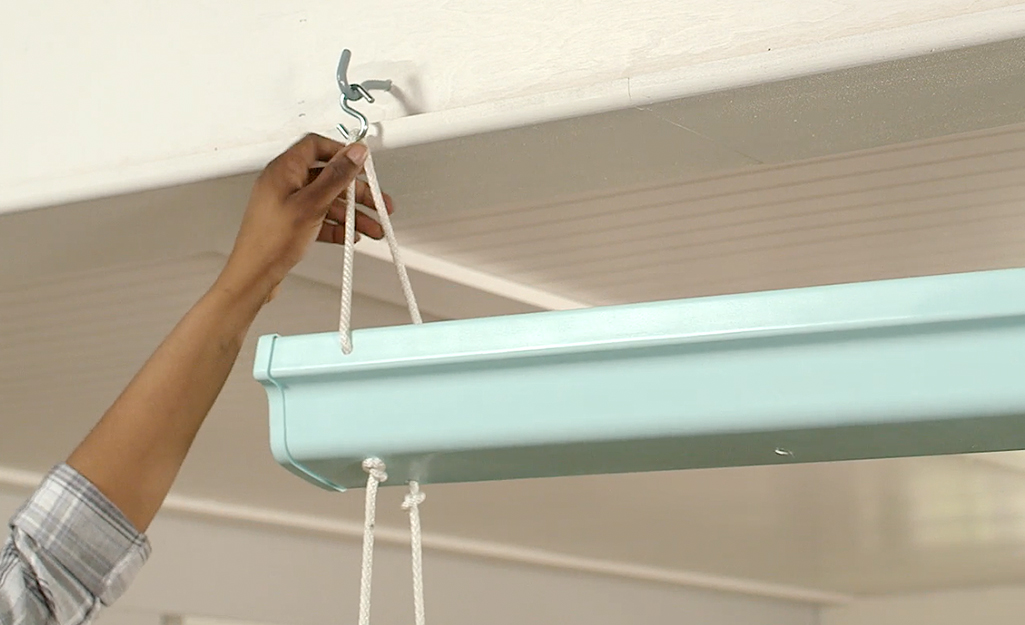
- Decide where you’ll hang your gutter planter. Secure plant hooks into a beam or support where you intend to hang your garden.
- Loop the two S-hooks on each side of the top ropes and hook the S-hooks to the installed plant hooks.
- Once hanging, loosen and adjust the knots beneath each gutter section until they hang level.
Plant Your Gutter Garden
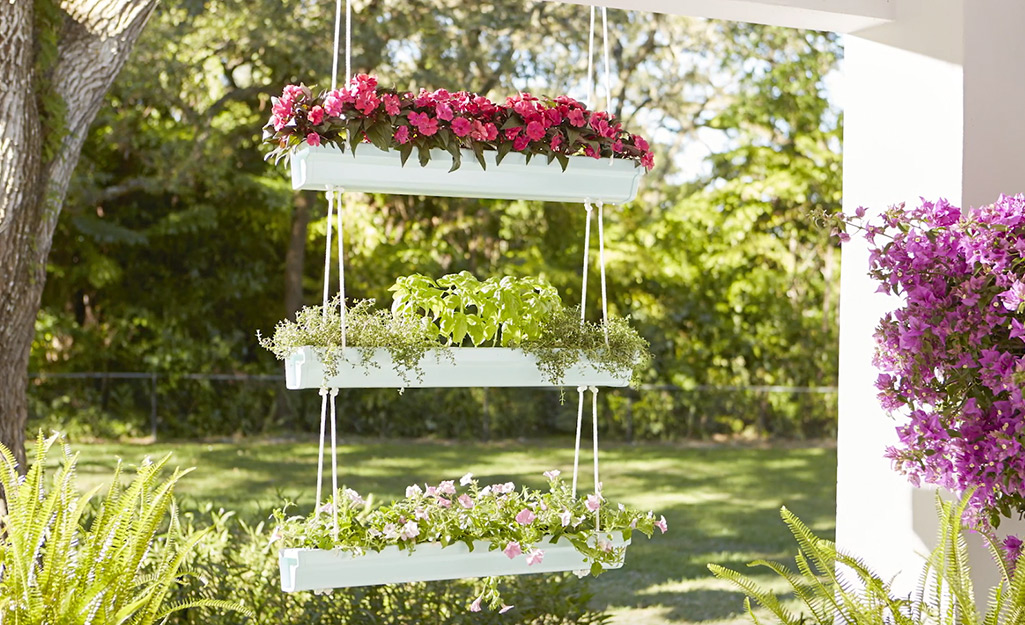
This garden will be most successful in spring and fall, when temperatures moderate and rainfall is most abundant. Be sure to use good quality moisture-control potting mix and water frequently. If you like, try planting annual blooms like begonias and coleus in small pots that will fit easily in the gutter planter.
More ideas for gutter garden plants:
- Succulents and sedums
- Tender greens like leaf lettuce
- Herbs like thyme, chives and mint
- Tropical vining plants like pothos
Tip: When growing succulents, choose potting soil blended for succulents and cacti.
This clever plant-hanging project is a great way to reuse old or leftover gutter materials and enhance your outdoor space. Customize your planter with paint, or glue decorations on it. You can also make it a single or double planter—or add lots of sections for a ladder-like effect. Ready to get started? The Home Depot delivers online orders when and where you need them.


