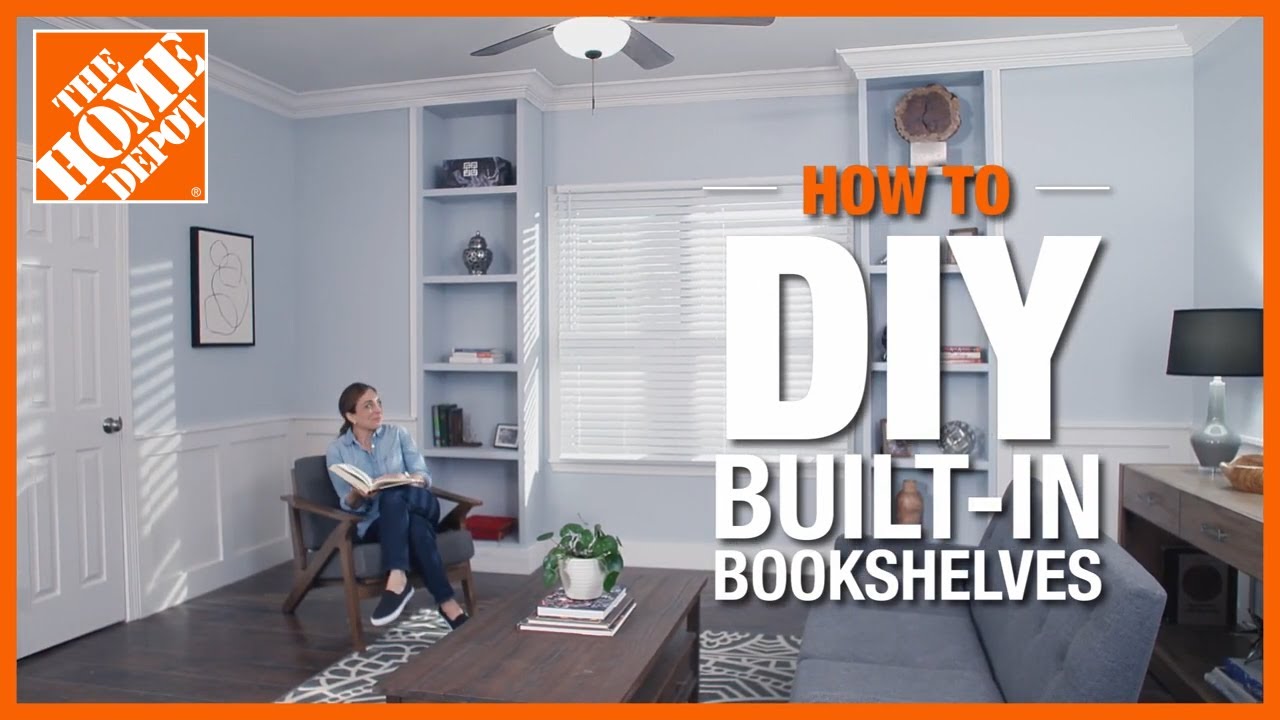
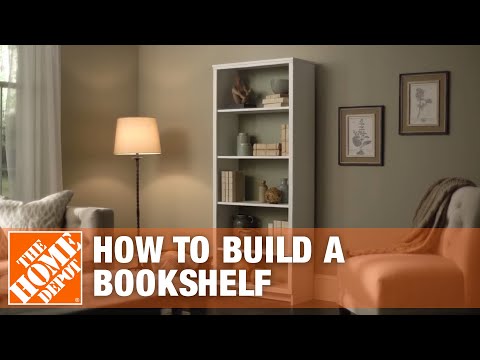
How to Build a DIY Bookshelf
Last updated September 7, 2023
You can't have too many bookshelves and, if you're a DIYer, crafting your own is a good way to hone your workworking skills. This guide outlines how to build a DIY bookshelf that's six feet tall with five shelves. You’ll also learn tips on applying trim, stain or paint for a finished look.
Difficulty:
Intermediate
Duration:
2-4 hours
Table of Contents
Choose the Right Wood
Gather Supplies
Prepare and Cut Lumber
Measure and Mark Side Panels
Pre-Drill Holes
Assemble the Frame
Choose the Right Wood

One of the first steps in building a DIY bookshelf is choosing the right wood. The type of plywood you pick affects the price, weight and durability of your finished product. Cabinet-grade pine, birch and oak are three common woods used for building DIY bookshelves.
- Pine plywood is a lightweight softwood that is inexpensive. However, it is prone to knots and splitting. Prepare to work around these potential problems when cutting and fastening your boards. It also dents easily. However, if you’re just starting out with woodworking and cost is a factor, you can learn the basics with this lumber.
- Birch plywood is a hardwood. It’s sturdy and resists splitting from screws. Birch is hardier than pine and a popular choice for woodworking projects. This wood is a middle choice in terms of cost.
- Oak plywood is a heavy hardwood that lends a rustic and sturdy charm. If you’re more confident in your woodworking skills, you choose oak for your bookshelves. White oak or red oak plywood works well. It’s a classic type of wood for home furnishings, but you’ll have to pay more for this quality of wood.
Gather Supplies

When you’ve chosen the wood you’d like to use to build a DIY bookcase, it’s time to gather your materials.
You’ll need the following lumber:
- One piece of 3/4-inch x 8-foot x 4-foot plywood
- Three 1-inch x 2-inch x 8-foot common boards
- One 1-inch x 3-inch x 8-foot common board
- One 1/4-inch x 4-foot x 8-foot plywood underlayment
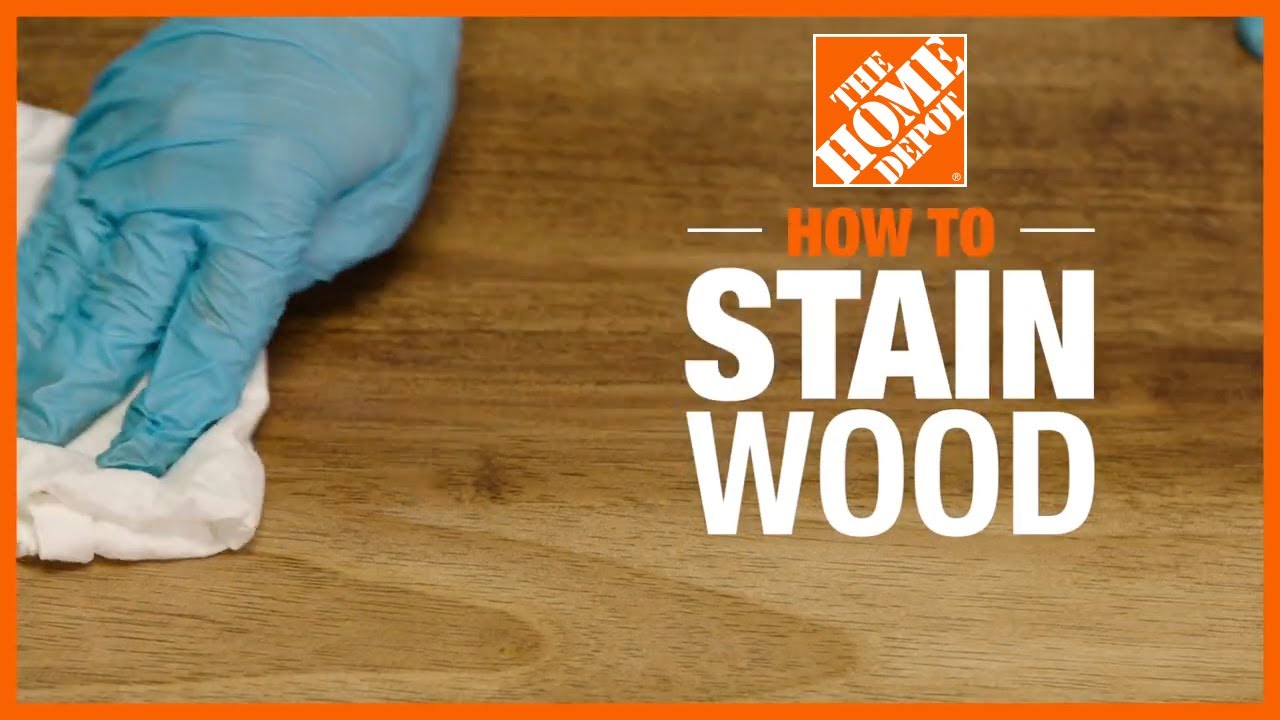
Painting or staining your bookcase is a nice finishing touch. Paint or stain is especially helpful if you’re working with lower quality wood or want to better match the rest of your home’s decor.
- Use interior wood stain when you want your bookshelf to have the
natural color and texture of wood.
Choose between oil-based, water-based and gel
interior wood stains. - Oil-based wood stains create a rich color in few coats, but they need
proper ventilation
during application and can be difficult to clean. - Water-based wood stains are easy to use and clean and dry faster, but they may need more coats to get an even, rich finish.
- Gel stains are thick and best used for unsanded wood and woods prone to blotching, like pine.
- Paint your bookshelf if you want unique colors and to cover up the wood’s texture.
For best results when painting a bookshelf, use an interior furniture paint. - Paint will better adhere to the surface and have better coverage when used with a primer.
- Paint may need to be sealed with wax or a clear wood finish to prevent wear.
If you use moulding to dress up the top of your bookshelves, you’ll need at least 2 1/2-feet of it. The top of the bookshelf is 29 1/2 inches long, but the moulding is cut at an angle to fit. If you're trimming the shelves and the top, get at least 14 1/2-feet of moulding.
- If you’re painting the finished bookshelves, both medium density fiberboard (MDF) and wood moulding work.
- Use wood moulding if you’re staining your bookshelves so the color soaks in and matches properly. A stain that brings out the wood grain is a good choice.
- Don’t use MDF moulding if you’re staining the bookshelf. Stain doesn’t absorb and render the same way on MDF as it does on bare wood.
MDF moulding
pairs best with paint.
Prepare and Cut Lumber

After gathering your materials, measure and cut the wood. Use a tape measure
and pencil to mark the lumber according to the following cut lists. Then cut
the lumber with a table saw or circular saw. After you cut each board, label its purpose with your pencil.
Cut the 3/4-inch x 8-foot x 4-foot plywood:
- 2 sides: 72 x 11 3/4-inches
- 5 shelves: 28 x 11 3/4-inches
- 1 top board: 29 1/2 x 11 3/4-inches
Cut the three 1-inch x 2-inch x 8-foot common boards:
- 2 face frame sides: 66 1/2-inches
- 2 face frames (one top, one bottom): 29 1/2-inches
Cut the 1-inch x 3-inch x 8-foot common board:
- 1 toe kick: 28-inches
Cut the 1/4-inch x 4-foot x 8-foot underlayment:
- 1 backer board: 72 x 29 1/2-inches
Measure and Mark Side Panels

To measure and cut the two side panels, lay the two panels side-by-side, flush against one another. Check that they’re even on the top and the bottom. Then, mark both sides from the bottom to the top. These marks show where you’ll install the shelves. Set aside the side panels once you’ve marked them.
Mark at the following measurements:
- 3 1/4-inches
- 14 3/8-inches
- 28 13/16-inches
- 43 3/16-inches
- 57 5/8-inches
Pre-Drill Holes

Using the marks along the side as reference and the outer edge of the jig to allot for spacing, drill a hole using the innermost hole of the jig.
- Use the jig and clamp to drill a 3/4-inch deep pocket hole near each corner for all five shelves.
- Don’t add pocket holes to the top board.
- Repeat until every shelf but the top board has four pocket holes.
Assemble the Frame

Attach shelves with wood glue and screws, starting with the top and bottom shelves first. The top shelf lays on top of the bookshelf frame and should be nailed into the side supports from above. The rest of the shelves are screwed in at the pocket holes.
- Use a carpenter square to make sure the top is square and the edges are flush.
- Apply a bead of wood glue to the top edge of the side panel, then clamp into position.
- Drive screws through the pocket holes.
- Repeat this process for the bottom shelf. Then do the same for the remaining three interior shelves along the penciled guidelines.
- To attach the other side of the shelves to the bookshelf, apply a bead of wood glue to the unattached edge of each shelf.
- Place the remaining side panel into position and loosely clamp.
- Use a square to check that every shelf is straight. Adjust the position of each shelf as needed with the rubber mallet.
- Secure by drilling screws into the pocket holes.
- Attach the toe kick by drilling pocket holes into the sides of the toe kick, then using the rubber mallet to tap it into place. Mount the toe kick three inches in from the front of the bookshelf.
- Drill in the pocket screws to secure.
Add the Face Frame

Use clamps to hold the frame in place while driving in the nails. The longer sides of the face frame are sandwiched between the top and bottom frame pieces. The outer edges of the frame should be flush with the top and sides of the bookshelf.
- Assemble the face frame pieces and attach them to the bookshelf using wood glue. Secure with finishing nails.
- For a more finished appearance, use a nail setter.
Add Moulding (Optional)

For a more formal look, trim the top of your bookshelf and the fronts of the shelves with moulding. Although moulding is normally used on walls, it also works well on a bookshelf.
The moulding is joined around the left, front and right sides with simple 45-degree miter cuts. Use a miter saw to cut the angles correctly.
Insert Pocket Plugs

Once your bookself is assembled, finish the look by plugging holes made by nails and screws. Conceal pocket holes and screws by inserting pocket hole plugs.
Secure the plugs with wood glue.
Apply Finish

Now that your bookshelf is assembled, you’re ready to customize the look of it to fit your room. Prepare your DIY bookshelves for a final coat of paint or stain.
- Fill any pocket holes or cracks between wood pieces with wood filler.
- Sand the entire bookshelf with 220-grit sandpaper.
- Wipe down your bookshelf before painting or staining as desired.
- Allow to fully dry.
Tip:
If you choose to stain your bookshelf, use staining pads. They won’t leave brush strokes, so your new furniture can shine with a clean, consistent finish.
Attach Back Panel

The final piece in how to build a bookcase is the backer board or back panel. The backer board is the place for creativity. You could paint or stain it to match the bookshelf, or you might pick a contrasting color for a pop of personality. Wallpaper, fabric or wainscotting are less conventional decorating options to make your bookshelves unique.
No matter how you finish the back panel, the last steps are the same:
- Position the backer board to the back of the bookshelf, double-checking that all edges are flush.
- Secure it to the frame with finishing nails or screws, depending on the backing’s weight.
- Paint, stain or wallpaper the panel to suit your needs.
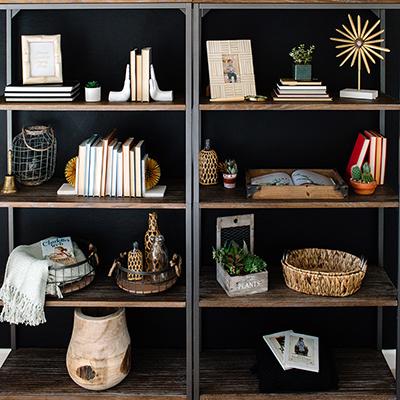
Now that you know how to build a DIY bookcase, you can plan to fill the finished product however you'd like.
A DIY bookshelf stacked with all the volumes, media and art pieces
you love customizes your space.
If you’re wondering how to build a shelf when you don’t have the power tools
listed in this guide, rent what you need. Consider tool rental from The Home Depot to rent a table saw, orbital sander or finish nailer for this project.