How to DIY a Bathroom Remodel

Published October 4, 2024
Learning how to remodel a bathroom yourself can be a rewarding but complicated experience. Completing your project successfully will require detailed planning and a fair amount of DIY know-how. You’ll need to decide on design, contractors, fixtures, tile and more. Find out what you need to know for a DIY bathroom remodel. Use this guide to help you make the right decisions, from choosing contractors to selecting paint and picking the final accessories.
Difficulty:
Advanced
Duration:
Over 1 day
Table of Contents
Gather Tools and Materials
Plan and Budget
Choose a Bath Design
Demolition and Removing Bathroom Fixtures
Plumbing
Electrical
Gather Tools and Materials

First things first, you need to have the right supplies on hand before starting your project. Your project is unique, so this list of items for how to remodel a bathroom is not exhaustive. Tailor the list to your specific project needs.
Safety
- Safety goggles
- Hard-toe shoes
- Respirator or mask
- Work gloves
Tools
- Tape measure
- Hammer
- Chisel
- Prybar
- Voltage meter
- Paint brushes/rollers
- Tools for installing tile, toilet, shower, tub, vanity, exhaust fan and lighting
- Wrench (adjustable or various sizes)
- Screwdriver
- Laser level or manual level
- Ladder
- Stud finder
- Drill (cordless, if possible)
- Caulking gun
- Utility knife
- Spackle
- Spackle knife
- Reciprocating saw
- Rented dumpster
- Bucket
Materials
- Wiring
- GFCI receptacles and hookups
- Drywall and cement board
- Interior paint
- Painter’s tape and drop cloths
- Fixtures for each stage of project (tiles, shower, tub, lighting, toilet, exhaust fan, vanity, shelving)
- Rags
- Marking device (marker, pencil or chalk)
- Caulk
Plan and Budget

Research and thoroughly plan your DIY bathroom remodel. Budgeting is crucial to keeping your project on track.
- Set your expectations. Determine what you’re changing and what will remain the same. Think about the layout and overall design.
- Establish a reasonable budget and timeline. Like any remodel, a bathroom renovation is an investment. If you’re doing the work yourself, allow more time for each step. Account for delayed products and the fact that it’ll probably take you more time to complete a task.
- Identify and hire professionals. Think about hiring contractors for technical work such as the plumbing and electrical.
- Take accurate measurements. Make sure to include the space needed for opening drawers or cabinets. Decide how high or low any lighting can be. If buying tile, double-check that pieces are the same size. If buying a vanity, consider how adding a sink will increase or decrease your countertop height.
- Be prepared to use a generator to power tools and other bathrooms.
- Provide a safe, dry place where ordered supplies can be stored during the remodeling project.
- Determine how construction trash will be removed and hauled away.
- Get any building permits. Find out the city codes and apply for any permits early.
Choose a Bath Design

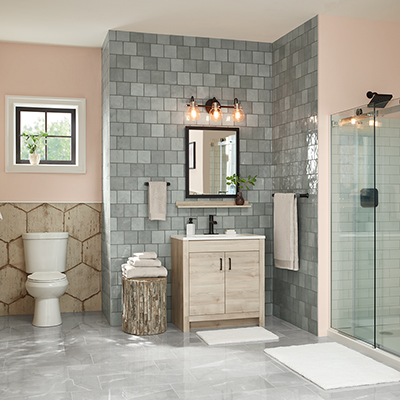
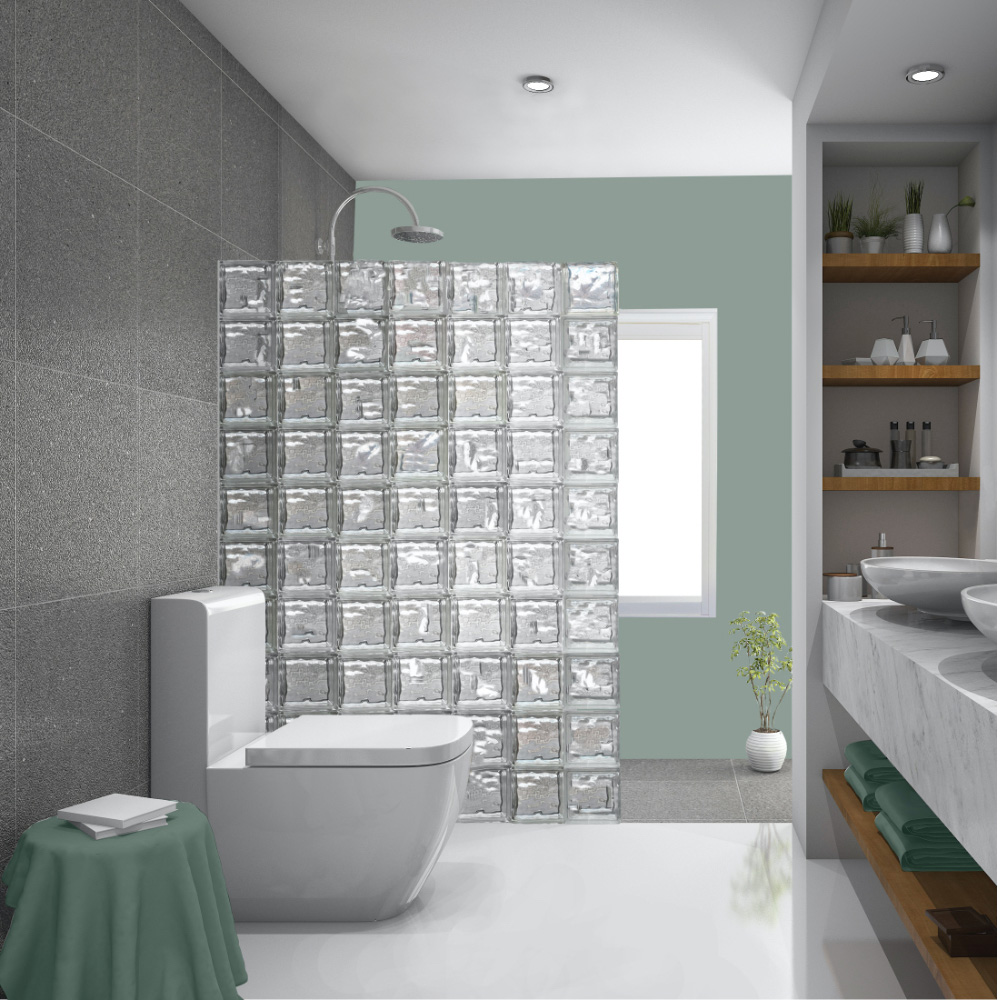
Designing your new bathroom can be fun and satisfying. The first step to a practical and functional design is determining a color scheme, fixtures, finishes and more. Here are a few design basics to get you inspired:
- Determine where fixtures go. Relocating any fixtures like a tub or a toilet will require rerouting plumbing. Since this is a smaller space, consider what the focal point will be when you open the door.
- Pick a color scheme. White is a classic choice because of its clean, fresh look. Dark greens or blues add richness. Bright colors like yellow elevate the mood.
- Pay attention to details. From polished chrome to matte black finishes, faucets and hardware bring dimension to your design. Bath accessories can match or contrast your color scheme.
- Choose the best furniture for your budget. Quality cabinetry, tubs and sinks can instantly make your bath feel luxurious and worth the investment. Include storage options such as shelves or roomy vanity drawers.
- Make lighting work harder. Plan your lighting so it is both decorative and functional. Consider adding task lighting around both sink areas and in the shower.
- Choose flooring and wall coverings. Select natural stone or classic ceramic tile. Nonslip flooring for baths is available in tile and hardwood looks. Paint is a great option for walls, but a water-resistant wallpaper can work too.
- Indulge a bit. A bathroom’s smaller space means you can splurge a bit and still stay in budget. Heated floors can be affordable for less than 100 square feet. Drawer chargers make mornings easier. Smart showers and tubs save energy and add convenience. Indoor plants can make the room more relaxing and can even improve air quality.
Demolition and Removing Bathroom Fixtures

Once planning is complete and materials ordered, it’s time to remove any tile, flooring and fixtures. Make sure to wear safety goggles and hard toe shoes. Here are a few other things to do before picking up a sledgehammer.
- Take out all accessories and any other objects that are not fixed. Store anything you’re replacing.
- Put a protective drop cloth over any fixtures that you’re keeping.
- Turn off the electricity to the bathroom at the main breaker box.
- Shut off the water supply.
- Take any baseboards or moldings off carefully. Mark them so they are easier to re-install.
- Be aware of any load bearing walls before you begin.
- If you remove the toilet, drain it first. Then use a sponge or wet/dry vacuum to remove any leftover water. Plug the waste pipe with a rag.
- Before removing the bathtub, take down the wall tile. Then remove the drywall and throw away any insulation. Be careful not to cut any wall studs.
- Place a bucket under the sink trap so you can catch any remaining water.
- Remove the bathtub, sink, vanity, flooring, mirrors and lighting.
Plumbing

Once the room is clear, the plumbing rough-in begins. At this phase you will lay the groundwork for the fixtures. During the plumbing rough-in is when to:
- Install a new shower pan or tub.
- Replace shower controls for the shower head.
- Run a water line extension for dual shower heads or overhead rain shower.
- If you’re planning to move any fixtures, reroute or lay new plumbing pipes.
Electrical

After the plumbing is complete, the electrical rough-in begins. Here’s when basic electrical changes and fixes happen. Keep in mind your plans for exhaust fans and lighting. During the electrical rough-in:
- Consider replacing 15-amp wiring with a 20-amp circuit to accommodate hair dryers and other appliances.
- Relocate or install additional outlets – including GFCI receptacles for those outlets located near water – and light switches so they line up with the new vanity.
- Add hookups for any lighting in the shower, around the vanity and ceiling lights.
Install Exhaust Fan and Ventilation

When you’re working on the electrical part of a DIY bathroom remodel, this is a good opportunity to upgrade your bathroom exhaust fans. Exhaust fans remove moisture and are the first defense against mold and mildew. Make sure it’s close enough to the shower to do its job. Also, choose a fan designed for your bathroom’s size so it can be most effective. Exhaust fans can also have special features, including humidity sensors, adjustable fan speeds, lights, heaters and even Bluetooth speaker capabilities.
Update Lighting

Decorative, ambient and task lighting can also be installed when you’re doing the electrical work. Choose your lighting fixtures and plan the layout before adding light switches and shower, vanity and ceiling light hookups.
Prep for Grab Bars (Optional)

Toilet, bath and shower grab bars make these fixtures easier and safer to use. Because the walls are open, now is a good time to add blocking between wall studs to support grab bars. Even if you’re not adding them right away, building a solid surface for these safety features now will save money and time later.
Put Up Drywall

After you’ve done all your plumbing and electrical work, you can close up your walls.
- Install a cement board and vapor barrier in damp areas in the shower stall or tub.
- Cement board is resistant to moisture and is a good backer for wall tile.
- Use drywall for other walls.
Paint

After the drywall and before installing the toilet, tub, tile, sink and vanity, it's time to paint. Painting at this phase reduces the risk of splatter on new fixtures or flooring. Select an interior paint with a satin or semi-gloss finish that will stand up to the humidity in the bathroom.
Lay Tile

Bath remodels usually require a lot of tile work. Make sure to allow time to complete this phase of the project. Here are some tips to make this part of your bathroom renovation go smoother:
- Tile the shower walls or bathtub enclosure first.
- Install the wall tile and then work on the floor tile.
- Use grout for both. Choose a grout that matches or complements the tile.
- Caulk the corners.
Tip: When determining how much tile you need, don't guesstimate. Calculate. Know exactly how much you need with our project calculators.
Install Showers & Tub

After the tile is firmly set and dry, work on the shower and bathtub. Add a built-in curtain rod for the shower curtain. If you’re doing a shower enclosure, install the track and door. Let any caulk or adhesives dry thoroughly. Make sure to follow the manufacturer’s instructions for installation.
Install Cabinets, Shelving and Vanity

You are now in the home stretch on your bathroom remodel. Position the new vanity into place and trace its outline on the wall.
- Use a stud finder to locate the studs and mark them.
- Level the vanity and shim at the floor if necessary.
- Measure, mark and drill holes for drain and supply pipes.
- Install the sink and faucet.
- Once the vanity is in place, hook up the plumbing to the new fixtures.
This is also the time for installing bathroom shelves and cabinets. You have a wide variety of storage options, including wall shelves, medicine cabinets, built-in shelves, under-sink cabinets and more.
Update Mirrors

Bathroom mirrors are another way to add style to your DIY bathroom remodel. You can choose mirrors with storage, including medicine cabinets and mirrors with a shelf. Other mirrors come with built-in lighting, even if they’re not part of the vanity. Mirrors come in various shapes, sizes, colors and styles, so you can enhance your space with ease.
Install Toilet

Replace or return your toilet to the bath. Installing a toilet is one of the easiest things to install in the bathroom. However, they can be heavy and awkward to lift, so consider getting help. If using an old toilet, replace the flange and wax ring.
Add Storage & Bath Accessories

Congratulations on completing your bathroom remodel. Now it’s time to add the finishing touches of bath decor and any extra storage you need. Install shelving, towel bars and light switch plates in finishes that match or complement the vanity hardware. Choose bath accessories like soap dishes and trash cans. Finish with new towels and bath rugs for a cozy feel.
Tackling a DIY bathroom remodel can be hard work. With detailed planning, a good budget and the right help, it’s a project you can do yourself. Make sure to research your DIY bathroom remodel. Stick to your budget but be flexible. Decide your color scheme, fixtures and finishes early. Take your time and work through each step, from demolition to final accessories. Ready to get started? The Home Depot delivers
online orders
when and where you need them. If you’d like help with how to remodel a bathroom, connect with a bath remodeling professional.


