Butcher Block Countertop Installation Guide

Last updated August 21, 2024

Jonny Lambert is the mind behind Jonny Builds. Once he built his first bed, and successfully completed his first build, this opened the door for so many potential projects and this fueled a passion to continue to create so much more. He uses his platforms to teach his audience how to make furniture and crafts with wood, metal, and everything in between. His projects are wide ranging in design style from Modern, to Rustic, to Industrial, and anything else that he finds interesting and unique.
A Note From The Home Depot
Learn how to install a new countertop and brighten up your kitchen in just 6 steps! Join Jonny Lambert from Jonny Builds as he goes through the installation process of his new wood kitchen island countertop.
Table of Contents
Butcher Block Countertop Installation Guide
Step 1: Choosing the Right Butcher Block for You
Step 2: Cutting the Butcher Block to Size
Step 3: Sanding and Edge Treatment
Step 4: Finish
Step 5: Install
Butcher Block Countertop Installation Guide
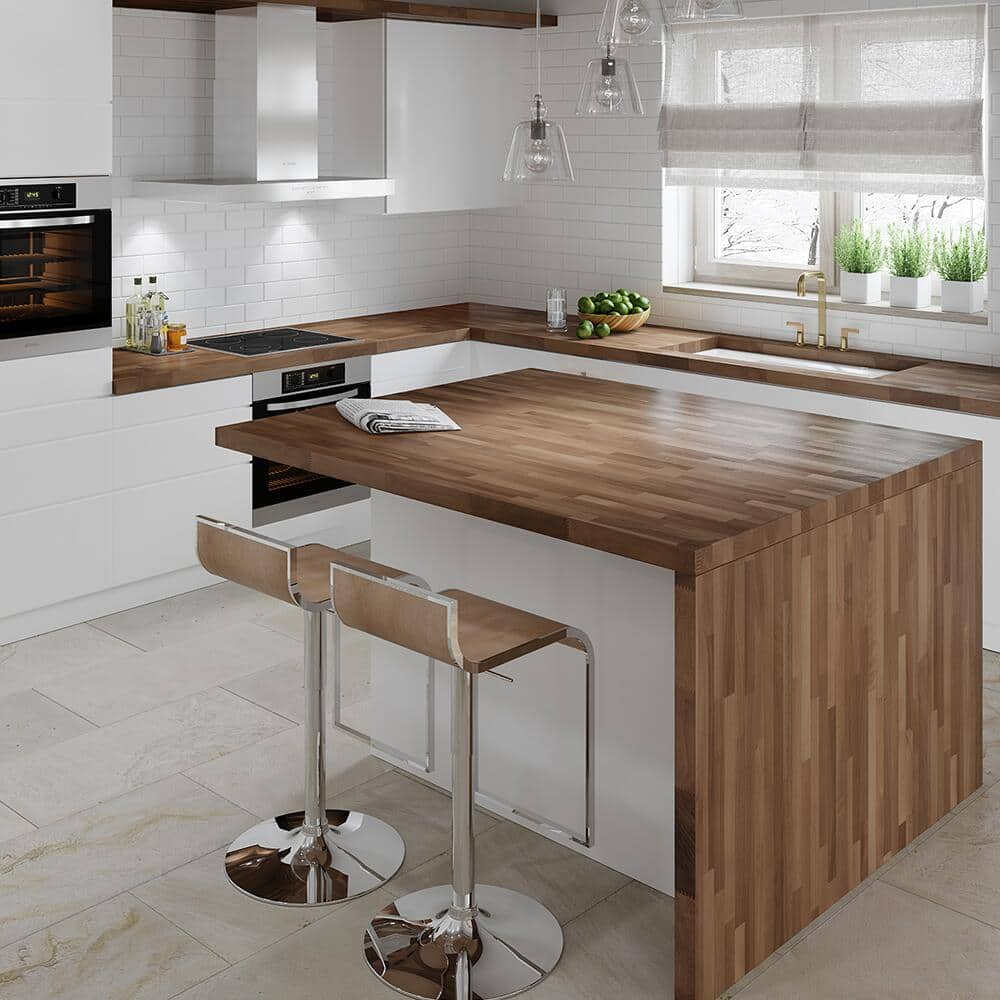
If you’re looking to add some warm elements to your kitchen that look beautiful with the added bonus of being easy to install, then butcher block countertops may be your perfect solution. Recently I completely remodeled my dark and dated kitchen to make it more modern and brighter. I didn’t want my kitchen so modern it seemed cold, so adding a natural wooden element in these Birch Butcher Block Countertops for the kitchen island top was a great solution to making our modern kitchen also feel warm and inviting. The Home Depot has a wide selection of in-stock butcher block countertops in different sizes and wood species to fit your needs.
In this guide, I’ll walk you through the whole installation process starting with picking out the right countertop for you and explaining each step of this do-it-yourself installation process. If you’re looking for countertops that are easy to install for any DIYer, then you’ve come to the right blog!
Step 1: Choosing the Right Butcher Block for You

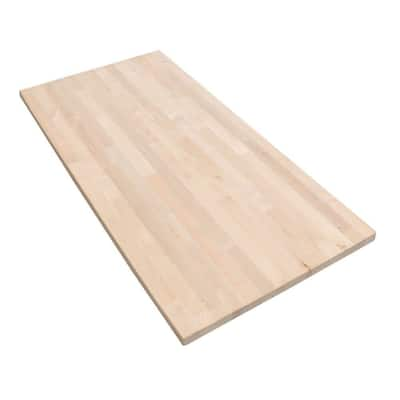
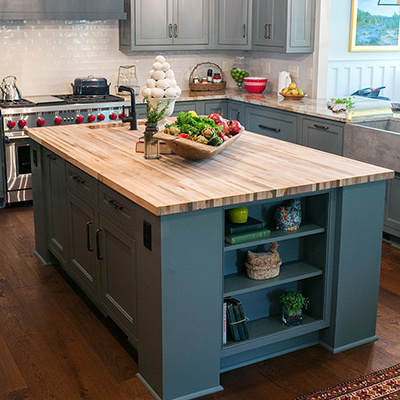
As I mentioned, a butcher block countertop is a great way to add some warm inviting elements to your kitchen that are also very functional. I’m installing a butcher block countertop to my kitchen island which serves as a food prep station where the countertop itself can be a cutting surface. I went to my local Home Depot to pick out countertops and I narrowed my options down to birch, which is a light, slightly tan color, or walnut, which has rich, dark browns. A butcher block is a glue up of strips of wood that resembles (because it essentially is) a giant cutting board. I chose birch since the stone floors in my kitchen are darker, and the lighter wood of the birch combined with our new white cabinets and marble countertops warms the space up and helps to offset the floors. The butcher block I chose was 72 inches long, 48 inches wide, and 1 1/2 inches thick. The butcher block is pre-sanded but still needs to be cut to size and the finish applied.
Step 2: Cutting the Butcher Block to Size

I’m replacing an old countertop on the existing kitchen island that we painted white. The old top measured 60 inches long by 28 inches wide, and this overhang fit the space nicely. If you’re installing butcher blocks on a new kitchen island, you’ll want to measure your space to determine the proper overhang. Using a track saw, which is a circular saw that rides on a track to make perfectly straight cuts, I cut the butcher block countertop down to 60 in x 28 in.
Step 3: Sanding and Edge Treatment

Yes, these butcher blocks come pre-sanded and ready for finishing, but since I cut my butcher block countertop down, I decided to sand those cut edges. I also sanded along the top edges, and the corners just to ease this sharp edge for everyday use. You can also do this with a router if you prefer.
Step 4: Finish
How you use your butcher block countertop will determine what finish you’ll want to apply. I wanted to cut the butcher block going on our kitchen island as a functional food prep station. As I mentioned, a butcher block is essentially a large cutting board, so I used a food-safe finish that I applied to wipe on and buff off with a rag. If you aren’t planning to cut food items on your countertop and want more durability, polyurethane will offer more protection.

Step 5: Install
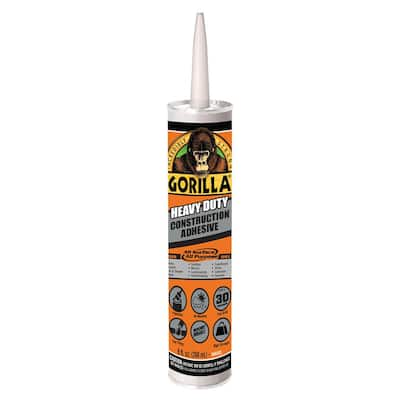
I used some gorilla glue construction adhesive and ran a bead along the top edge of the kitchen island. Next, I set the butcher block countertop in place, and the weight of the countertop is enough to hold it in place while the adhesive dries.

Step 6: Enjoy

Now you’ve quickly added a beautiful, functional kitchen island countertop and it’s time to enjoy your kitchen with this added warm element that I feel makes the extra kitchen homey. Butcher block countertops are a great DIY solution to installing countertops anywhere in your kitchen so make sure to check out The Home Depot in-store or online to find the perfect butcher block for your space!
This post was created in partnership with The Home Depot. The author may have received compensation for this article and associated images or video, potentially in the form of products and/or services. All expressed opinions and experiences are the author’s own words.