How to Create a DIY Interactive Sensory Board
Last updated August 21, 2024

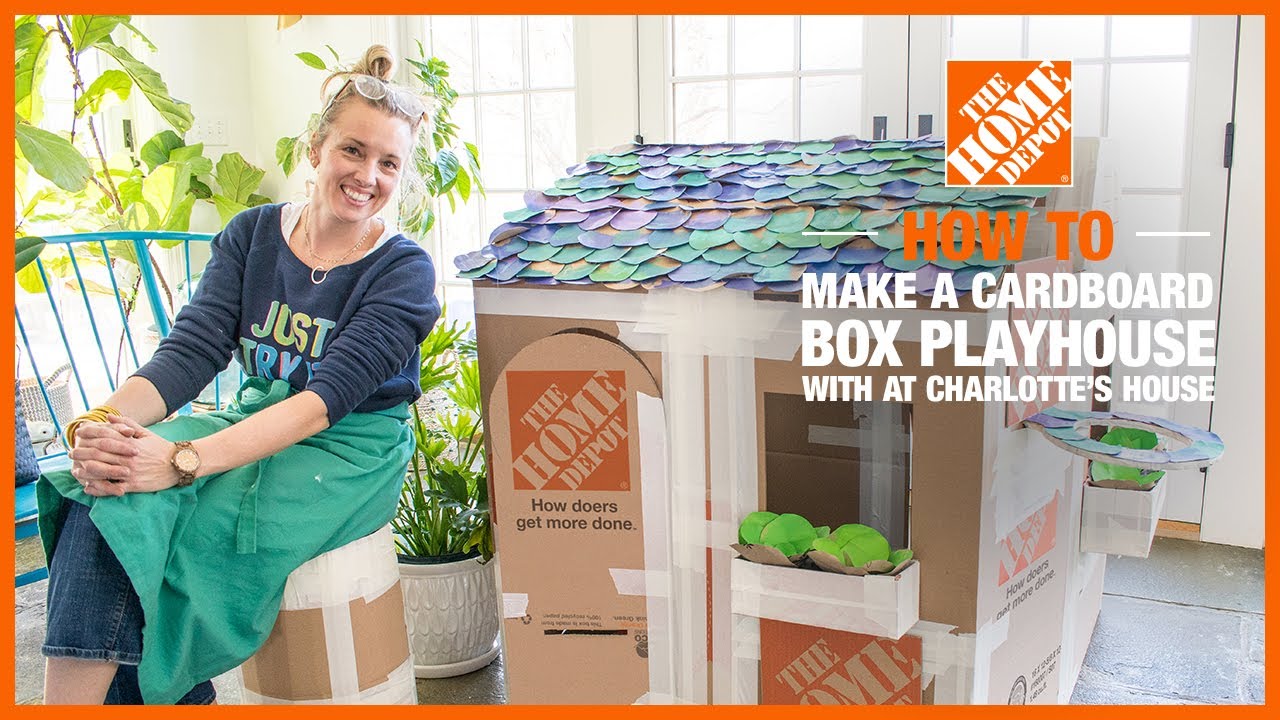
Charlotte Smith shares her chaotic and color-loving adventures in DIY and design on her blog, At Charlotte’s House. Charlotte writes about fixing up her 1850’s historic home, her five small children, and bringing flea market and vintage décor into a modern home. Her design style is fun, personal, and… sturdy! Charlotte has appeared in print and online in Better Homes and Gardens, Fairfield Magazine, Houzz, Good Housekeeping and more. Each month you can catch her on News 8’s CT Style and on WWLPs Mass Appeal. Other on-camera appearances include Rachael Ray, Flea Market Flip and the Hallmark Channel’s Home and Family show.
A Note From The Home Depot
Celebrate your child and Autism Awareness month by building this simple DIY sensory board together! Drop by your nearest Home Depot for supplies, then follow Charlotte Smith from At Charlotte's House and tickle all five of your senses.
Table of Contents
Step 1. Wander Home Depot and Gather Items
Step 2. Arrange Items on Your Board
Step 3. Take a Picture of Your Layout
Step 4. Mark Off Each Section
Step 5. Tape Off Board
Step 6. Replace and Install Sensory Items

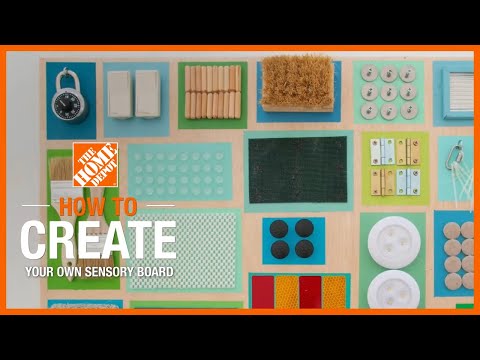
In honor of Autism Awareness month, my son and I made this fun DIY sensory board.
My youngest son and I had the best time making this sensory board filled with items I found walking the aisles at The Home Depot. He’s six and a half and loves being able to help me with projects—especially ones like this where there are lots of things to touch and feel!
Step 1. Wander Home Depot and Gather Items
I went to the store when Arthur was in school and filled my cart with any small little items I thought might be fun to fiddle and fidget with.

Note: I used my Dremel to dismantle the light switches so that only the plastic switch part remained.
Before we started the project, we quickly reviewed what our five senses are: touch, smell, hearing, taste, sight. I love doing projects like this with my kids because there are so many fun opportunities like this for conversation! Arthur unloaded everything I’d picked up in the store and decided which items he wanted to use. (Without even being asked, he started naming how each object felt as he unpacked.)
Step 2. Arrange Items on Your Board
I let him lay everything out on our board to see how it would all fit. We’re using a leftover piece of 1/2” plywood, but you can get your own 2X4' hobby board in the lumber aisle of your local Home Depot. Arthur was very particular about where everything should go so this took some time.

Step 3. Take a Picture of Your Layout
Take pictures of the final layout to make sure you don't forget where everything belonged. Arthur was in charge of this, so I have about a dozen of this photo on my phone right now.

Step 4. Mark Off Each Section
I wanted to add some color to our sensory board to help it feel more visually cohesive, so I quickly used a ruler to outline each area of the board. I didn't worry too much about this, but tried to keep my lines as square as possible.

Step 5. Tape Off Board
With painters tape, I taped off each section and sealed the edges, and Arthur helped me paint. I used all the blue and green leftover paint samples I had in my workshop so this is latex paint, but any craft paint would work.

Luckily this paint dries pretty fast so I was able to use a yellow delicate painters tape for newly painted surfaces to immediately keep taping off the rest of the blocks.

Arthur’s favorite part of this project was pulling the tape. I can’t blame him—it is pretty satisfying.

Step 6. Replace and Install Sensory Items
Once our paint dried, we replaced all our sensory items and began to install them. Most of the items screwed right onto the plywood. Make sure you’re using screws that are shorter than the depth of your material so they don’t poke out underneath the board. We used wood glue for some of the items and others were already adhesive.

My favorite part about this project, aside from being able to make something with my son, was watching him interact with each item as we attached it to the board. I tried to pick up objects from the store that would rattle, feel interesting, and appeal to curious fingers which was exactly what happened as we were making this.

I added felt bumpers to the underside of our board so we can slide this around the table or floor, but all my kids have found their way over to the sensory board at some point. No question the puck lights are a fave, but I can see them moving through the various items, feeling the textures, rattling the moving parts and having fun interacting with each little area! Mission accomplished.

Head over to The Home Depot website for more information about this sensory board and Autism Awareness Month!
This post was created in partnership with The Home Depot. The author may have received compensation for this article and associated images or video, potentially in the form of products and/or services. All expressed opinions and experiences are the author’s own words.