How to Install Pasted Wallpaper
Last updated August 21, 2024

Cara Newhart of Never Skip Brunch is a DIY enthusiast who lives in Houston, TX. She has a passion for empowering women to dive deep into the "masculine" world of DIY and home improvement. Her creativity has been featured in publications like PEOPLE StyleWatch, Denver Style Magazine, and she's the 2019 Home Depot Orange Tank Pitch Competition winner. Head over to her blog to see more of her chic DIY projects and tutorials.
A Note From The Home Depot
Bring any room to life with the perfect wallpaper—and install it yourself like a pro! Follow Cara Newhart of Never Skip Brunch as she expertly applies pasted wallpaper in her DIY renovations. Plan your next update and get supplies to make it happen at The Home Depot.
Table of Contents
How to Install Pasted Wallpaper
Step 1: Plan and Order Wallpaper
Step 2: Prep the Wall
Step 3: Apply the First Panel
Step 4: Apply the Second Panel
Step 5: Let it Dry and Style the Space
How to Install Pasted Wallpaper
This season, let’s spice up your space with some gorgeous patterns and an easy-to-do tutorial that’s sure to make any room as expressive and unique as you are! Pick out your favorite patterned wallpaper as well as a few tools and materials from homedepot.com
and let’s get started.

Step 1: Plan and Order Wallpaper
Measure the walls in the space that you’ll be applying the wallpaper to so you can calculate how much you’ll need to buy. Wallpaper rolls vary in length and width, so you’ll need a different number of rolls for your project depending on the wallpaper you choose.
Pro-tip: Use the wallpaper calculator on homedepot.com to determine how many wallpaper rolls you'll need for your project. Remember, you’ll need more than the exact amount of wallpaper calculated by square foot—the extra will account for pattern-matching and excess cuts.
Step 2: Prep the Wall
Wallpaper is best applied on clean, dry walls that are smooth.
If your walls are textured, the texture will likely show through the paper. If you’re okay with this, you don’t need to do anything extra to the walls before application.
If you don’t want any texture showing through, you can skim coat your walls first to smooth out the texture using drywall compound and create an even surface for application.
Pro tip: For darker wallpaper print, color-match the dominant color of the print and paint the wall behind the wallpaper with a paintbrush so that none of the existing wall color shows through the seams.)

Measure the width of your wallpaper roll, and mark it on a yardstick for reference. Choose a paint color that matches the dominant or background color of the wallpaper print—I’m using Graphite Charcoal by Behr for this print.

Hold a pen on the mark with the edge of the yardstick in the corner of the wall. Pull the yardstick down the wall, drawing a line down as you go. This line is where the seams of your wallpaper will meet.
Repeat this process across the wall, this time holding the end of the yardstick on the previous line and marking sections the width of your wallpaper all the way across.

Paint a wide swatch across each line you marked, ensuring that the wall is fully covered and making the swatch wide enough to ensure the full wall behind the wallpaper seam will be covered.

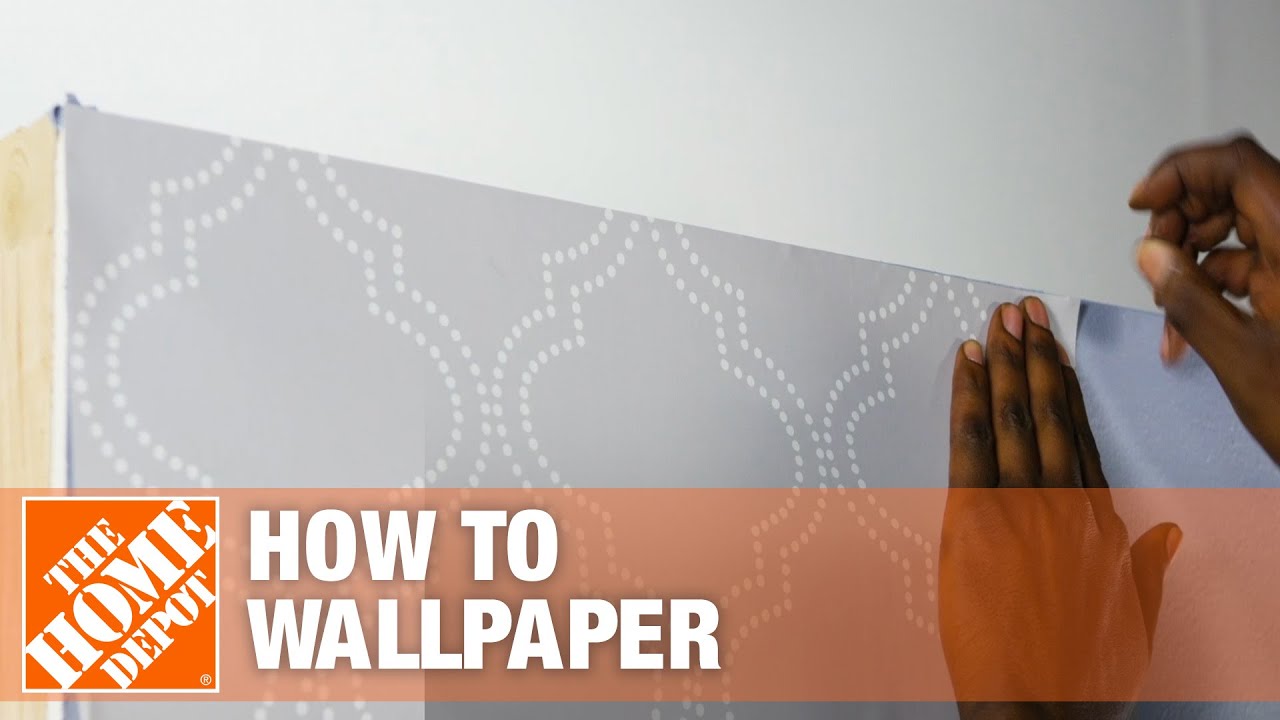
Step 3: Apply the First Panel

Roll out the wallpaper on a clean, dry surface and pull out a measuring tape alongside it.

Measure to the height of your wall, plus six to eight inches extra; this will give you enough space to cover any unevenness in the walls.

Cut the wallpaper where you measured using a utility knife or scissors—be sure to protect the surface underneath to prevent scratching.

Pour the wallpaper glue into a clean paint tray. You’ll refill this as needed as you apply the glue.

The instructions for different wallpapers vary. Some of them require the wallpaper paste to be applied directly to the paper, and for others, you apply directly to the wall. This depends on the type of wallpaper (whether more vinyl- or paper-based) so read the instructions on your paper to find which method works best for your project.

For the paper I’m using, the glue needs to be applied directly to the wall. For this application, roll the glue on using a clean
⅜” nap paint roller, applying a thick coat.

Starting at the top, stick up the first wallpaper panel that you cut to size, leaving about one to two inches extra on the side and about three to five inches extra at the top.

Using your smoothing tool, begin smoothing out the wallpaper panel starting at the top in the middle, and pulling downward and outward toward the edges.
Be sure to press out any air bubbles or pockets of excess glue so that the panel is securely attached to the wall and smooth.

On the edges of the wall, press your smoothing tool into the corner and use it as a straight edge guide to cut off any excess wallpaper at the corner where the wall meets the wall/ceiling/baseboard.

Pro tip: Use a sharp blade in your utility knife for sharp and crisp lines, and change the blade often so the wallpaper doesn’t tear or pull.

The first panel is done! If you have time, let it sit for a little bit to give the glue some time to set up and get tacky. This makes installing the next panel easier, when both panels aren’t slippery.
Step 4: Apply the Second Panel
For the next panel, it’s important to pattern-match as you measure and cut the panel to ensure the wallpaper piece lines up with the first panel.

Pro tip: Dry-fit the next wallpaper panel by lining up the pattern with the first panel and taping it to the wall with delicate painters tape before you cut to ensure the panel matches perfectly.

Cut the panel while it’s secured to the wall with painters tape for a perfect fit. Be sure to leave a couple inches of wiggle room at the bottom so that there is plenty of space for a custom cut after the paper is pasted to create a crisp line.

Once the next panel is cut to size, apply more glue to the wall (or to the panel, per the wallpaper instructions) using your paint roller.

Stick up the next panel, ensuring you line it up again so that pattern matches along the seam on the left.

Once the panel is in position, smooth it out with your smoothing tool, starting from the top and working downward and outward, as before.

Be sure to quickly wipe away any excess glue on the paper or between the seams using a damp towel. Letting the glue dry on the paper will affect the finish and look of your wallpaper

To work around tricky or odd-shaped items, cut the wallpaper so that the hole is slightly smaller than the object you’re working around—in this case a round pipe cover. Smooth the wallpaper up against the object, and cut a clean line around it for a finished look.
For things like switch and outlet plate covers, you can remove these prior to applying wallpaper to make it easy.
Step 5: Let it Dry and Style the Space
Let the wallpaper dry completely before adding wall decor or elements like shelves. Dry times will vary depending on the glue you use and how thickly you applied it.
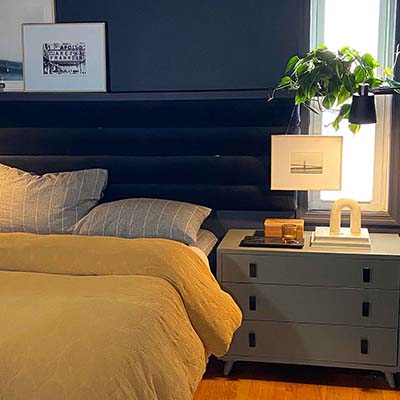
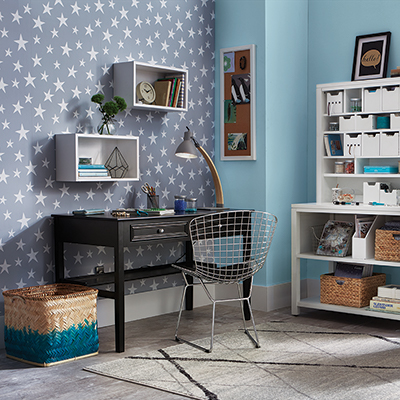
Once the wallpaper is completely dry, you can uplevel the space even more by adding some simple shelves or hanging some art or a gallery wall.

If you enjoyed this tutorial, be sure to also check out other trendy DIY tutorials and projects on The Home Depot DIY On-Trend Workshop page.
This post was created in partnership with The Home Depot. The author may have received compensation for this article and associated images or video, potentially in the form of products and/or services. All expressed opinions and experiences are the author’s own words.