How to Make a DIY Holiday House Ornament
Last updated August 21, 2024

Beau Coffron is a married dad of three and the mind behind Lunchbox Dad, the online source for making creative lunches for kids while making parents' lives easier through fun articles and great parenting product reviews. Beau loves giving great ideas to parents for bento style meals and showing them how fun and convenient they are! To learn more about Beau and Lunchbox Dad, visit his **website**and follow him on Instagram **@lunchboxdad**.
A Note From The Home Depot
Looking for an easy holiday craft project to do with your kids? Beau Coffron of Lunchbox Dadcreated a fun DIY House Ornament to make with the kids and add to your Christmas tree. Read below to see how he did it!
Table of Contents
DIY Holiday House Ornament
Supplies
Step One:
Step Two:
Step Three:
Step Four:
DIY Holiday House Ornament
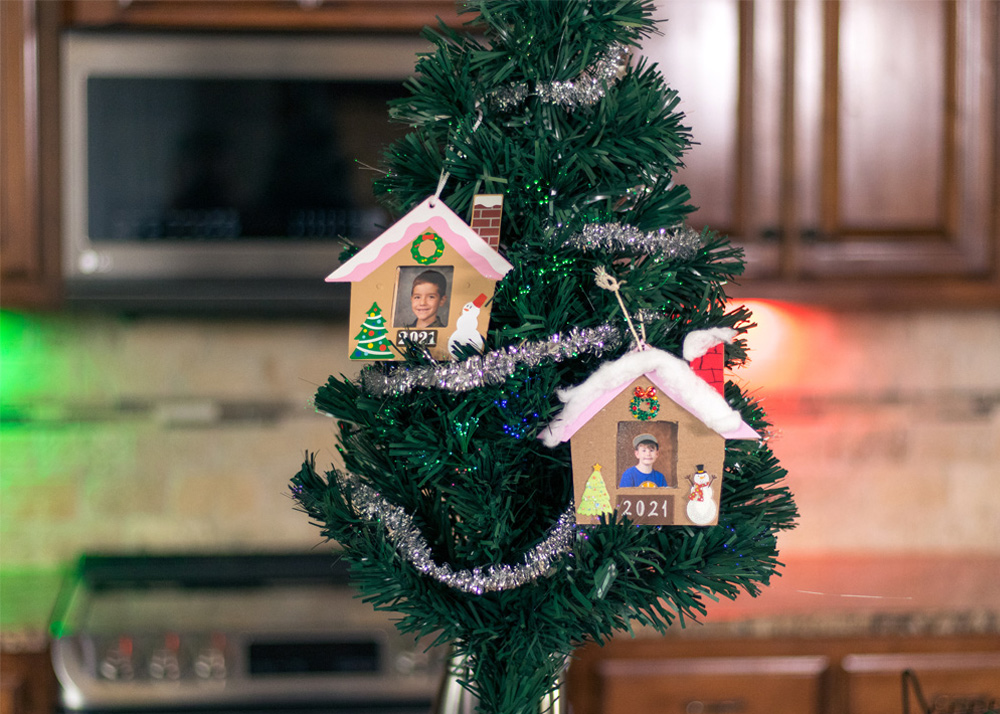
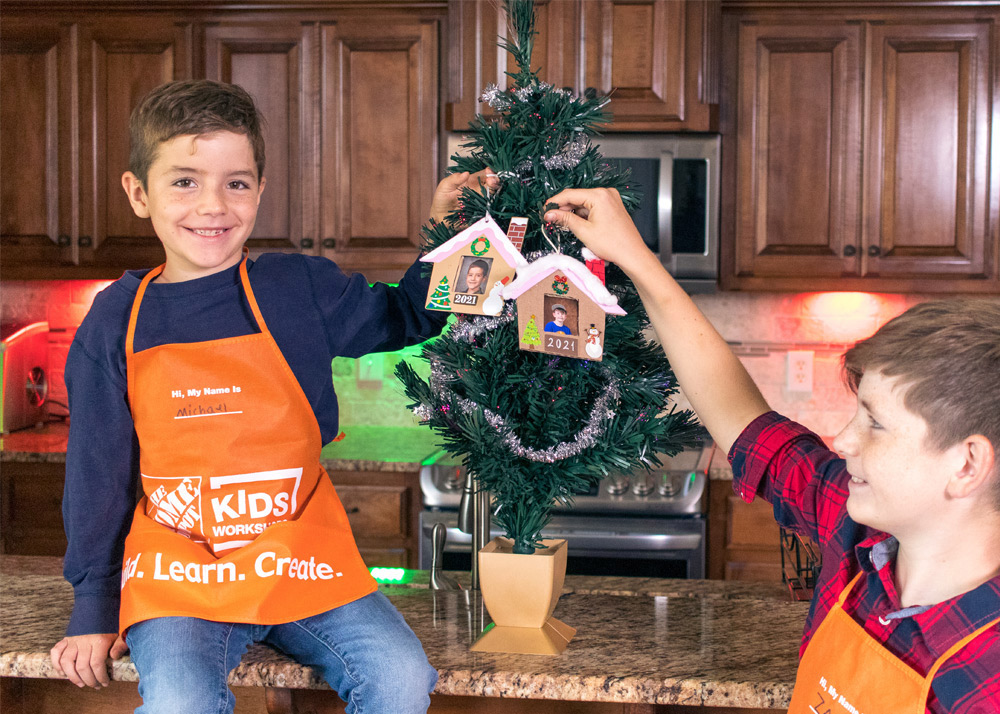
Our family loves decorating for the holidays! One of the annual highlights has always been unboxing ornaments. It must be the nostalgia that accompanies this tradition because we cherish looking back on ornaments that our kids have made. It reminds me of growing up as a child and looking back on those decorations that I made 3,4, or 5 years earlier. My favorite was a tiny “chalkboard” that I crafted in elementary school. These holiday treasures were always front and center in our home because it helped to tell our personal holiday stories of growing up. This kids workshop kit will not only be part of building those memories for your kids, but it will be an adored ornament for years to come!
Supplies
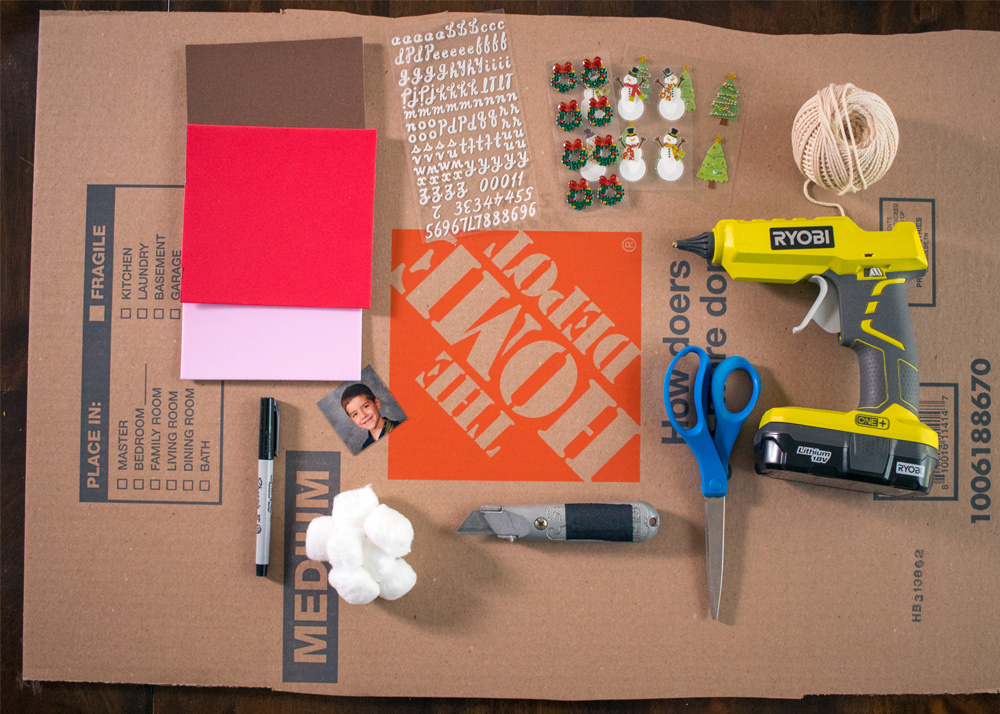
- Holiday stickers
- Scissors
- Glue Gun
- Cotton Balls
- Pen/Marker
- Utility Knife
- Cardboard
- Foam Sheets
- String
- Photo of your choice
Step One:
Draw a picture of a house on a scrap piece of cardboard with your pen or marker. Draw a square in the middle that will be cut out for the photo. Also draw a separate larger square that will be glued to the back to help hold the photo on.
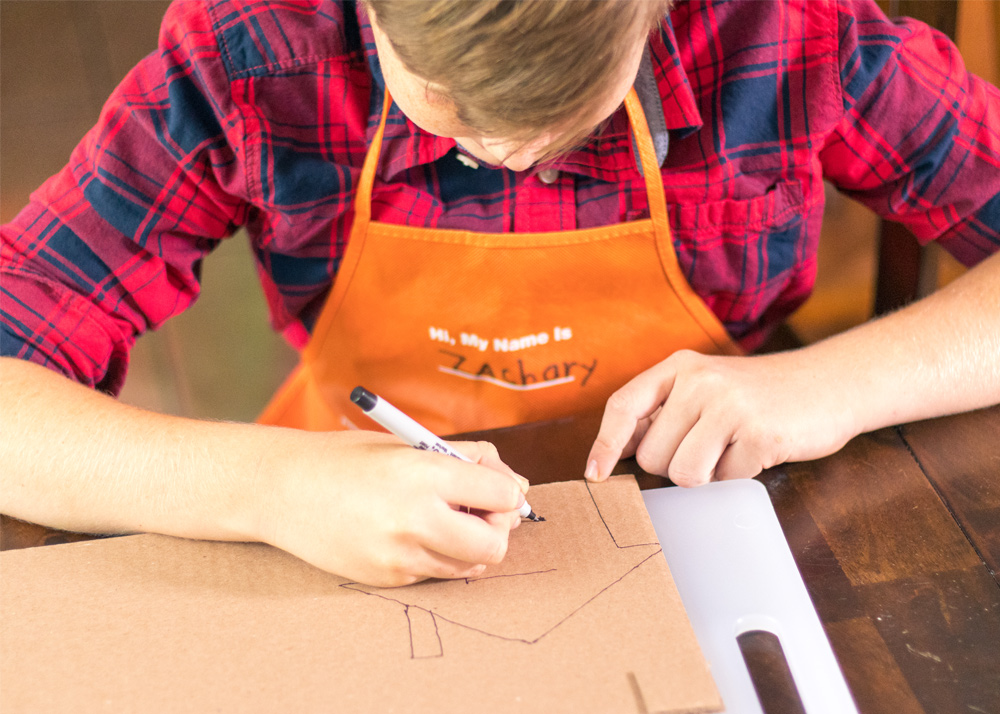
Step Two:
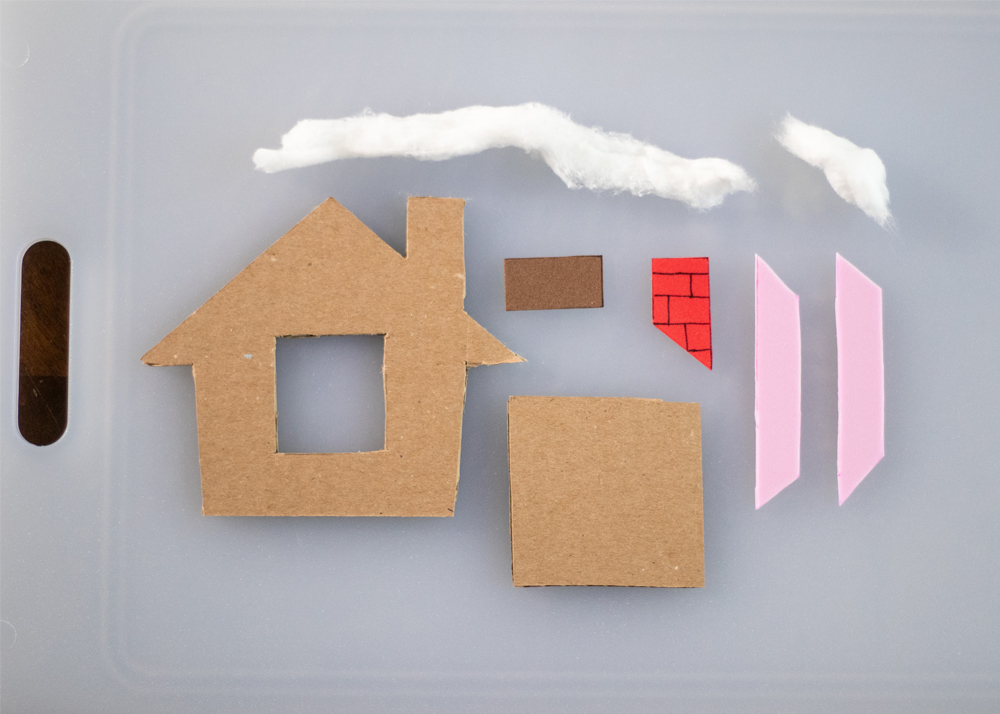
Cut out your house and separate squares using your utility knife or scissors. If cutting on a table, place a cutting board underneath. You should end up with two pieces similar to these.
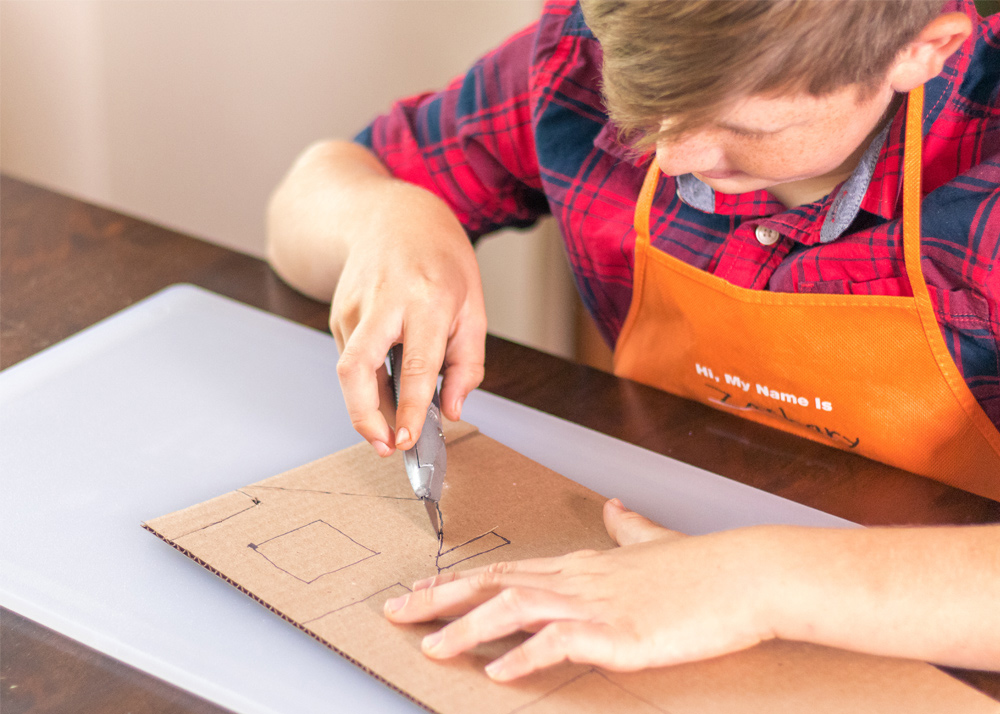
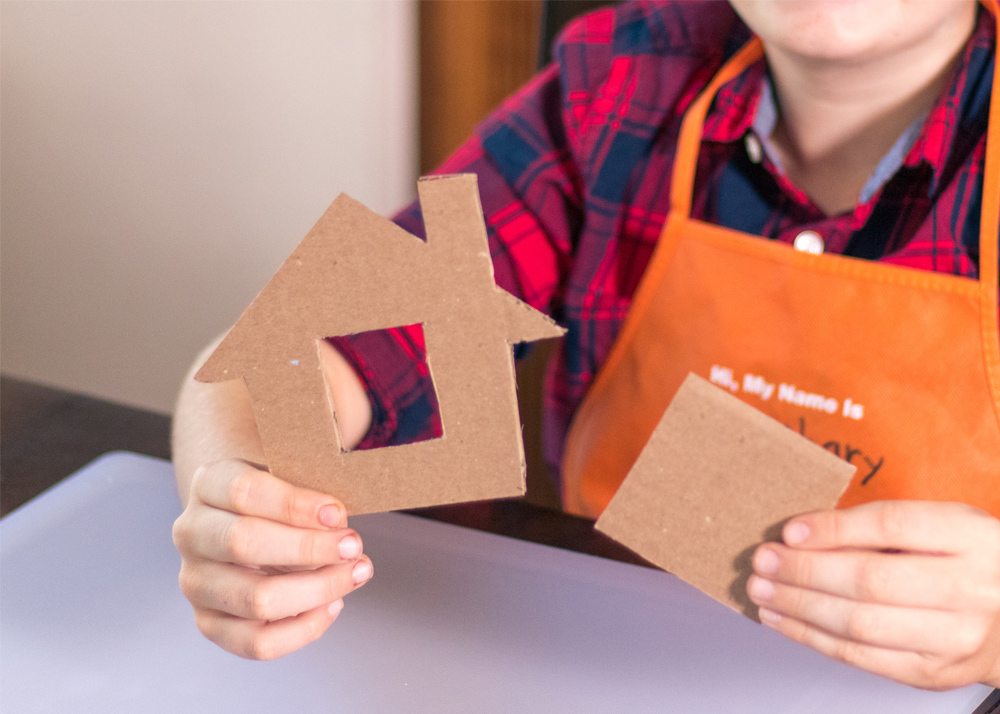
Step Three:
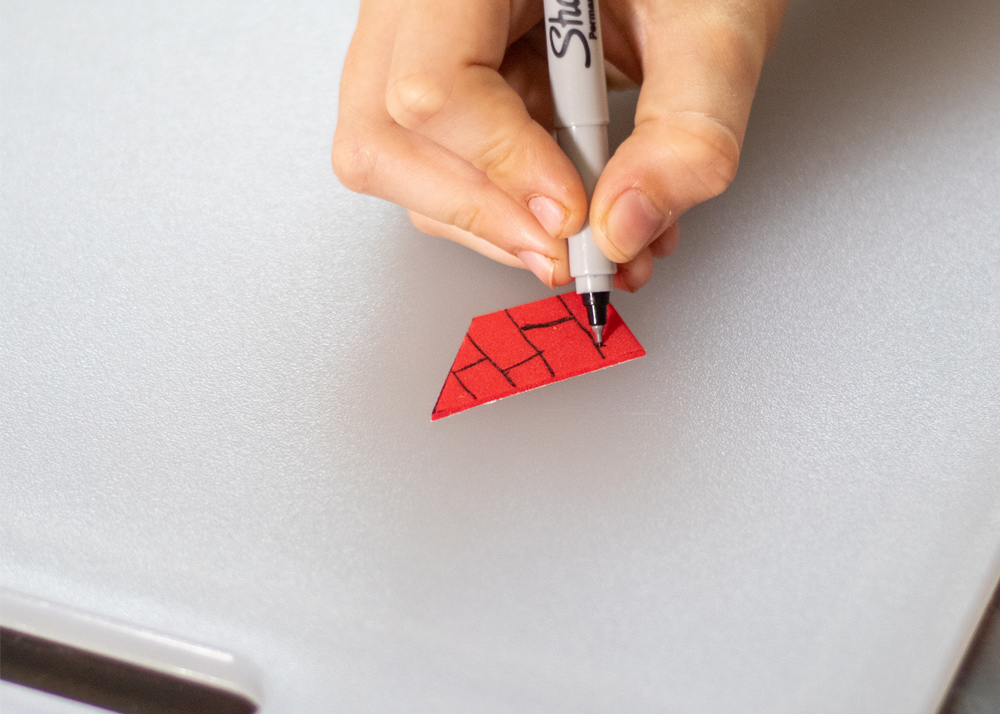
Cut decorative pieces out of foam with your scissors. You will need two pink roof pieces, one red chimney (with lines for bricks drawn on), and one brown rectangle for a sign. You can make the design your own, adding wood planks or shingle designs for your house.
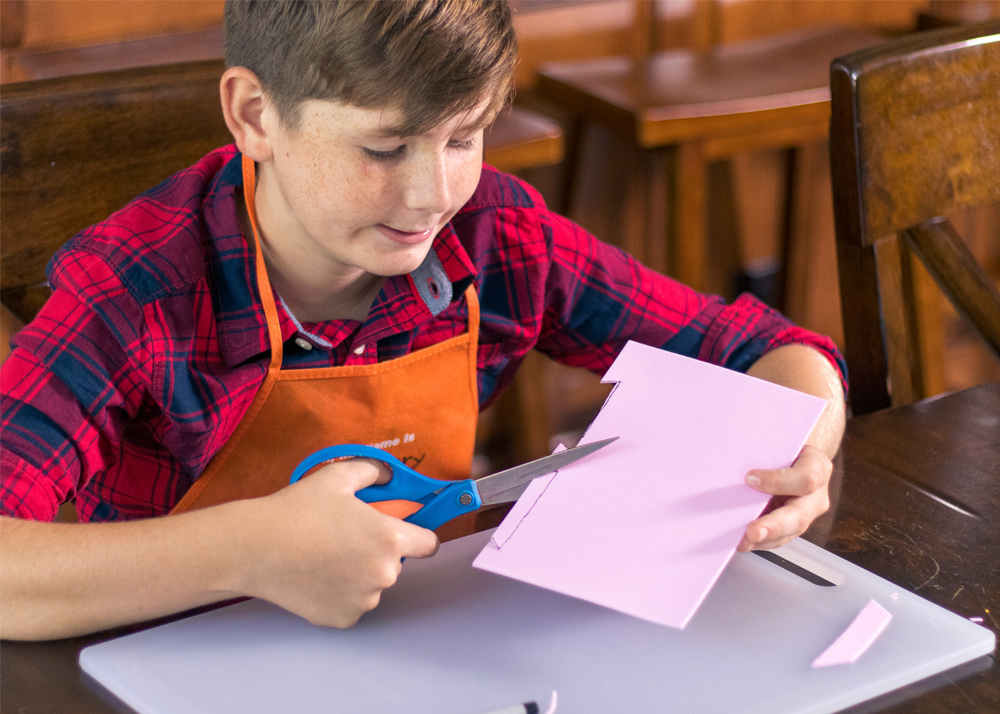
Step Four:
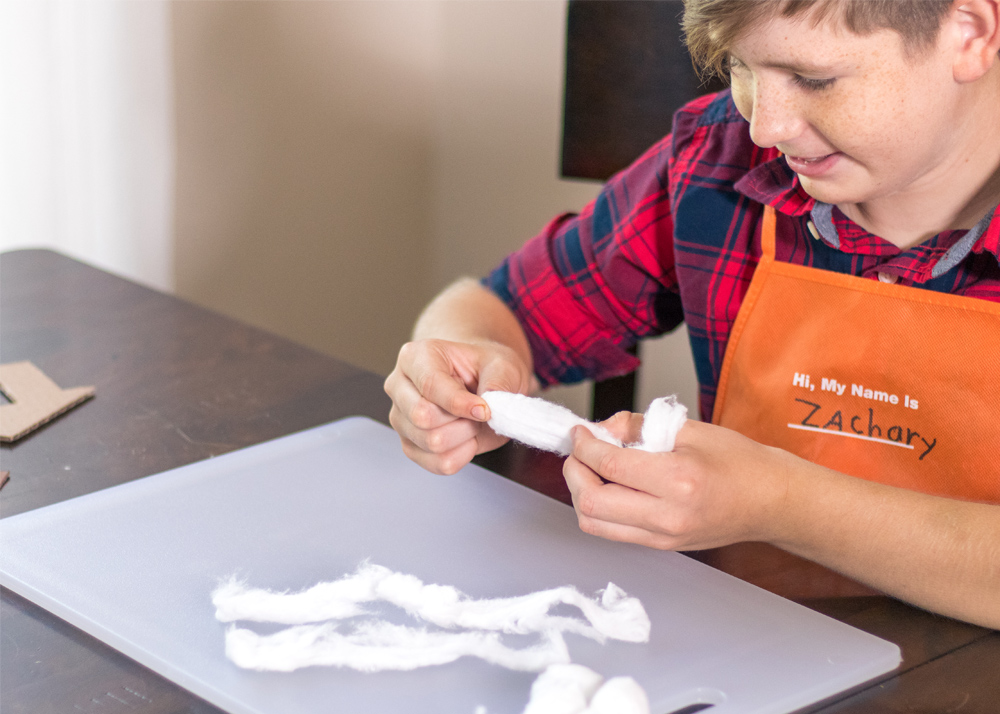
Snag some cotton balls from your bathroom for this step! Unroll and stretch out two cotton balls.
Step Five:
Here are all the parts to the house that you should now have prepared.
Step Six:
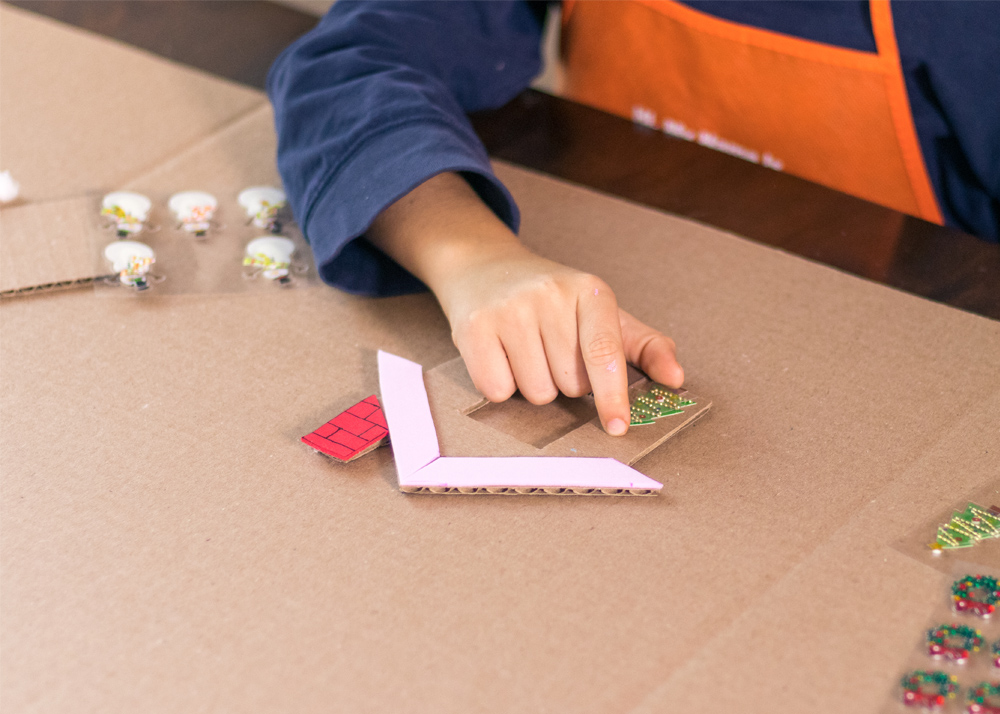
Peel off the adhesive backing of the foam pieces and stick onto the house. They can also be glued on with small dabs of glue from your glue gun. Attach holiday stickers to the sides of the house and below the roof. We used a wreath, tree, and snowman. Place number stickers on the brown rectangle for the year the ornament was made. Using your glue gun, glue cotton to the top of the roof and the chimney for snow.
Step Seven:
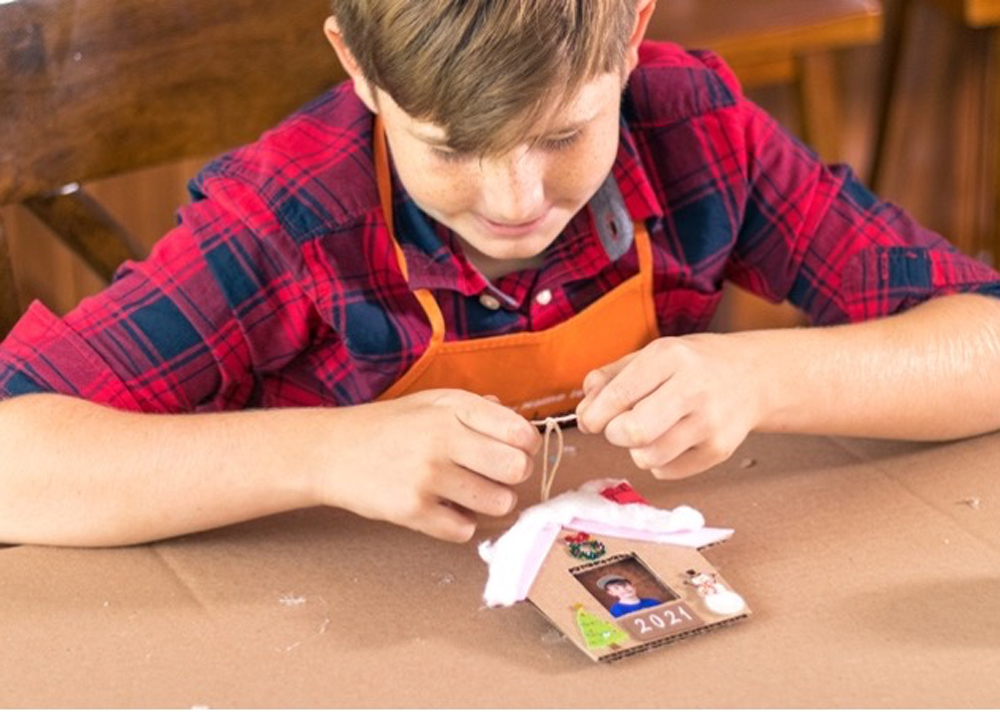
Punch a small hole in the center of the roof and insert a string through it. Tie the string in a loop to hang the ornament when finished.
Step Eight:
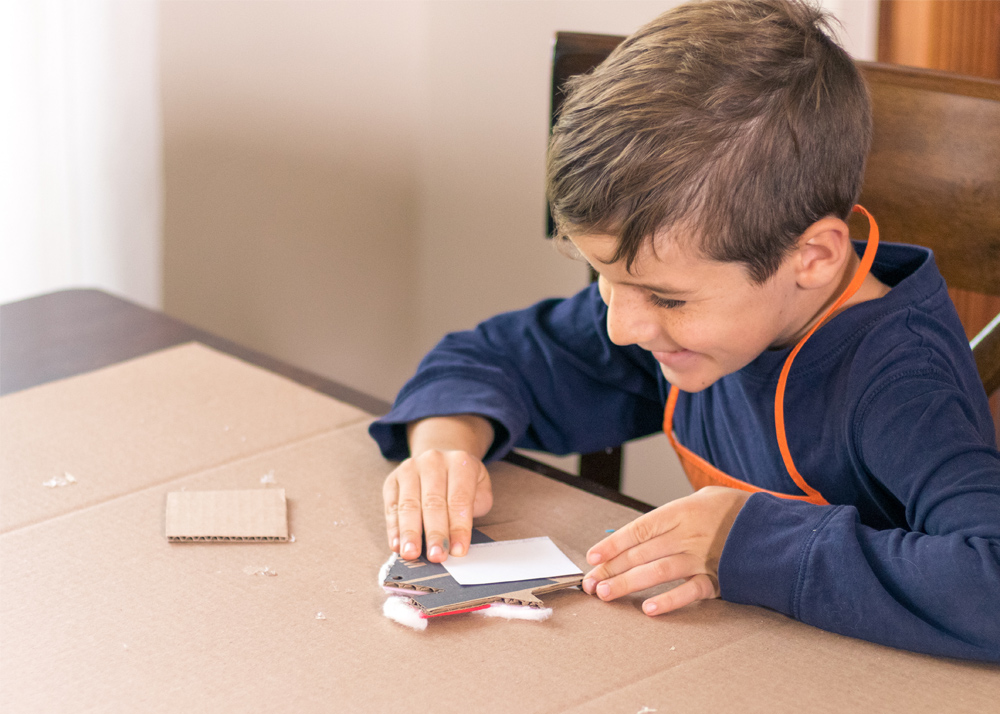
Glue photo to the opening window of the house so that it's face forward in the ornament. Finish by gluing the cardboard square on top of the back of the house to protect and reinforce the photo.
Step Nine:
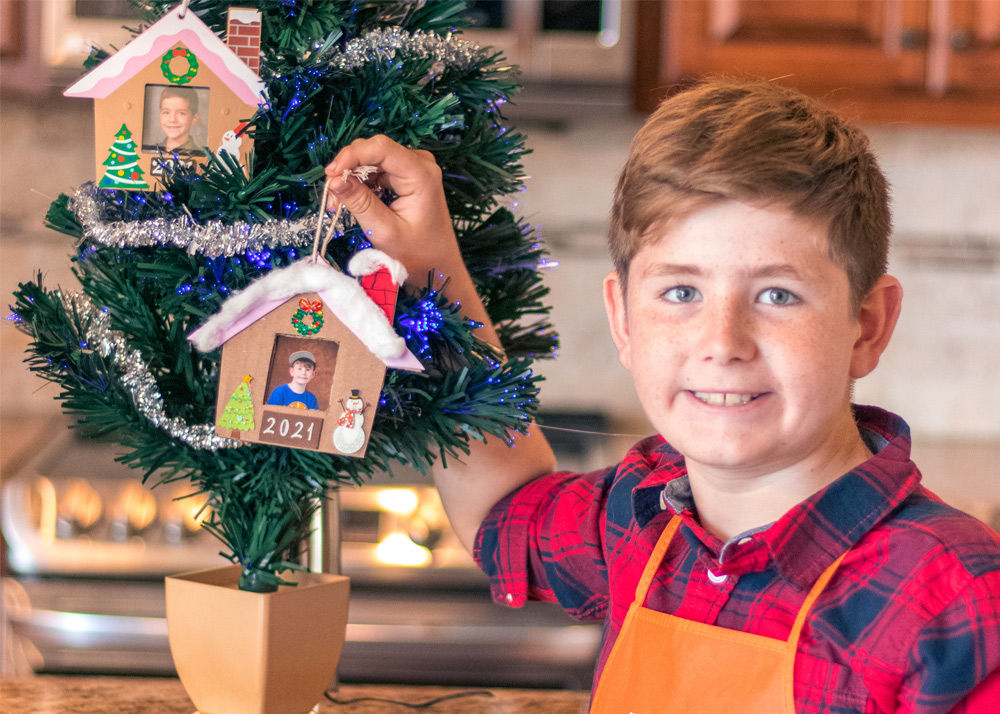
Hang ornaments on the wall or on a tree!
This post was created in partnership with The Home Depot. The author may have received compensation for this article and associated images or video, potentially in the form of products and/or services. All expressed opinions and experiences are the author’s own words.


