How to Make a Fire-Glass Suncatcher

Last updated August 21, 2024

Yuni is a Korean- American raised in the South who loves all things designing, DIY-ing, and cooking. On her blog, Love Your Abode, you can find about interior design inspiration, home remodel makeovers, and recipes.
A Note From The Home Depot
Create a dazzling suncatcher with your little one at home with this DIY Kids Workshops project. Follow along as Yuni Min of Love Your Abode provides the steps to complete this beautiful fire-glass suncatcher yourself.
Table of Contents
How to Make a Fire Glass Suncatcher
Step 1:
Step 2:
Step 3:
Step 4:
Step 5:
How to Make a Fire Glass Suncatcher

Emmy and I created a beautiful fire-glass suncatcher for our patio as part of The Home Depot Kids Workshop. You can make this with your little ones using products all from The Home Depot. The reflective fire glass catches the light from the sun and casts a beautiful array of colors. It’s such a fun project to make with your kids, and we hope you create your own at home using these simple directions.

Step 1:
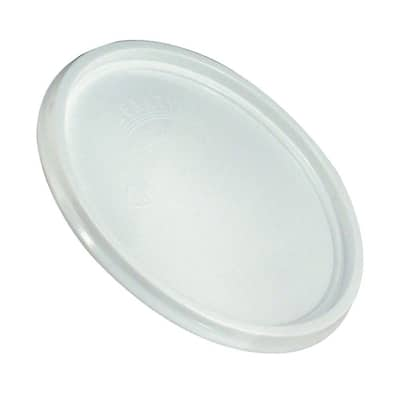
Create a pattern on the plastic lid with the reflective fire glass. Let your child get creative with the placement and colors for each formation. We were originally going to make them all circular but decided to create different shapes in varying sizes. Emmy had fun creating different patterns with the fire glass colors and sizes. We just used a plastic lid from a to-go container to hold each formation.

Step 2:
Apply the hot glue to the fire glass. Once you’re happy with the shapes, apply the hot glue between the sides of the fire glass. Help your little one with this step as the hot glue can get very hot.

Ever since we started using the Ryobi hot glue gun, I don’t know how I could ever go back to my regular craft glue gun. The cordless function is truly superior, and it heats up so quickly!

Step 3:
Carefully peel off the fire glass and glue the other side. Once the fire glass is completely dry, carefully remove the fire glass and flip it over.

Apply some more glue in between the cracks on the other side for added stability. Look at the pretty colors!

Once that feels secure, allow it to completely cure.
Step 4:
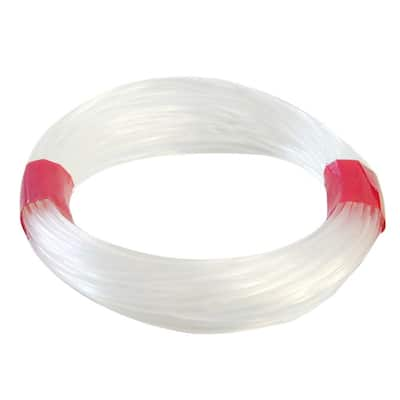
Insert the invisible string through each fire glass piece. Now it’s time to attach the fire glass pieces to the string. We wanted to create three strands of fire glass hanging down on a branch. Emmy helped me by cutting the string into three long strands.

We decided to add four or five pieces for each long strand. I helped Emmy with this part since it was a bit tricky to tie the ends. I recommend tying ends to the top and bottom for each piece. Most likely, you’ll be able to find some gaps or holes in between the fire glass where the string can go through. If some of the rocks fall off, just hot glue them back on. I also applied some hot glue to help secure the string.

Step 5:
Find a branch outside to hang the strands.

You can make this suncatcher as large or as small as you want. I found a good-sized branch in the backyard and secured it on the patio using some of the invisible string and tying it to command hooks. Hang each strand of the fire glass on the branch and admire the dazzling array of colors.

It looks really pretty when the sun is shining on the patio and captures the light reflected off each of the fire glass colors.
This is the perfect DIY project for the summer. We hung it outside on the patio, but you could also hang it against any window inside your home.


We hope you try creating your own version of this suncatcher with your little ones at home.
This post was created in partnership with The Home Depot. The author may have received compensation for this article and associated images or video, potentially in the form of products and/or services. All expressed opinions and experiences are the author’s own words.