Styling a She Shed With Shiplap Walls

Last updated August 21, 2024

Danielle’s blog, Finding Silver Pennies, is all about restoring her historic home, painting furniture and sharing all she has learned along the way. She loves blue and white, long walks on the beach, her coastal town, her little family and English accents.
A Note From The Home Depot
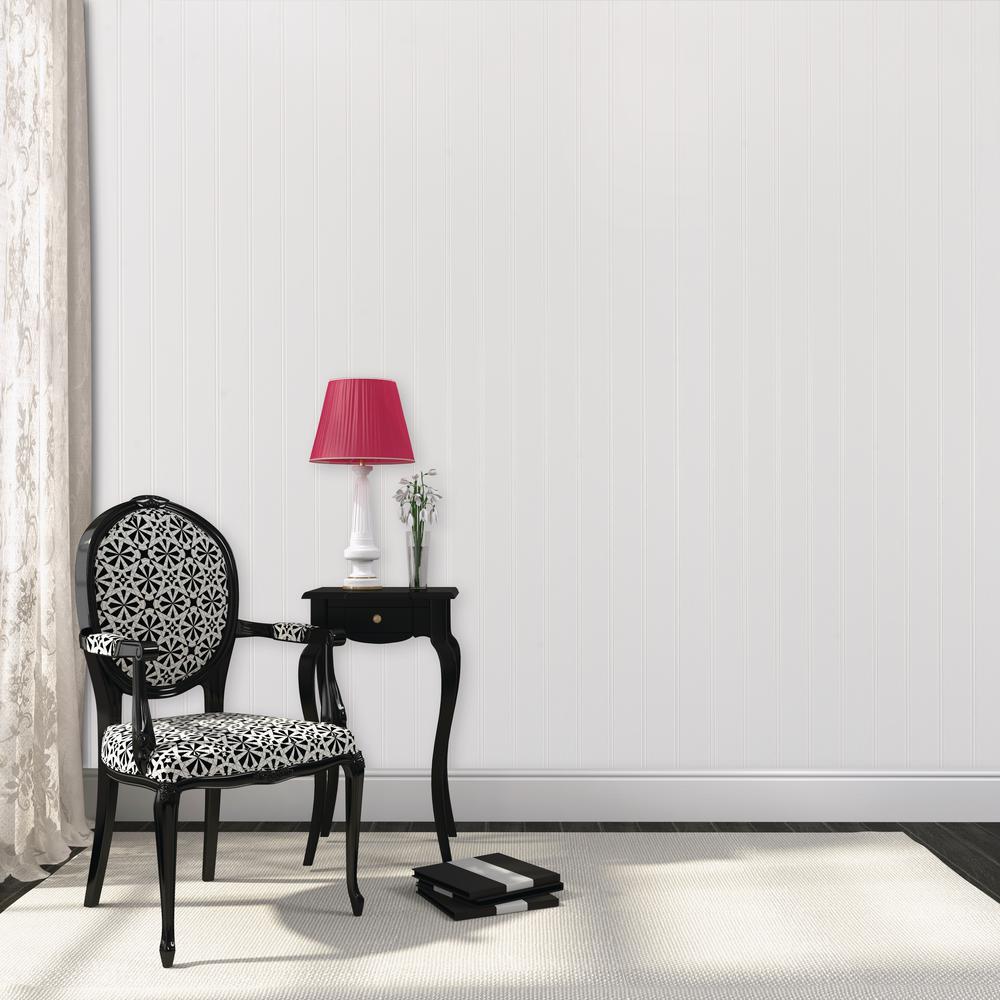
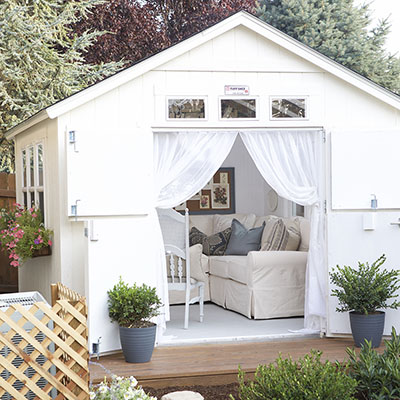
The shiplap walls in this she shed help create the rustic, beachy look designer Danielle Driscoll was looking for. Take a look at her blog, Finding Silver Pennies, and you’ll see that Danielle is pretty much an expert on how to achieve this coastal look. Shiplap is the style of horizontal wood paneling you see in the photo above. You’ll often also see shiplap in farmhouse, cottage or shabby chic interiors.
Take a look at the full tour of her amazing coastal she shed here. It’s a cute, cozy space for getting away from it all, right in her backyard.
Danielle was kind enough also to show us exactly how she created the authentic shiplap walls in her she shed and painted them, so you can incorporate it in your own backyard retreat, bedroom.
*Note: This shed is the Horizon model from Sheds USA.
Table of Contents
How to Install and Paint Shiplap Walls
Shiplap Installation
Painting the She Shed Interior
Paneling the She Shed Ceiling
The Finished She Shed
How to Install and Paint Shiplap Walls

Shiplap Installation


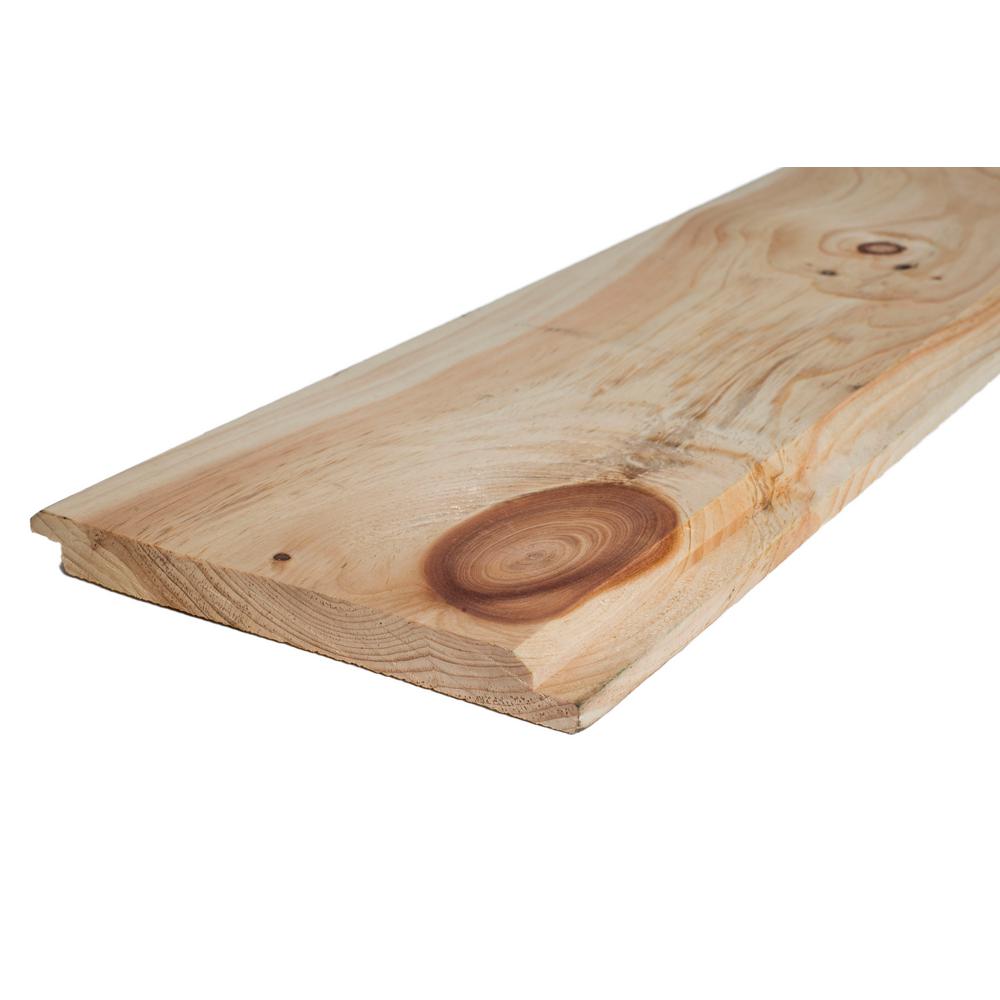
After assembling our supplies, we started with the back wall first. We put quarter-inch spacers on the floor to lift the lowest board up so there would still be ventilation behind the paneling. The pine shiplap has a lovely warm hue which would be nice for a mountain retreat or country shed, but I wanted pure white walls. We screwed our boards into the wall using the white screws.
The great thing about shiplap is that the boards slot right on top of each other, so it is pretty quick to install. Below, you can see the back wall coming along.


We decided to take the shiplap up to the ceiling to make the room appear bigger. The top board is ripped with a table saw and cut at an angle to match that of the roof joists.


When we got to the smaller walls on the ends, and the front wall, we cut boards to fit on either side of the doors and windows.
Luke, my husband, used a miter saw to cut the boards to the right length.


To go around the top of the windows, we cut the shape of the windows using a jigsaw, with a guide to keep a straight line.
Painting the She Shed Interior
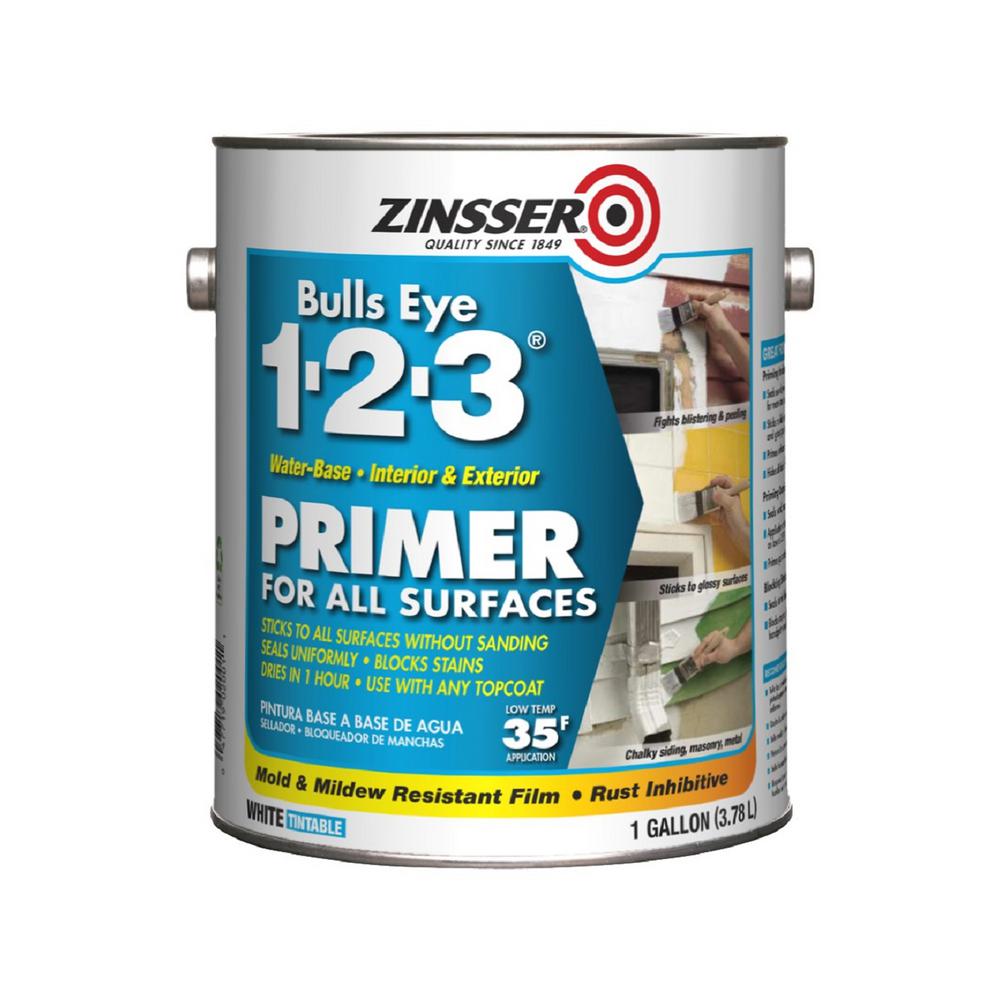
Once all the walls were in place, I spot-primed all the knots with Zinsser Bulls Eye Primer. This primer has shellac in it that prevents knots from bleeding through.


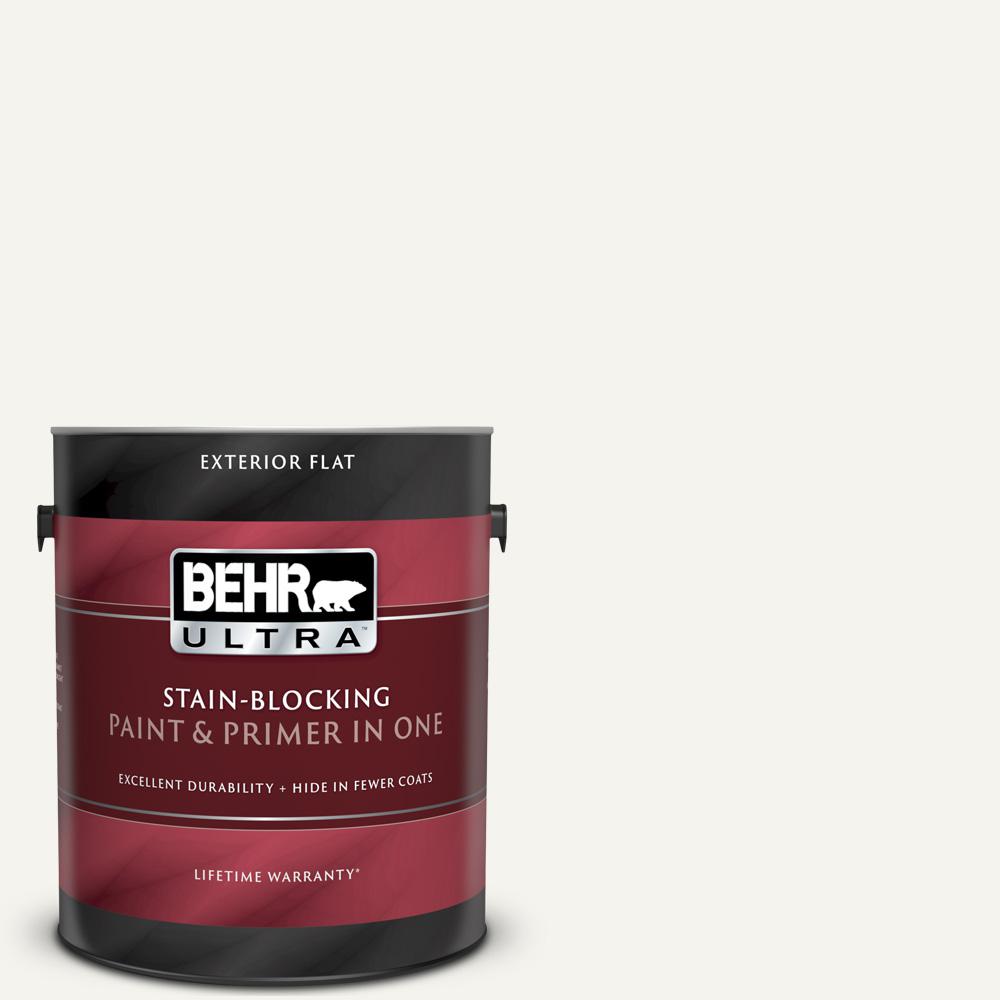
There were a lot of knots, as you can see. Once the primer dried, I painted three coats of Behr’s Premium Plus Ultra Paint and Primer in One in Polar Bear exterior matte.
As this is an outdoor unheated shed all of the products chosen were for exterior use, from paint to rugs to furniture.
I rolled and brushed on the paint.

I know most people think white is white, but this is a cool, coastal white, perfect for the shed.
These walls are perfectly coastal now, but the DIYs didn’t stop there on updating the interior.
Paneling the She Shed Ceiling

Once the shiplap walls were up and painted, the chipboard ceiling really stood out. To add more natural light we screwed bead board sheets to the ceiling joists.

The floors also got two coats of Behr Exterior semi-transparent waterproofing floor stain in Cape Cod Gray. This gave the floors an instant look of a lime wash or weathered wood you often see in homes by the sea.
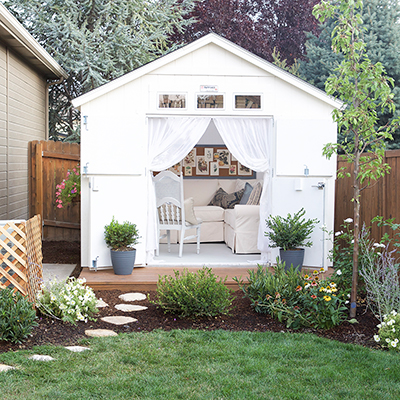
The Finished She Shed


Danielle has more about this amazing she shed on her blog, including more about the decorating and set up of the space.
Danielle Driscoll usually has a paint brush in one hand and coffee in the other, ready to rescue and upcycle! Her blog, Finding Silver Pennies, is all about restoring her historic home, painting furniture and sharing all she has learned along the way.
This post was created in partnership with The Home Depot. The author may have received compensation for this article and associated images or video, potentially in the form of products and/or services. All expressed opinions and experiences are the author’s own words.