DIY Customizable Duct Tape & Cardboard Truck Costumes

Last updated August 21, 2024

Emily Victory is a math-minded painter and extreme pattern enthusiast. She works mostly large scale, in acrylic - on geometric murals, large wooden panels, and the walls of her home. Emily is bringing a unique perspective to each of her pieces! Emily Victory is a math-minded painter and extreme pattern enthusiast. She works mostly large scale, in acrylic - on geometric murals, large wooden panels, and the walls of her home. Emily is bringing a unique perspective to each of her pieces and we’re happy to have her on our team!
A Note From The Home Depot
Kid’s grow out of their expensive Halloween costumes every year! Looking for a fun DIY costume idea for your kids this Halloween season? Read how Emily Victory from Em Victory Studio makes not one, not two, but three unique DIY costumes for her kids!
Table of Contents
DIY Customizable Duct Tape & Cardboard Truck Costumes
Hear Me Out: Duct Tape and Cardboard
Step 1: Pick a Truck & Size
Step 2: Gather Materials
Step 3: Back End of Truck
Step 4: Front Cab of Truck
DIY Customizable Duct Tape & Cardboard Truck Costumes

If you’re like me, you love to put your own creative spin on Halloween. But the influx of craft materials that usually comes along with the costumes, especially with 4 kiddos, is bananas. A few years back, while on a paint run to The Home Depot, I found a solution. And haven’t looked back since.
Hear Me Out: Duct Tape and Cardboard
The only excess you’ll have is either A) recyclable, or B) a handy home hardware item. Boom.

What is it about kiddos in homemade costumes? There is just nothing as sweet.
Anyways - these costumes are durable, customizable, have minimal excess materials, are easy to wear, and crazy colorful. Did I mention I have 4 rowdy kiddos and these are beyond durable?! So, let's get rolling. (Pun absolutely intended.)
Step 1: Pick a Truck & Size

I made a few varieties of trucks because 1) I have 4 boys that seem to be obsessed with all things engines.
2) To show you a few options to help you generate ideas of colors and possible sizing.
You can absolutely mix and match truck decor with different sizing. Or come up with something totally new. But here’s what I found to work for young ages/ sizes:
- Approximate Age: 2 years
- One Small Box

- Approximate Age: 3 years
- Two Extra Small Boxes, Connected

- Approximate Age: 4-5 years
- Two Small Boxes, Connected

Step 2: Gather Materials
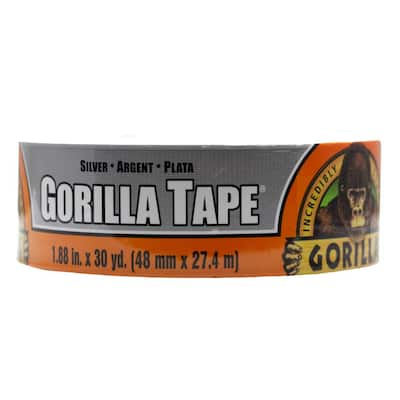
Tools / General Materials:
- Packing Tape
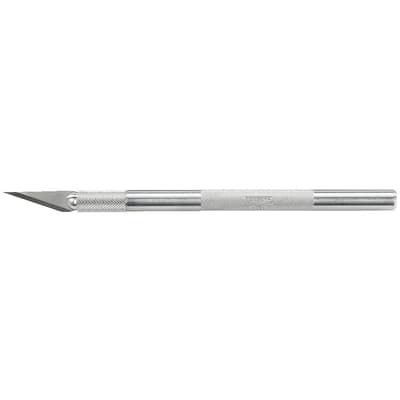
- Hobby Cutting Knife
- Ruler
- 1 Medium Box (to cut wheels)

Mix & Match - Decorative Accessories:
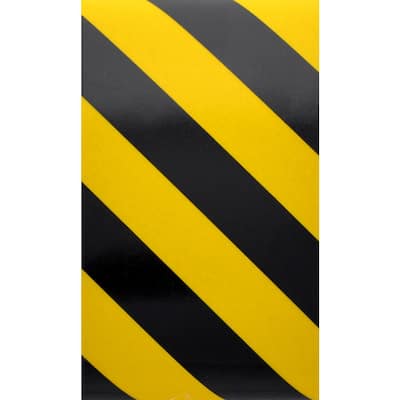
- Reflective Vinyl Tape - Yellow & Black Striped
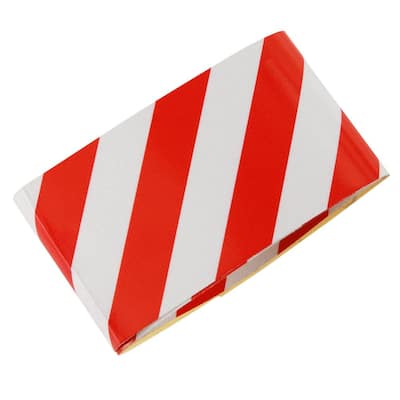
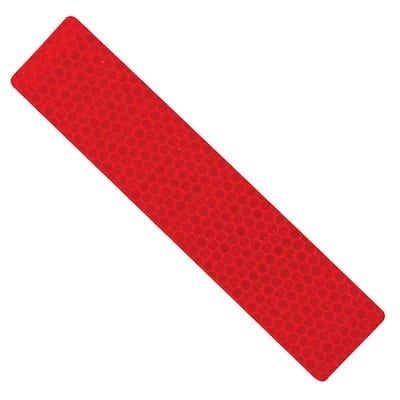
- Reflective Safety Strips - Red & Silver
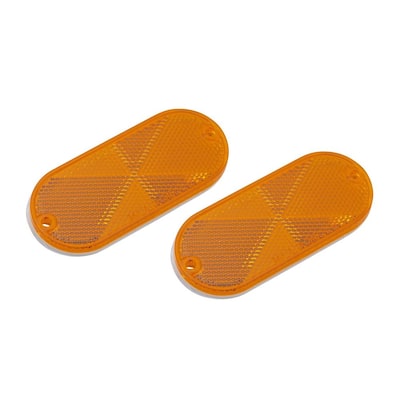
- Quick Mount Reflector - Red or Orange
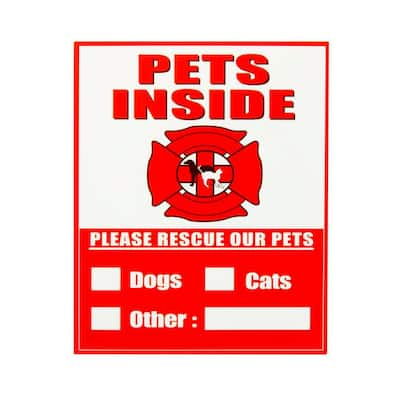
- Recycling Sticker
- Fire Awareness Sticker
Fire Truck:
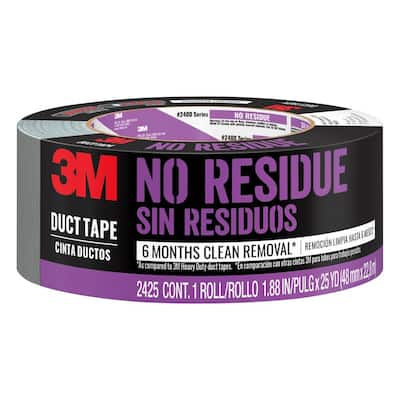
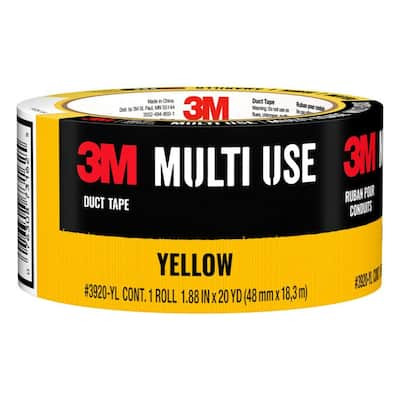
- Duct Tape - Red / White / Yellow / Gray / Black
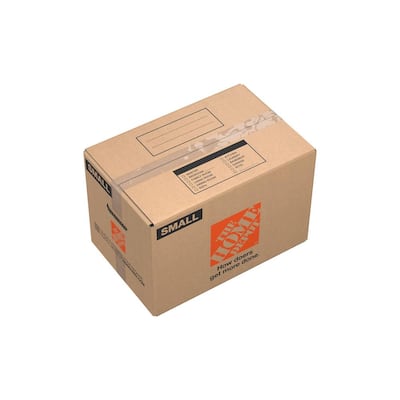
- 1 Small Cardboard Box
Garbage Truck:
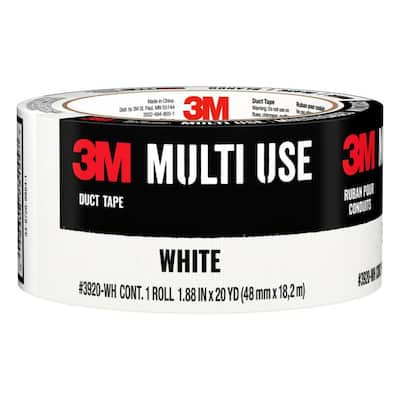
- Duct Tape - White / Black / Yellow / Gray
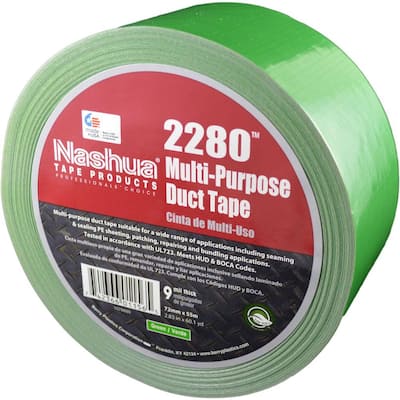
- Duct Tape - Green (Sold online only. If Halloween is close - sub blue?!)
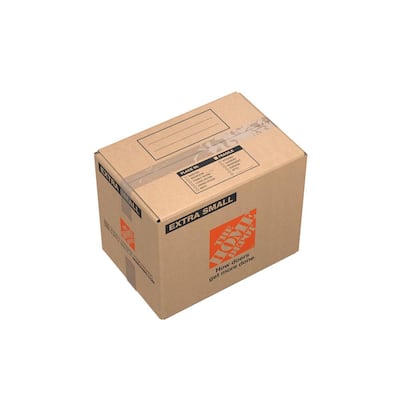
- 2 Extra Small Cardboard Boxes
Dump Truck:
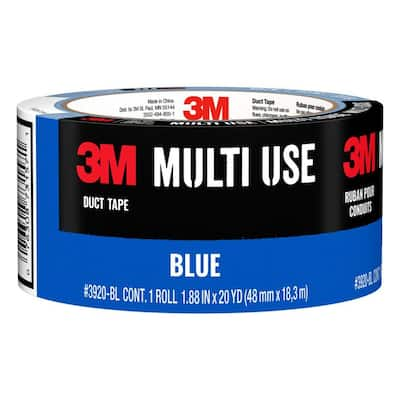
- Duct Tape - White / Yellow / Blue / Gray / Black
- 2 Small Cardboard Boxes
Step 3: Back End of Truck
First, cut off all of the short-edge, foldable flaps with your cutting tool.
Next, tape the top, long-edge, foldable flaps together with packing tape to create the box.
Once you have a box shape, you can cut off the remaining long foldable flaps at the bottom of the box. This is where the kiddos little feet will walk, so less material here is best.

I love how a slight angle makes the costumes feel a little less ‘boxy’ and adds charm. If you’re making the smallest truck with just one box, simply cut angles at both ends.
Otherwise, just cut one end for the garbage truck.
Side note: If you cut diagonals by connecting points that are 2” & 5” from the corner, or 3” & 4” from the corner, then the small flaps you already cut will perfectly fit in that space. Simply tape in place with packing tape.
Instead of taking away material on the dump truck, I played with adding height to the front and sides. Feel free to get creative in making your truck-bed shape!
Once you have your desired back-end shape, then you can simply cut a rectangle for your kiddo on the top of the box. Kids vary in sizes - but my openings were:
- Smaller costumes: 6”x 10” rectangle.
- Biggest Costume: 7” x 10” rectangle.
Side note: As long as you insert your kiddo into the costume through the top - then these sizes work great. It’s when you try to go overhead that they get a little stuck, due to their heads.
Step 4: Front Cab of Truck
First, cut off all of the short-edge, foldable flaps with your cutting tool.
Next, tape both the top and bottom long-edge, foldable flaps together with packing tape to create an enclosed box.

I made the main body 10 inches long and left two tabs on the top and a flap on the bottom to help secure the boxes when we assemble them together. Use a straight edge to plan and draw, then cut along the line with your cutting tool.
Side note: My kiddos were occupied drawing on the boxes for a while. Which was great! But, hence, the beautiful, colorful box markings.
Step 5: Cover with Duct Tape
When covering with duct tape I like to go along the edges first. Next, simply make stripe patterns on each side surface of the box. Sometimes the lighter colors are a bit see-through. So, if that’s the case, simply coat the box with another layer of tape.

When taping over a curve or a corner, use your cutting tool to cut a slit in the duct tape. Then simply fold the tape like wrapping a present.

Step 6: Straps
To make the straps, simply cut a 1” strip of cardboard from the long flaps that were cut from the bottom of the box.
- 16” straps for smallest costume
- 18” straps larger two costumes

Cover the cardboard strap with duct tape and tape it to the inside of the box - near the edge of where your kiddo will be.
For the smallest costume, I added a horizontal strap in the back, so as to keep the straps in place just a bit better.
Step 7: Connect
I’ll preface this with - you can always just tape the front box to the back. Easy and done. I chose to create the front and back separately because I was going for a look that made the truck more realistic. So, how you complete this step is 100% up to you.

If you’d like your front cab and back truck bed level, simply line up where the tabs are and cut slits into the back box. Send tabs through, bend them down, and tape them in place.
If you’d like your truck bed slightly higher than the cab, simply fold and tape the bottom flap on the cab up 2 inches. Then rest the back truck bed on this flap and line up the tabs onto the back of the truck from there.
The dump truck was level, and the garbage truck I just played with that height variation. Either way works to secure and connect the cab to the truck bed.

Step 8: Wheels
I traced a duct tape roll, kids bowl, and soup bowl for the smallest, medium and largest costumes, respectively. I doubled up on cardboard for the wheels - just to add more durability in case it gets dropped, or drop kicked, by my kids. (Kidding, a little.) Then I covered the wheels with black duct tape. Again making slits with your cutting tool into the overhang of the duct tape helps for a smooth fold.

Next, I covered a small area in the center of each wheel with silver duct tape. I traced a small cup and used my cutting tool to simply cut the shape directly in place. It's amazing, because then you can peel off the outer excess easily, and your inner circle stays put. Boom.
To attach the wheels to the trucks, I simply made loops on the upper back and pressed them in place. Then I reinforced the wheels by taping the inner wheel to the bottom inside of the box.
Step 9: Duct Tape Details

Similar to how you made the inner circle of the wheel, you can cut the details directly on the costume. Duct tape peels pretty easily off of itself, so simply stick duct tape strips wherever you’d like to add detail. Then simply use your cutting tool to cut the shape right in that place.
Finally, peel the excess, outer tape away. This is how I made the windshields, headlights, and curved the edges of the bumpers.
Step 10: Decorative Accessories

The Home Depot is the perfect place to shop for teeny truck accessories. I found tons of reflective tapes, strips, and stickers that are easy to just peel and stick on! They even had Recycling and Fire Badge stickers, which I thought was pretty amazing. So, just play with color, placement, and pattern - or follow my design lead. Either way, I’m sure the truck will turn out colorfully fun.

If you’ve made it this far - I can bet that you have a stellar costume your kiddo will be giddy to wear every day up until Halloween, and many days to follow. Congrats!

One more thing:
Q: How do you fix a Halloween Costume?
A: With a pumpkin patch? No, with duct tape!!
Thanks to The Home Depot for this opportunity.
And cheers to a colorful, creative, happy, safe, and memorable Halloween!

This post was created in partnership with The Home Depot. The author may have received compensation for this article and associated images or video, potentially in the form of products and/or services. All expressed opinions and experiences are the author’s own words.