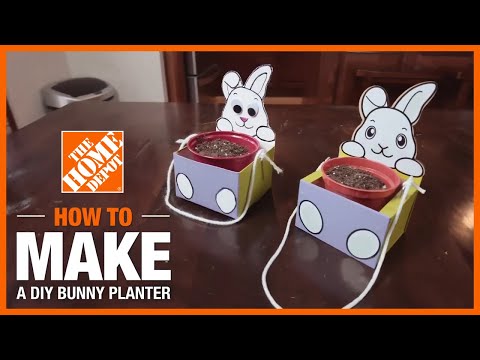
How to Make a Bunny Planter
Last updated August 21, 2024

Beau Coffron is a married dad of three and the mind behind Lunchbox Dad, the online source for making creative lunches for kids while making parents' lives easier through fun articles and great parenting product reviews. Beau loves giving great ideas to parents for bento style meals and showing them how fun and convenient they are! To learn more about Beau and Lunchbox Dad, visit his **website**and follow him on Instagram **@lunchboxdad**.
A Note From The Home Depot
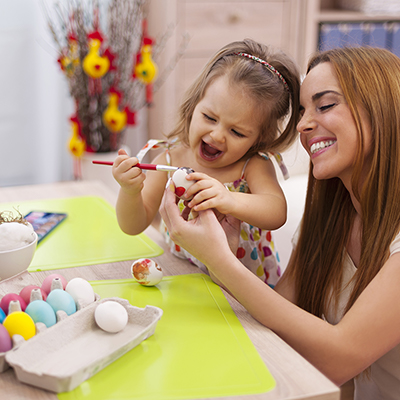
Spring has finally sprung and it’s time to get things growing! Luckily, gardening is a great activity to get the entire family involved in, especially the little ones. With a little help from The Home Depot, Beau
Coffron
from Lunchbox Dad built this bunny planter with his daughter. Keep reading to learn how!
Table of Contents
How To Make A Bunny Planter
Home Depot Bunny Planter Steps (At-Home Kit)
How To Make A Bunny Planter

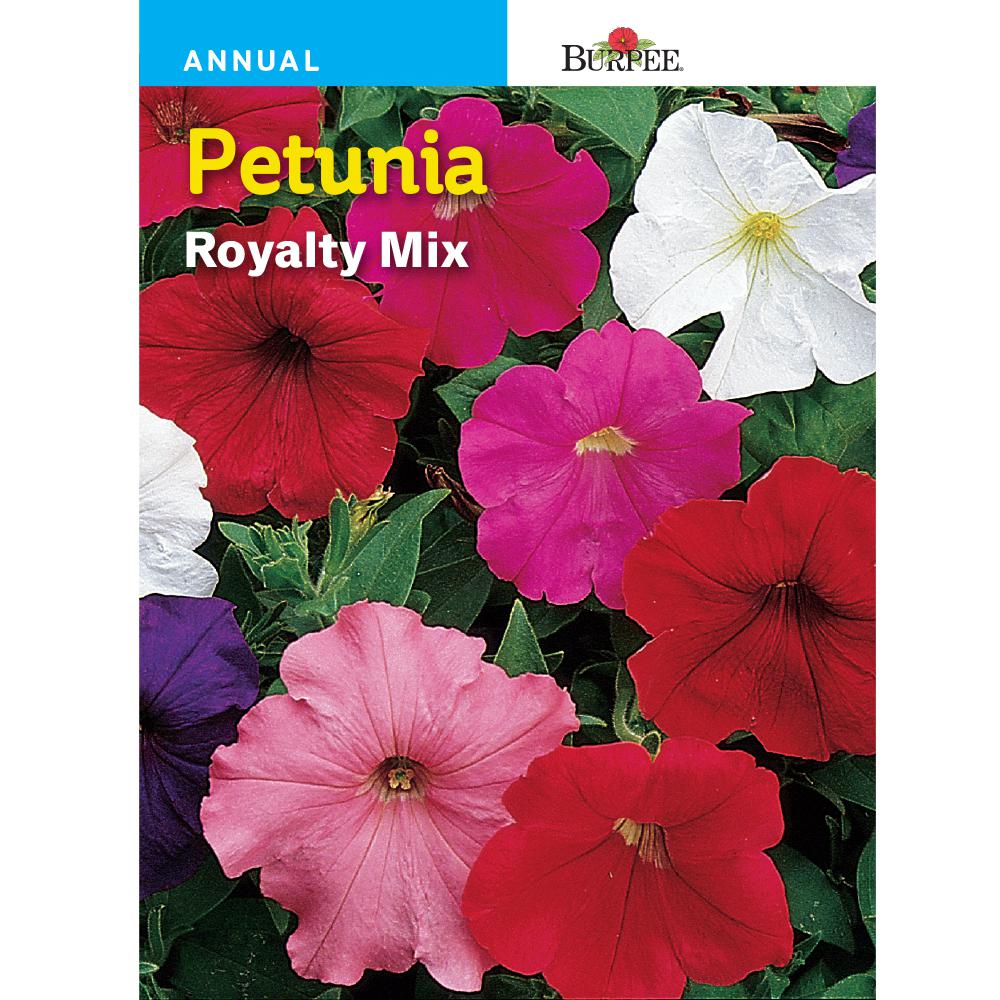
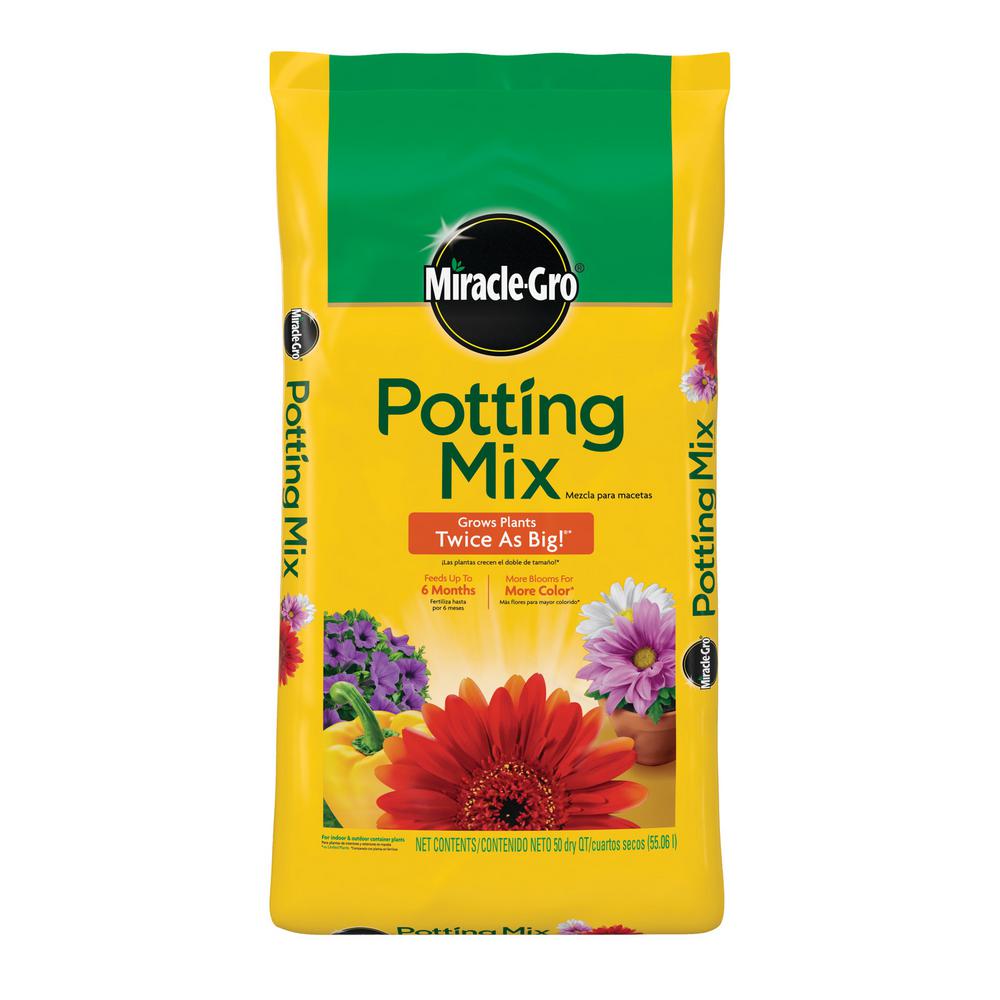
Spring is the perfect time to learn about growing plants and this easy to make planter will help your kids learn how. This bunny planter is a perfect tie in to that because kids can pick out the seeds to plant and watch the new life grow! Just gather an empty juice carton, paint, glue, and a few other items that you probably already have
on
hand around your house. This fun and interactive activity will be the highlight of your children’s Springtime and their new favorite seasonal plant! Keep in mind, this craft is ideal for kids ages eight and up.
Home Depot Bunny Planter Steps (At-Home Kit)

- First, empty out a
half gallon
juice or milk carton. Make a mark 2 ½ inches from the bottom on
a
corner. Make another mark
the same distance up
on the
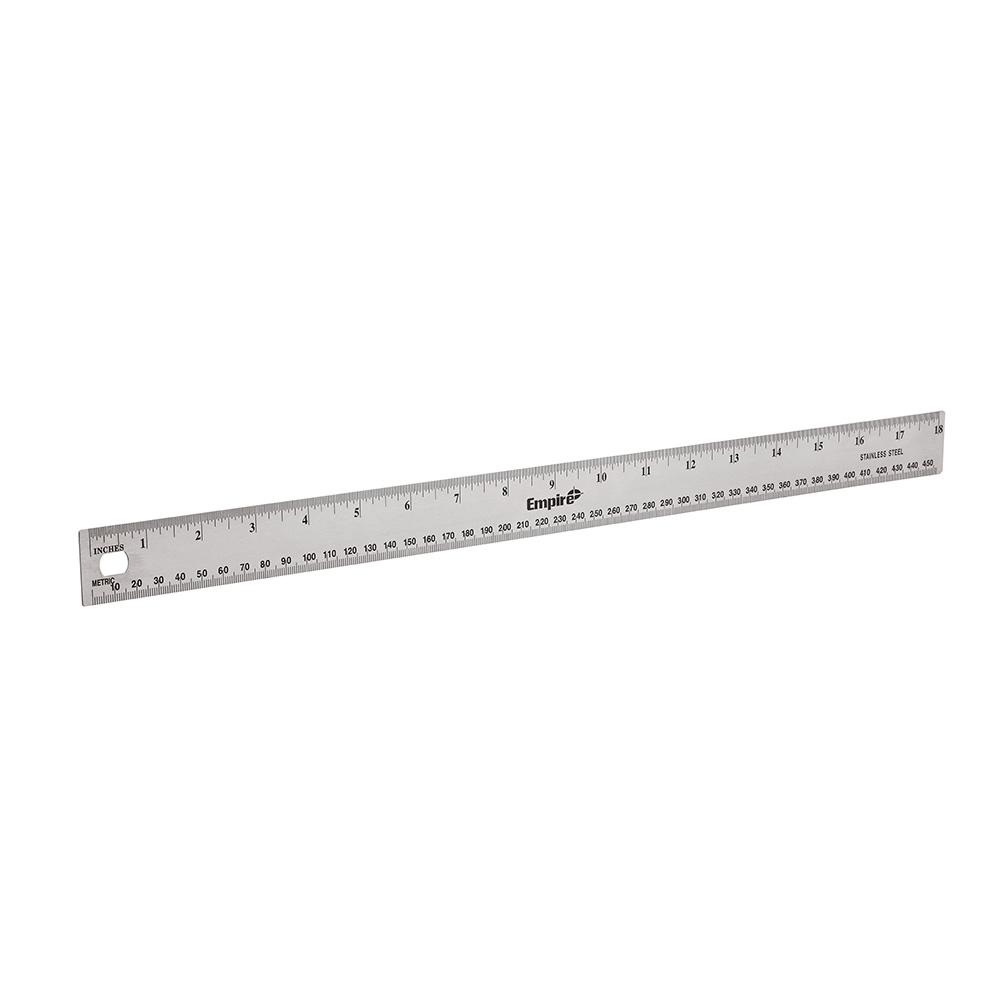
opposite corner. Using a ruler, draw
a straight line from mark to mark. Repeat with the three other sides of
carton. Cut along lines to separate
bottom
of
carton.

- Wash out both pieces of the carton and dry
thoroughly.

- Cut out
one large side of the top piece of the carton. I let my daughter take care of this step, but always be sure to keep an eye on things when something sharp is involved. Not evenscissors are exempt!

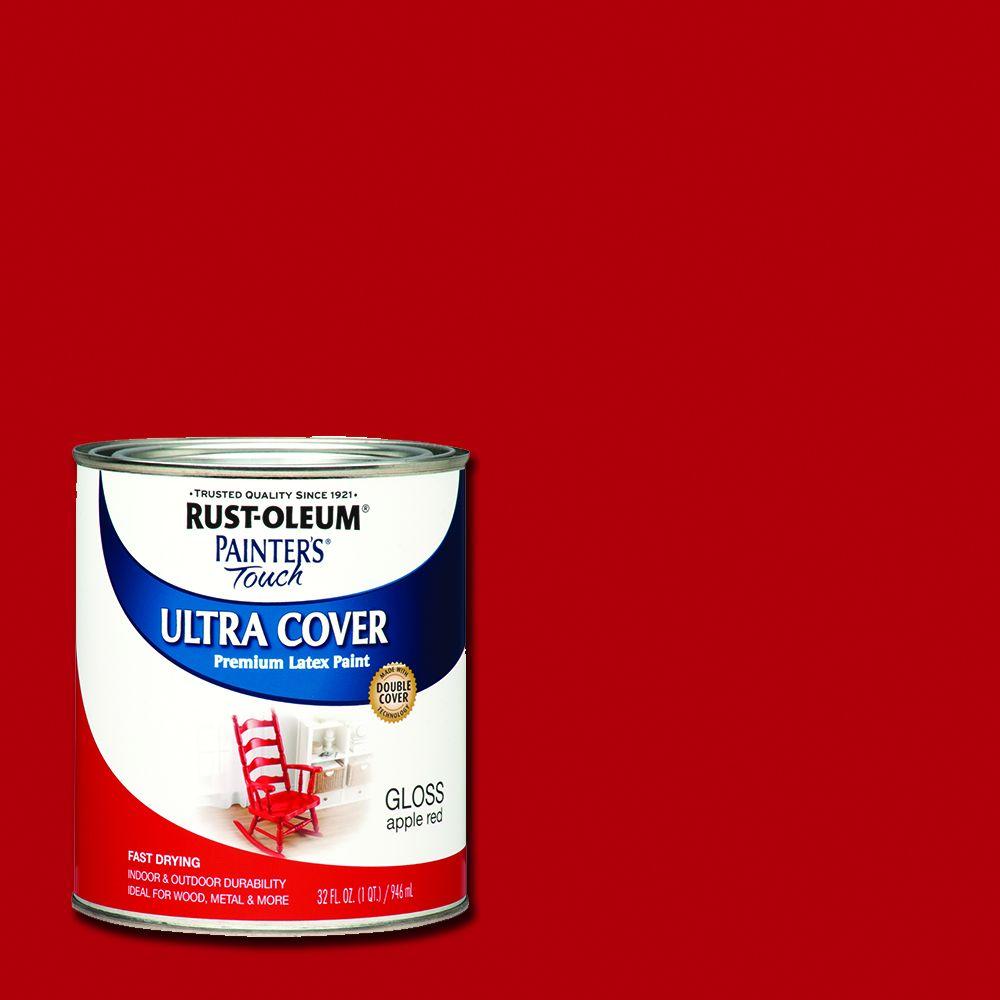
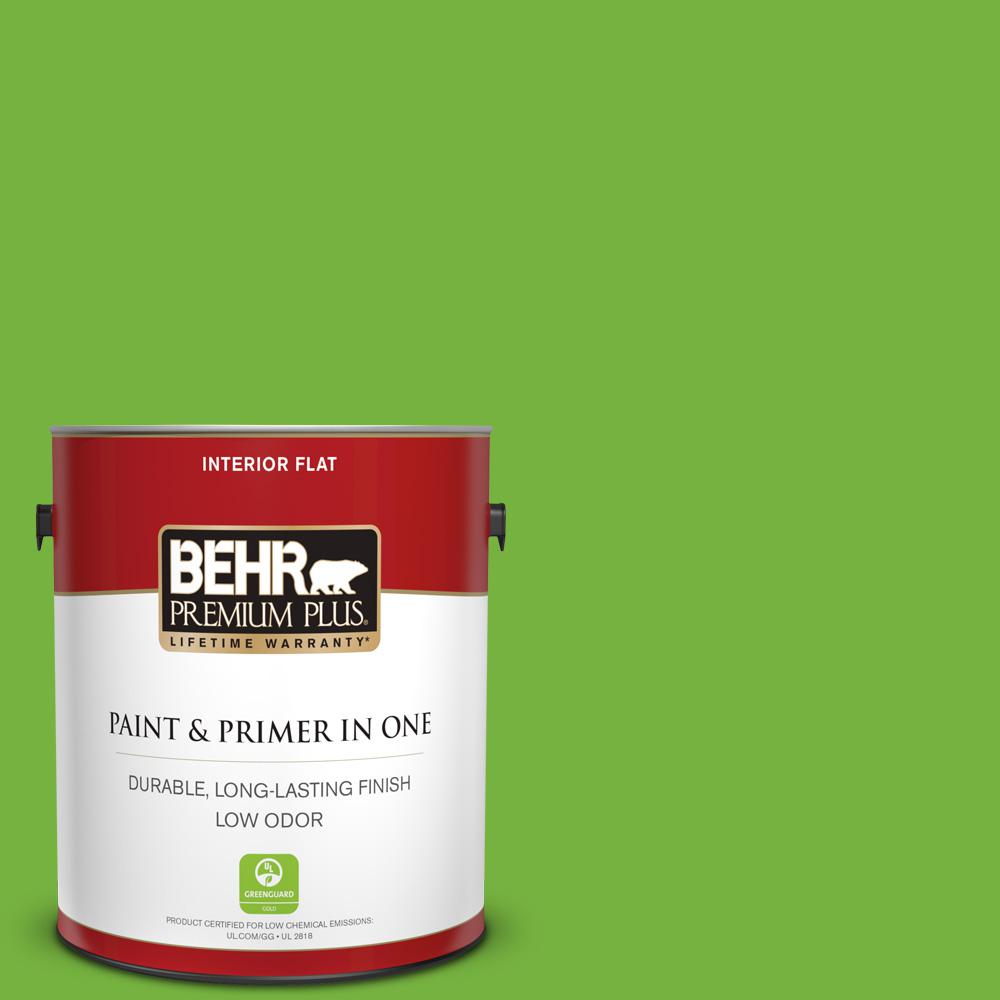
- Paint two sides of the bottom carton piece green, and let
it sit to dry. Here is where you let your child’s artistic side shine and to let them really have fun with it. Feel free to paint with any color or pattern you’d like!

- My daughter and I found waiting for the paint to dry to be the most difficult part of this project. She was so excited to keep going, that she didn’t want to wait for the paint to dry! However, this is a pretty important step that allowed us to take a break. While the paint is drying, feel free to set things aside, or jump ahead and draw the silhouette of a rabbit on the large
side
piece of the carton.
Once you’ve finished drawing, cut out the
rabbit
silhouette shape.


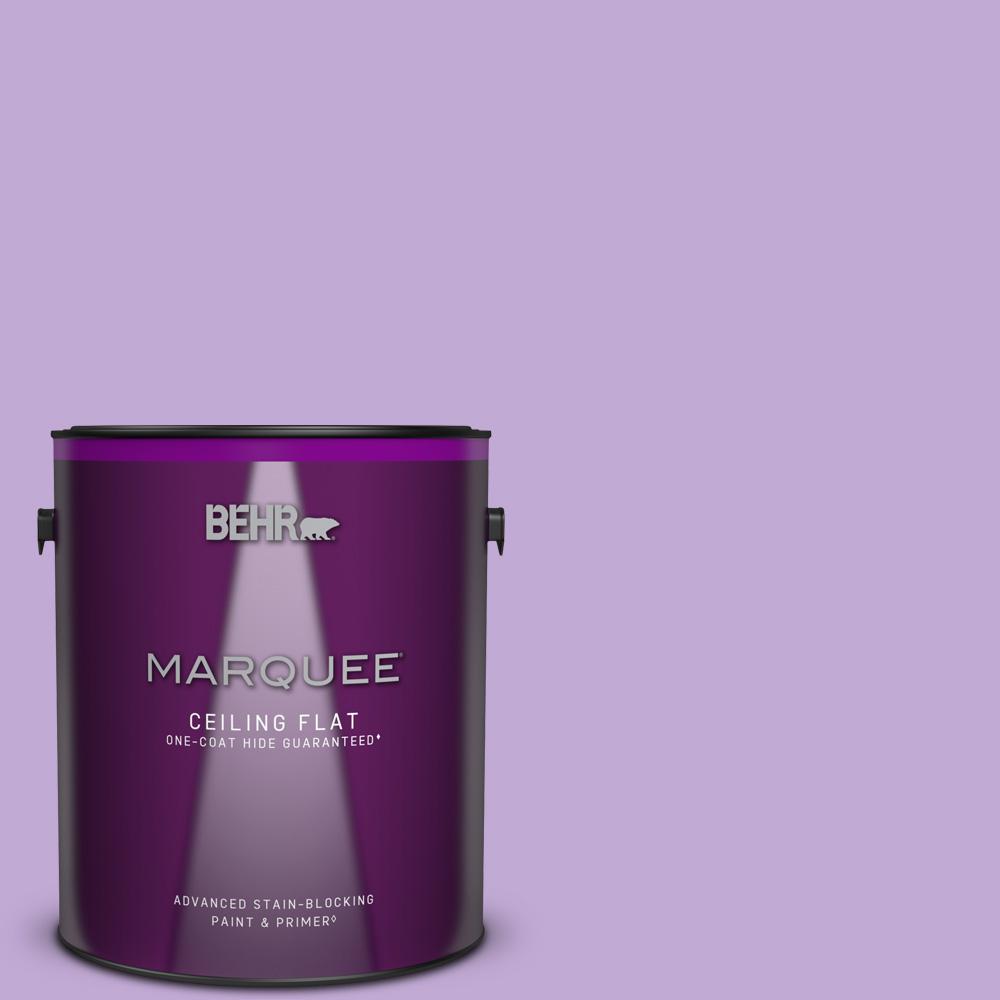
- Paint the
rabbit’s other paws on the purple
side of
carton.

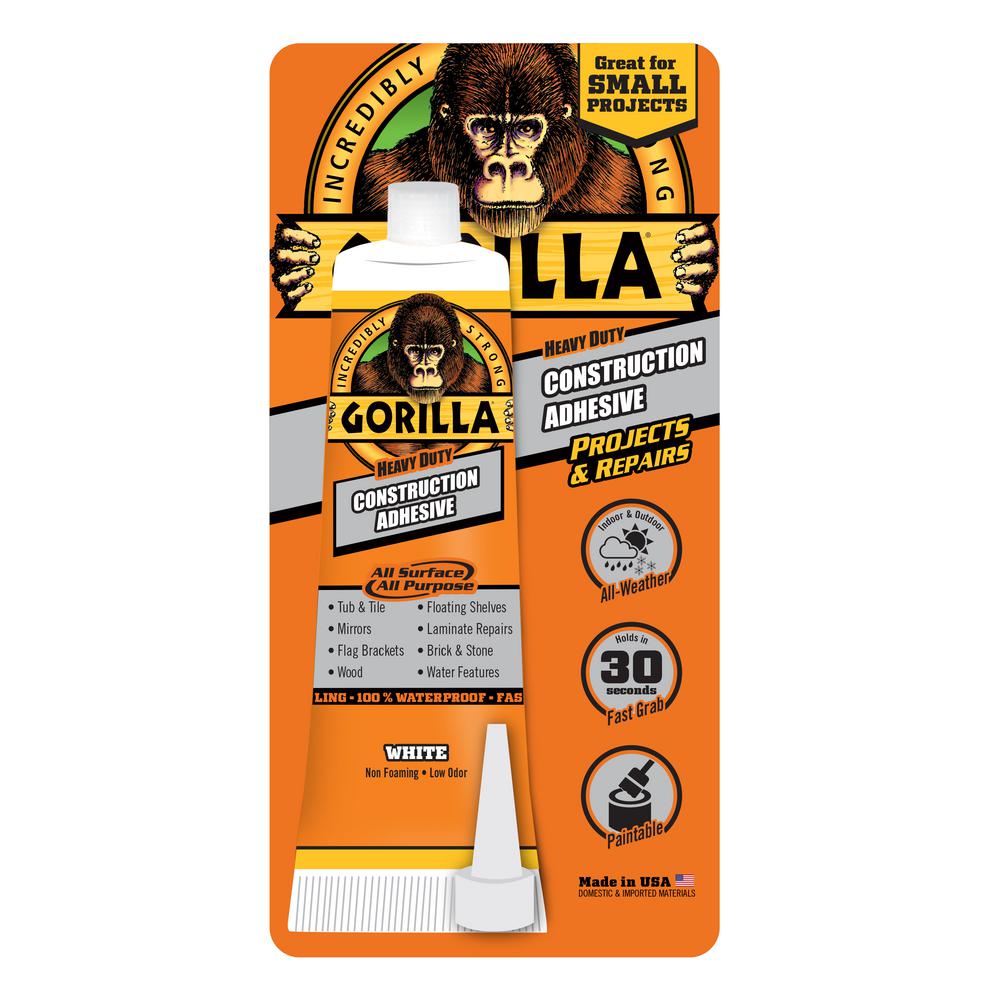
- Glue the
rabbit
shape
on
the unpainted
side of
carton. Paint the back
unpainted side
whiteand
let
dry.
Once
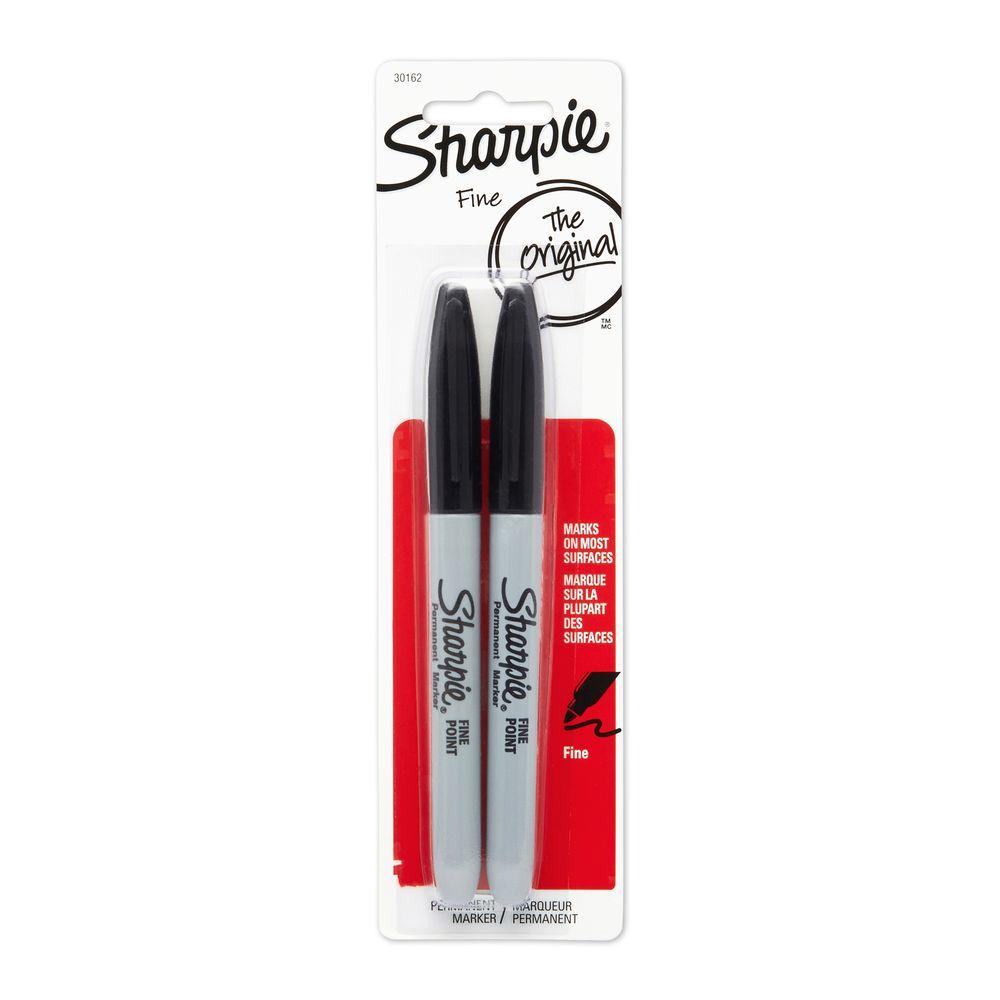
carton
is dry, outline feet with
black
marker.

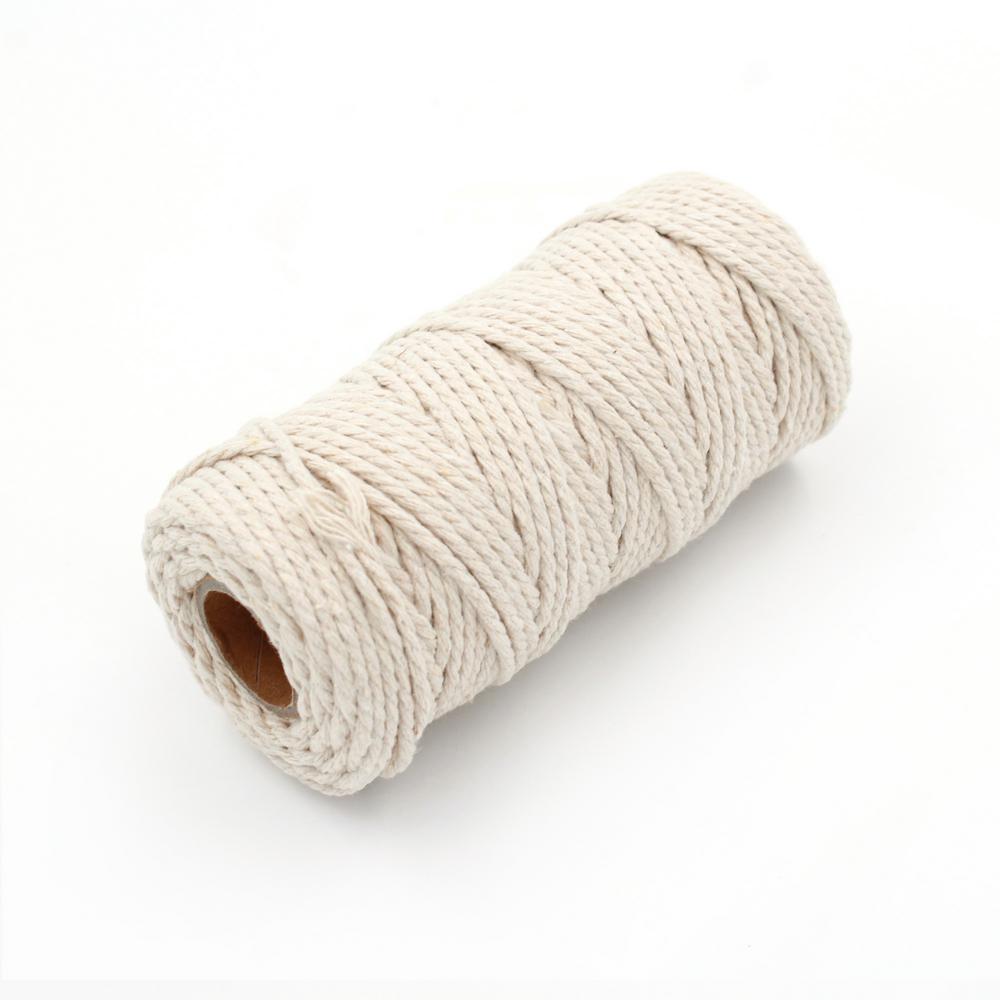
- Make a mark on
each side of the green carton where you will want to tie string for hanging. Punch holes out
at the marks
and tie ends of the piece of string to each hole.


- Finally, hang your
planter
where desired
in your house and give the seeds the right amount of sunlight and water. Then, you’re all done! This was such a fun project to work on with my children, and a great Easter memory for us all. I hope you all enjoy making this fun craft as much as we did!
Check out this project on YouTube here.
This post was created in partnership with The Home Depot. The author may have received compensation for this article and associated images or video, potentially in the form of products and/or services. All expressed opinions and experiences are the author’s own words.