How to Make a Constellation Viewer with a Kids Workshops Kit
Last updated August 21, 2024

Natalie is a crafty, DIY mom who does everyday mom stuff with just a little glitter in her hair and paint on her jeans. And she blogs about it along the way. She's a firm believer that no matter the project, with the right tools, good instructions, and a little bravery, you can do anything.
A Note From The Home Depot
Looking for a fun project to complete with the kids? Read below to see how Natalie, from The Creative Mom made a constellation viewer with her kids as a fun project they actually learned from too!
Don’t forget to stop into your local Home Depot on the first weekend of July to complete your own kit.
Table of Contents
How to Make a Constellation Viewer with a Kids Workshop Kit
Step One
Step Two
Step Three
Step Four
Workshop Extension Activity
How to Make a Constellation Viewer with a Kids Workshop Kit
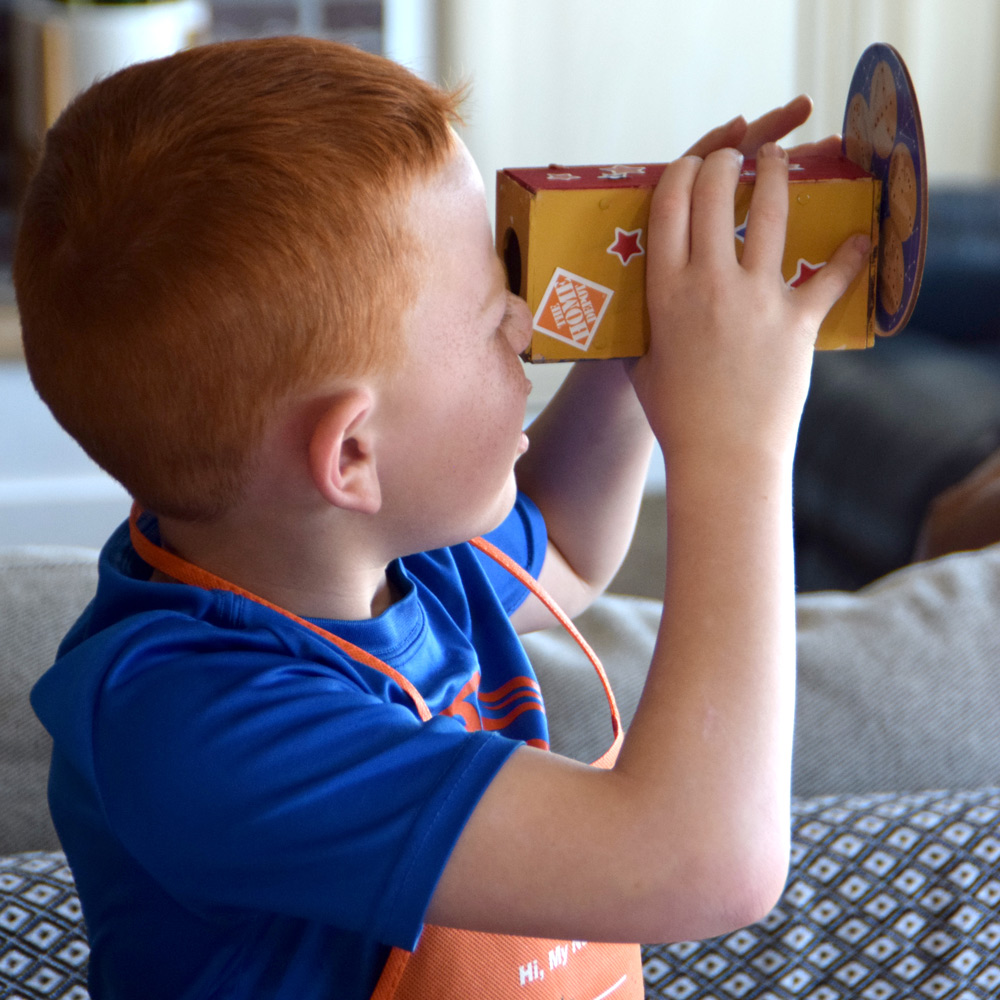
I’m so excited to be sharing how my kids and I made this awesome constellation viewer with one of the Home Depot Kids Workshop Kits.
You can find the Constellation Viewer kit online at Homedepot.com or in your local Home Depot store. We had the best time working on these projects together. My kids love when there is a new kit that they can work on. My favorite part as a mom is how simple these are for me. I don’t have to gather a bunch of supplies because the kit comes with everything you need.
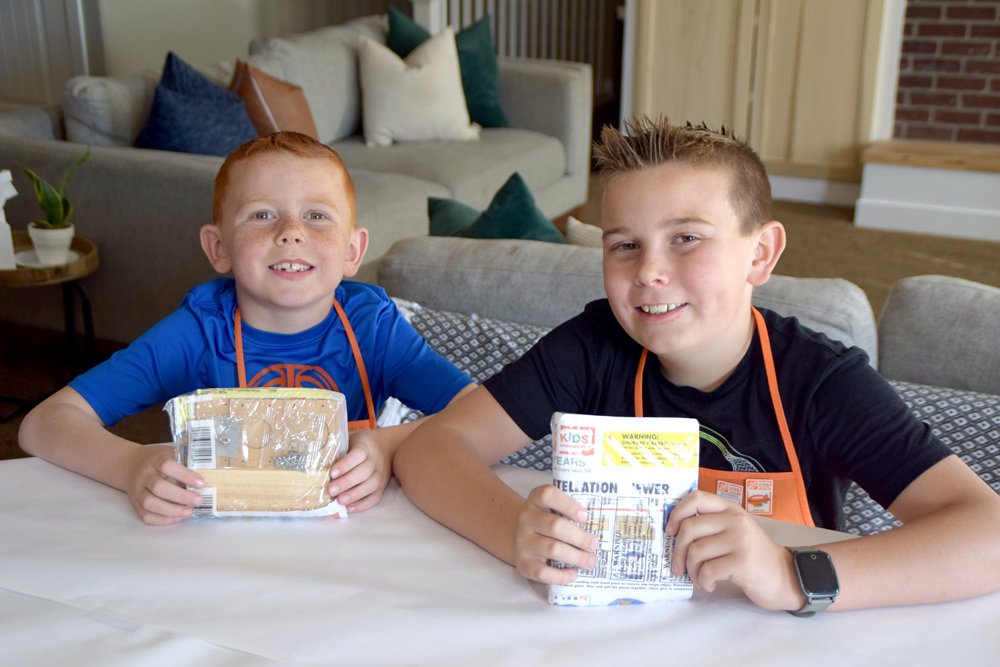
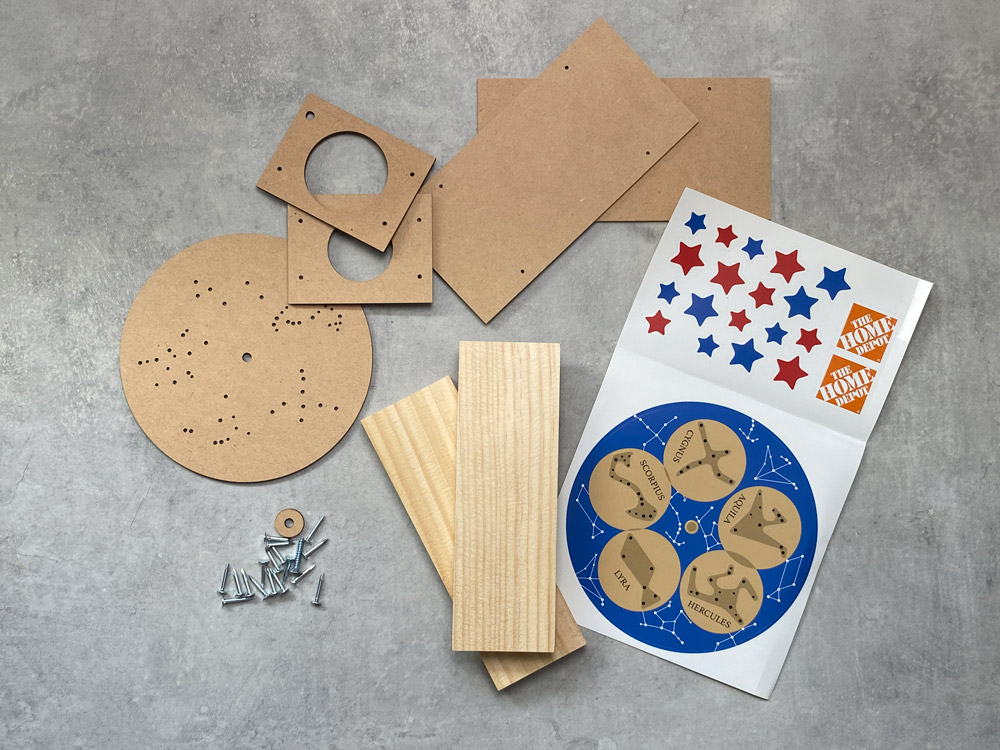
If you purchase online, the Kids Workshop kit comes with everything you need to build your Constellation Viewer:
- 1 Top
- 1 Bottom
- 2 Sides
- 1 Front
- 1 Back
- 1 Disk
- 1 washer & 15 Nails
- 1 Sticker Sheet
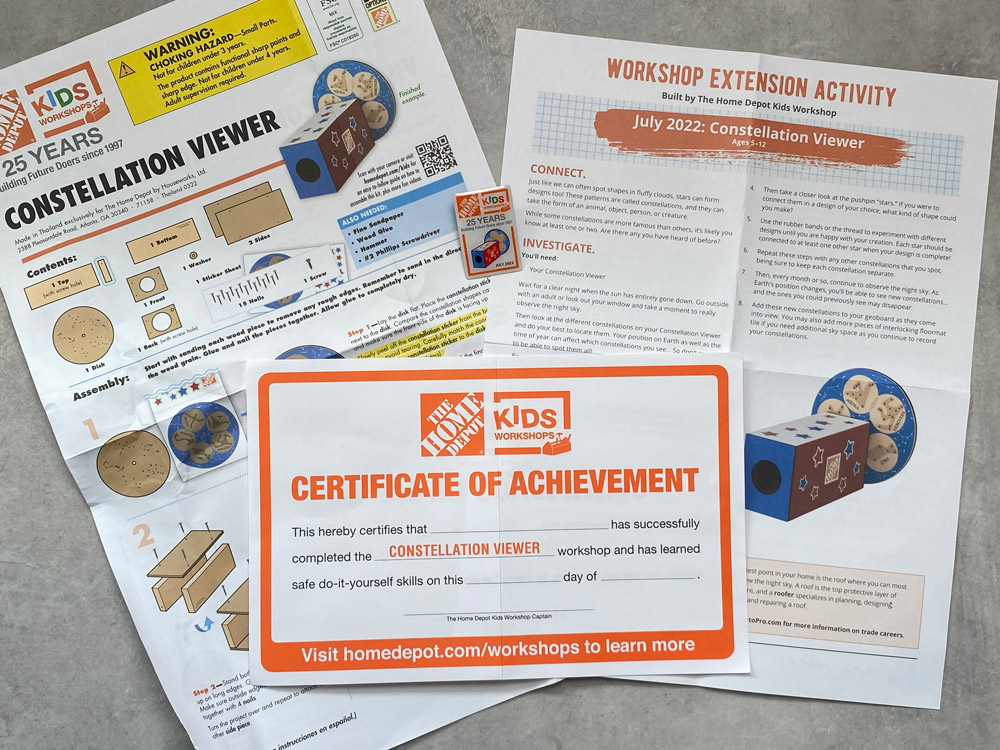
- Instruction Sheet
- Home Depot Kids Apron
- Kids Workshop Certificate of Achievement
- Workshop Extension Activity Sheet
- 1 Apron Pin
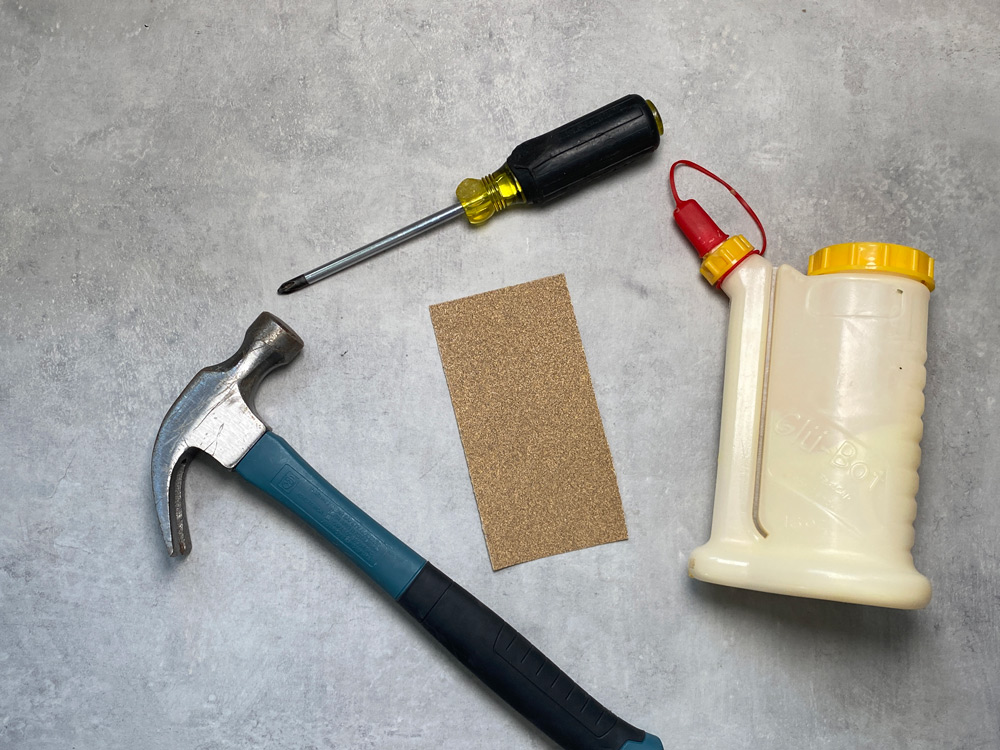
You’ll also need a few things you can find around your home, or in your local Home Depot store.
We love to do the kid's workshop kits in our home. We usually set up a table in our living room, or we sit at the kitchen counter and work on the project together.
Start by opening up your kits, laying out your pieces, and reading through the instructions. You’ll also need to sand to remove any rough edges. Remember to sand in the direction of the wood grain.
Step One
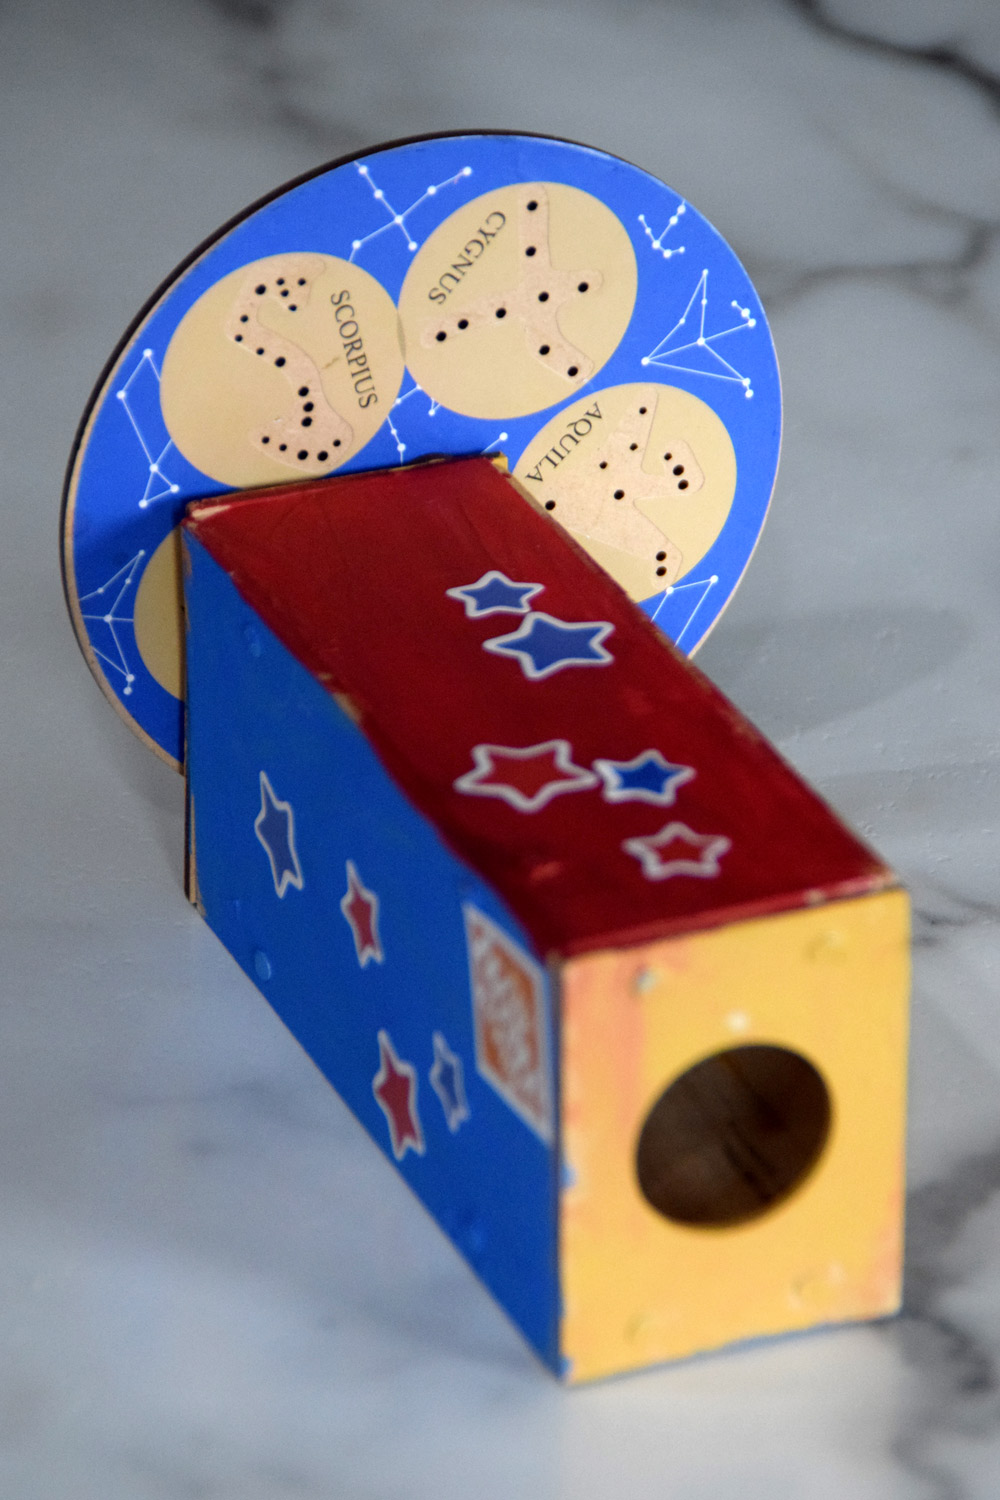
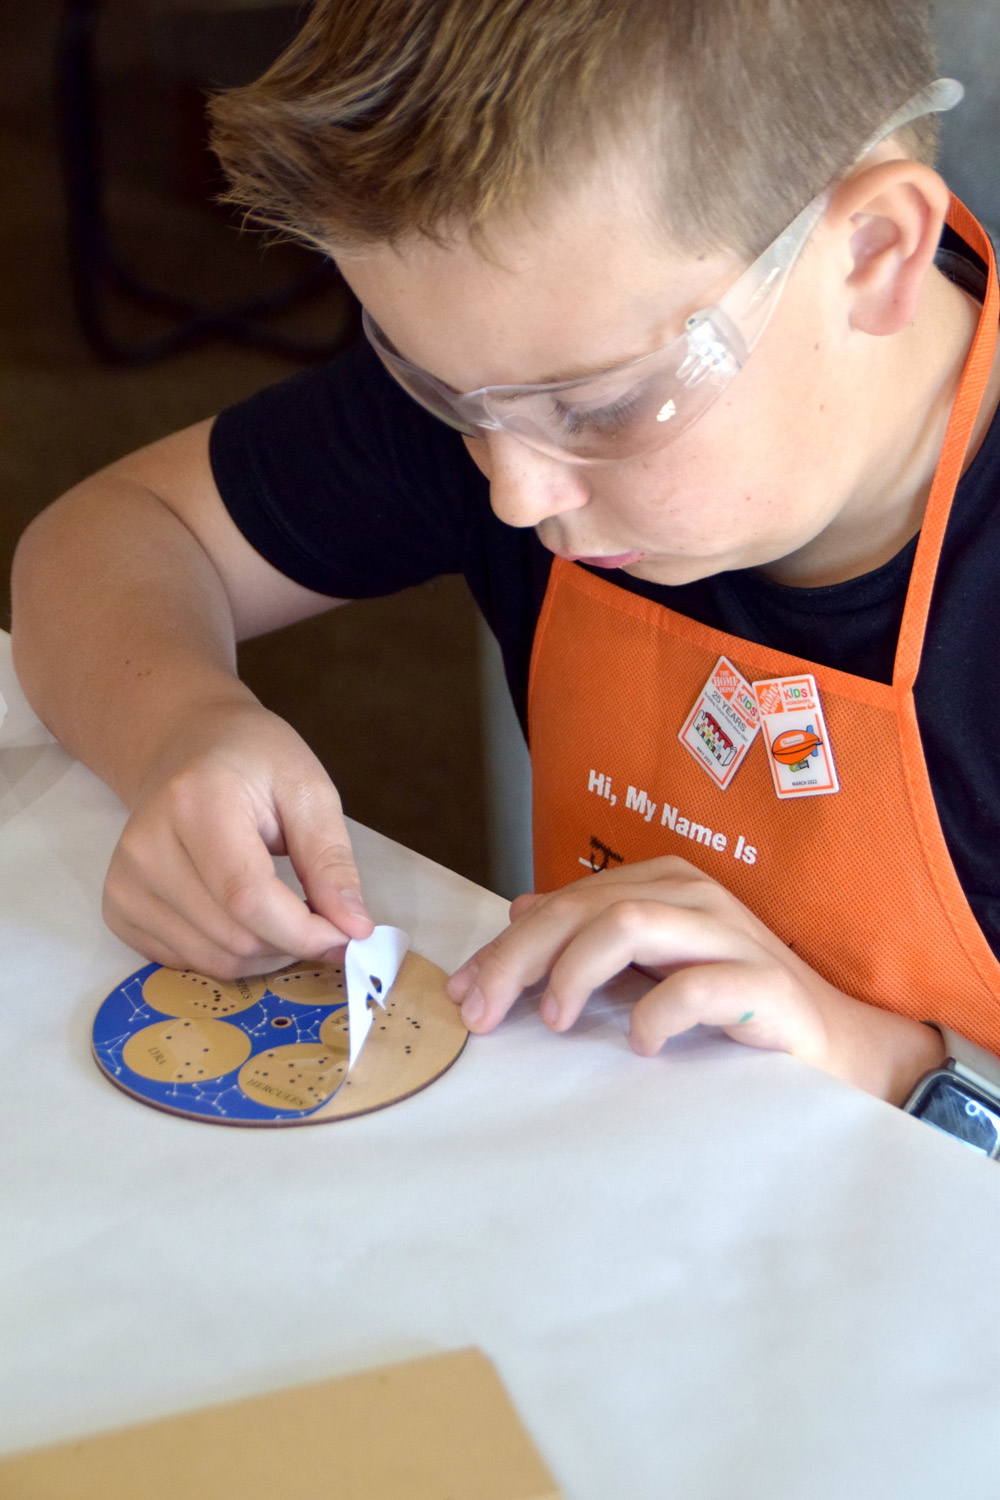
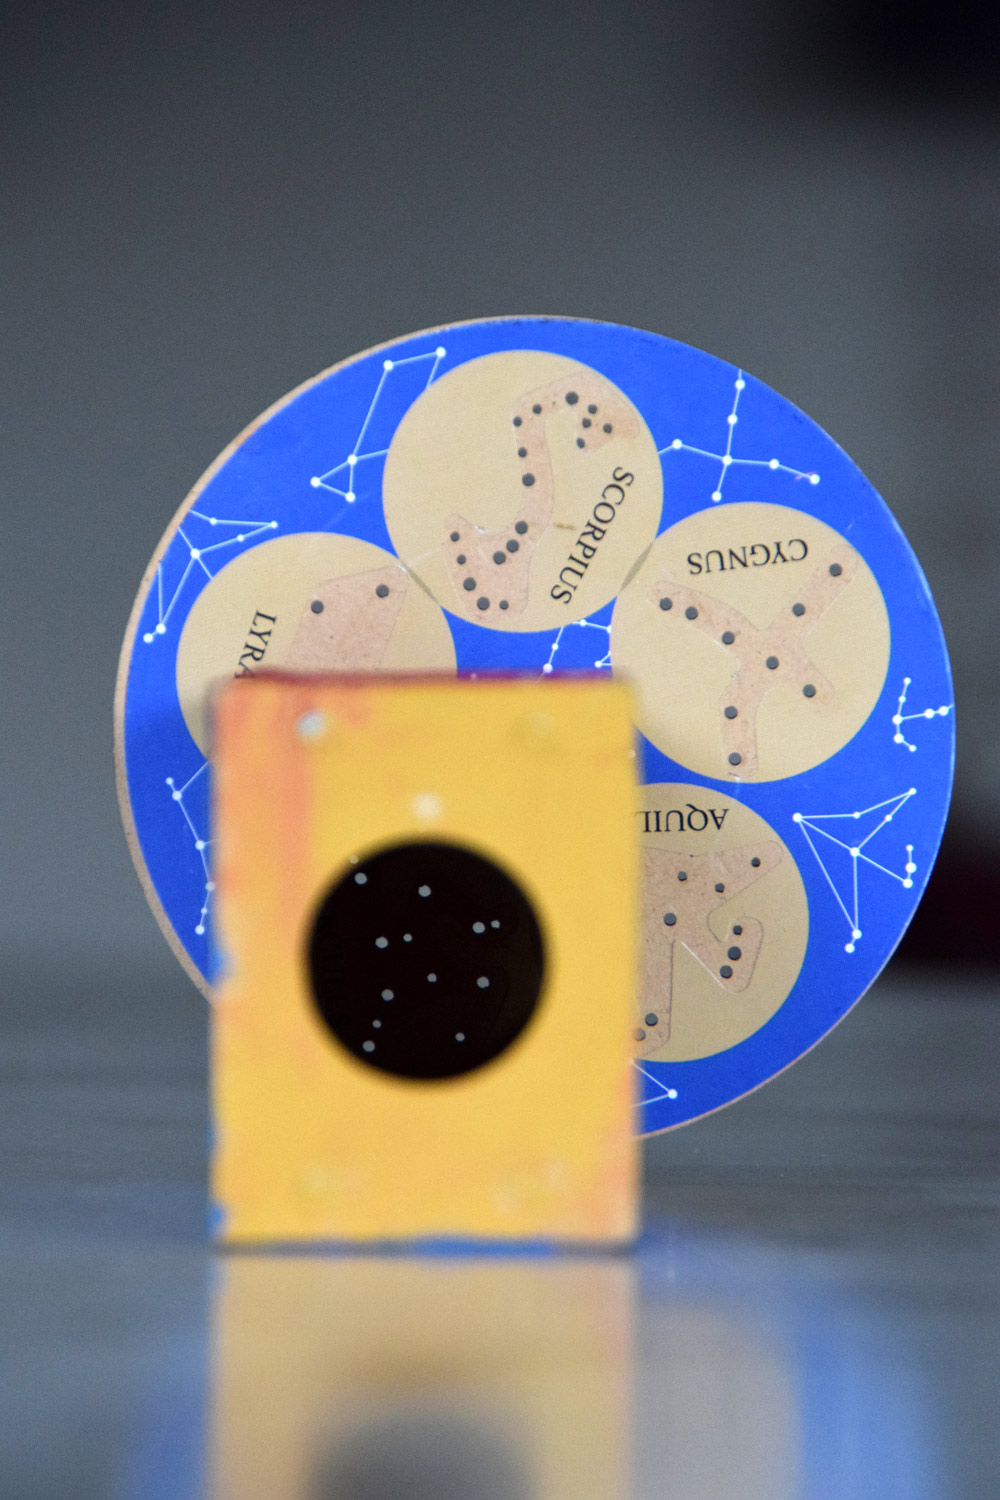
The first thing you do is put the constellation sticker on your disk. Make sure that you compare the shapes carefully, so you are lining up the sticker with the disk in the right way. And be careful not to cover up any of the holes. Set this disk aside until the final step.
Step Two
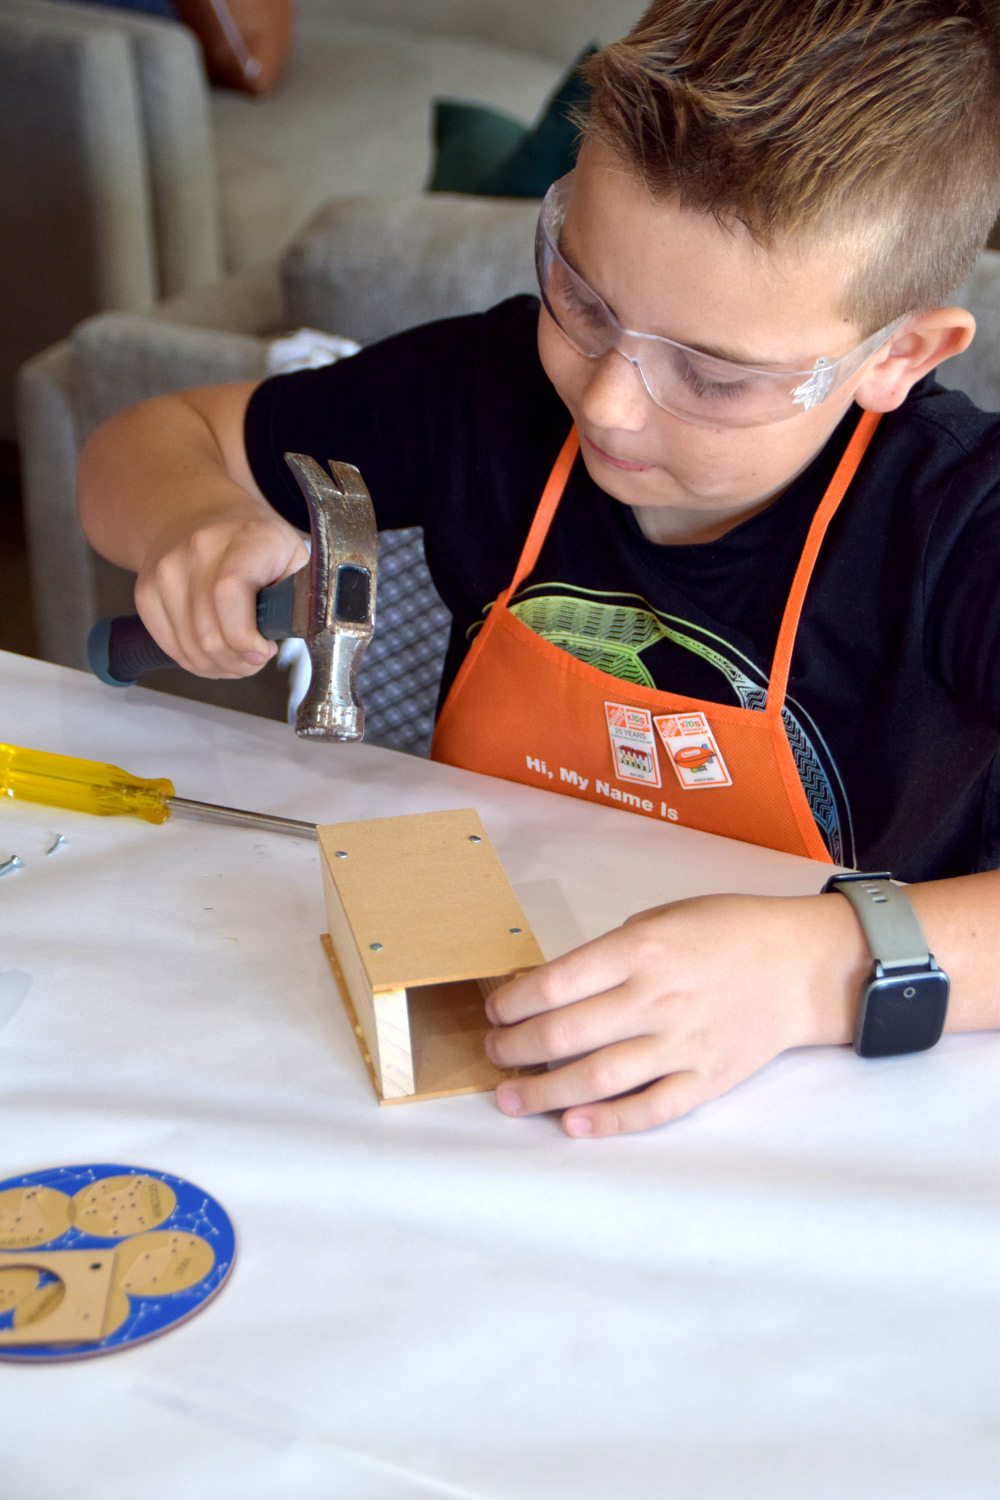
We are going to start by building our box for the viewer. Stand both top and bottom pieces up on long edges. Glue one side piece on top. Make sure the outside edges are even. Nail them together with four nails.
As you add the wood glue, be careful that you don’t add too much. You don’t want the wood glue oozing out all over the place, and the more you use, the more the wood pieces tend to slide, making it harder to nail everything together.
Once you’ve got that piece nailed together, Turn the project over and repeat to attach the other side. We found that it was easiest if I held the wood steady while the kids hammered the nails in.
Step Three
Now you’ll stand the project up on its end. One of your pieces has a little screw hole in it, find that screw hole and keep track of it.
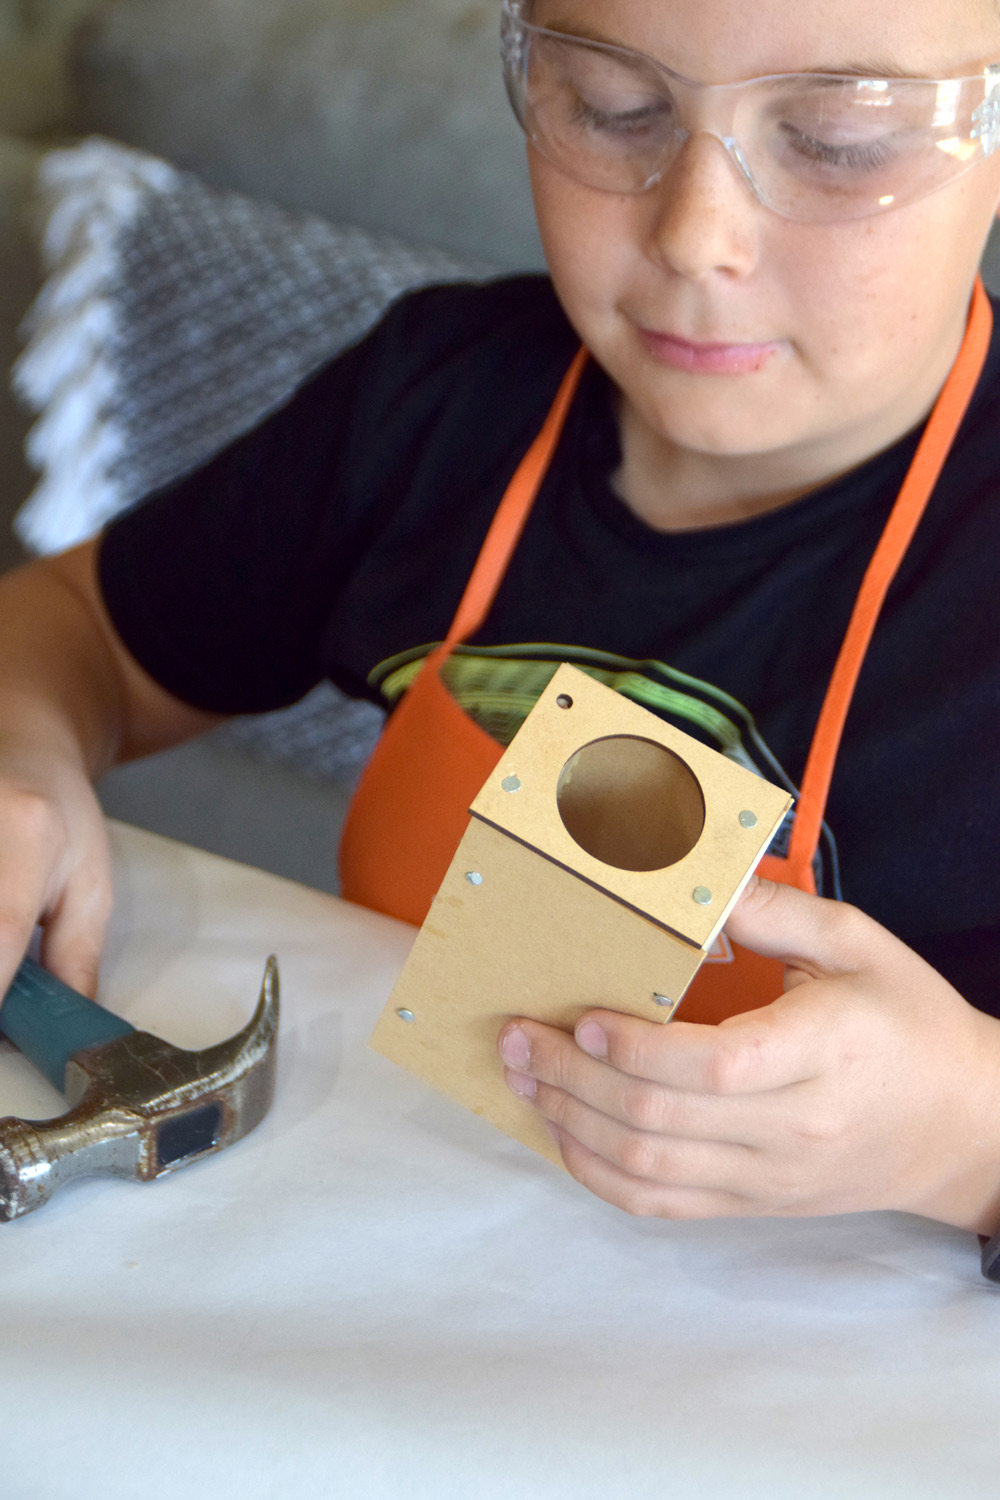
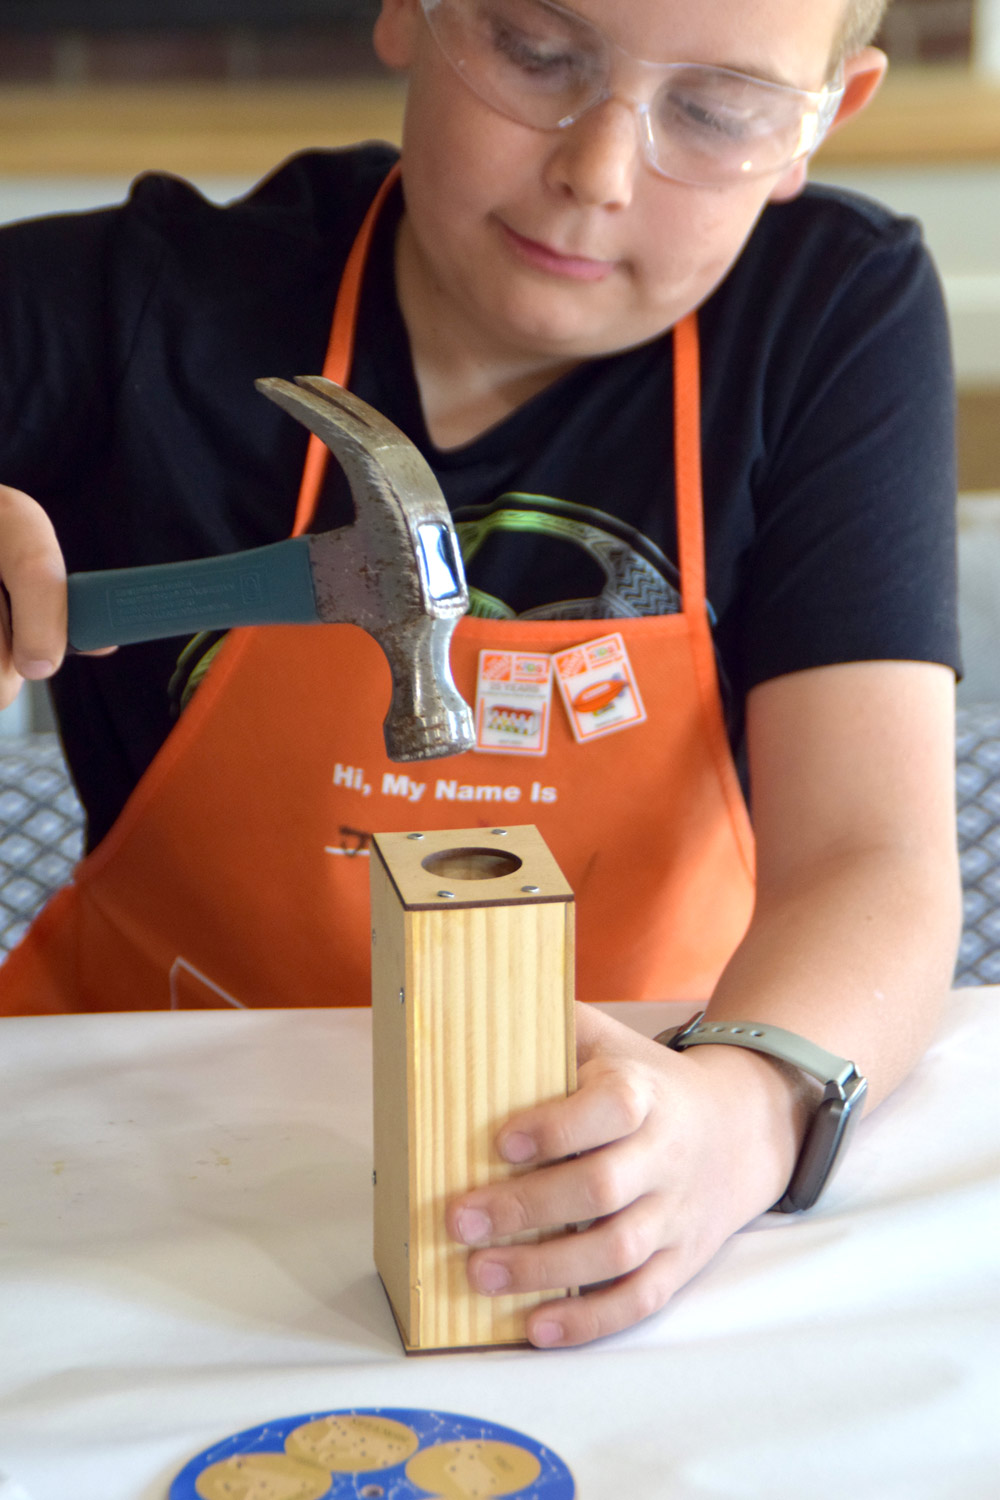
Then you are going to get your back piece. It has three pilot holes for nails and one larger hole. This is where you will add a screw later on, so the disc can spin around - match that larger hole with the screw hole. You’re going to put three nails in the other pilot holes, but leave the larger hole empty. Then, turn the whole thing over, and using wood glue and 4 nails, attach the front piece on top of the project.
Step Four
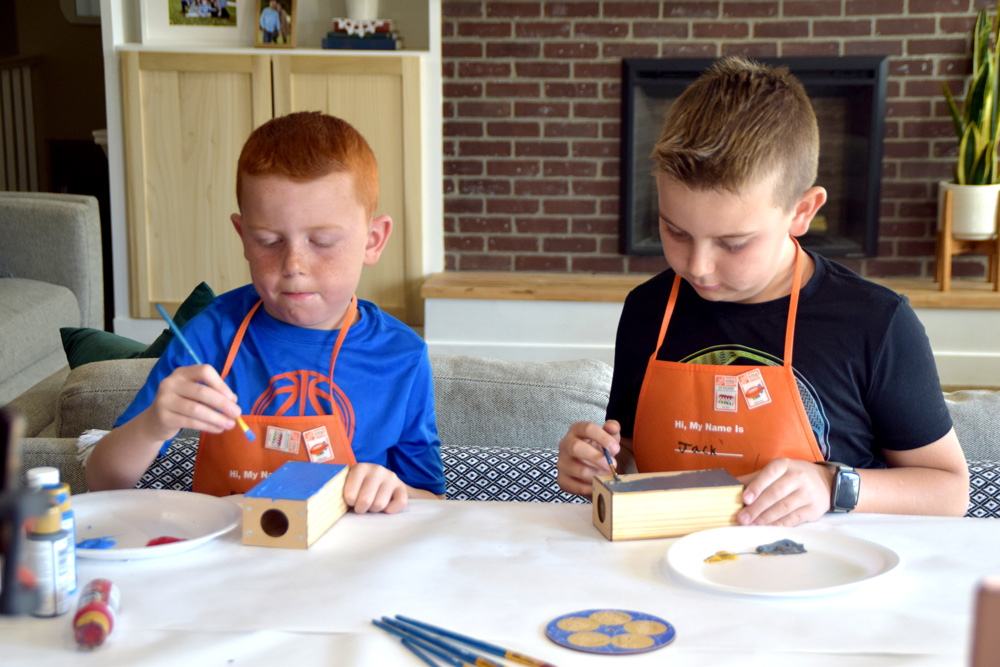
Now you’ve got your viewer all built, but we haven’t attached the constellation disk yet. If you plan on painting your project, go ahead and do it now. We love this part of every project, where each child gets to make their project really feel like their own. My kids chose their favorite colors of paint, and I just let them paint their projects however they wanted.
Just make sure that you don’t paint the constellation disk because you don’t want that paint filling in any of your star holes. Once you are done painting, let the paint dry before you move on to the next step.
Find the hole that we talked about earlier. One of ours was pretty full of dried-up paint, so I just got a tiny little drill bit and drilled that hole out again. Then align the hole with a washer and add your constellation disk.
The kit came with one screw. Find that screw and
Attach these pieces altogether. I started the screw with my fingers first, and my kids finished it off with a Phillips screwdriver.
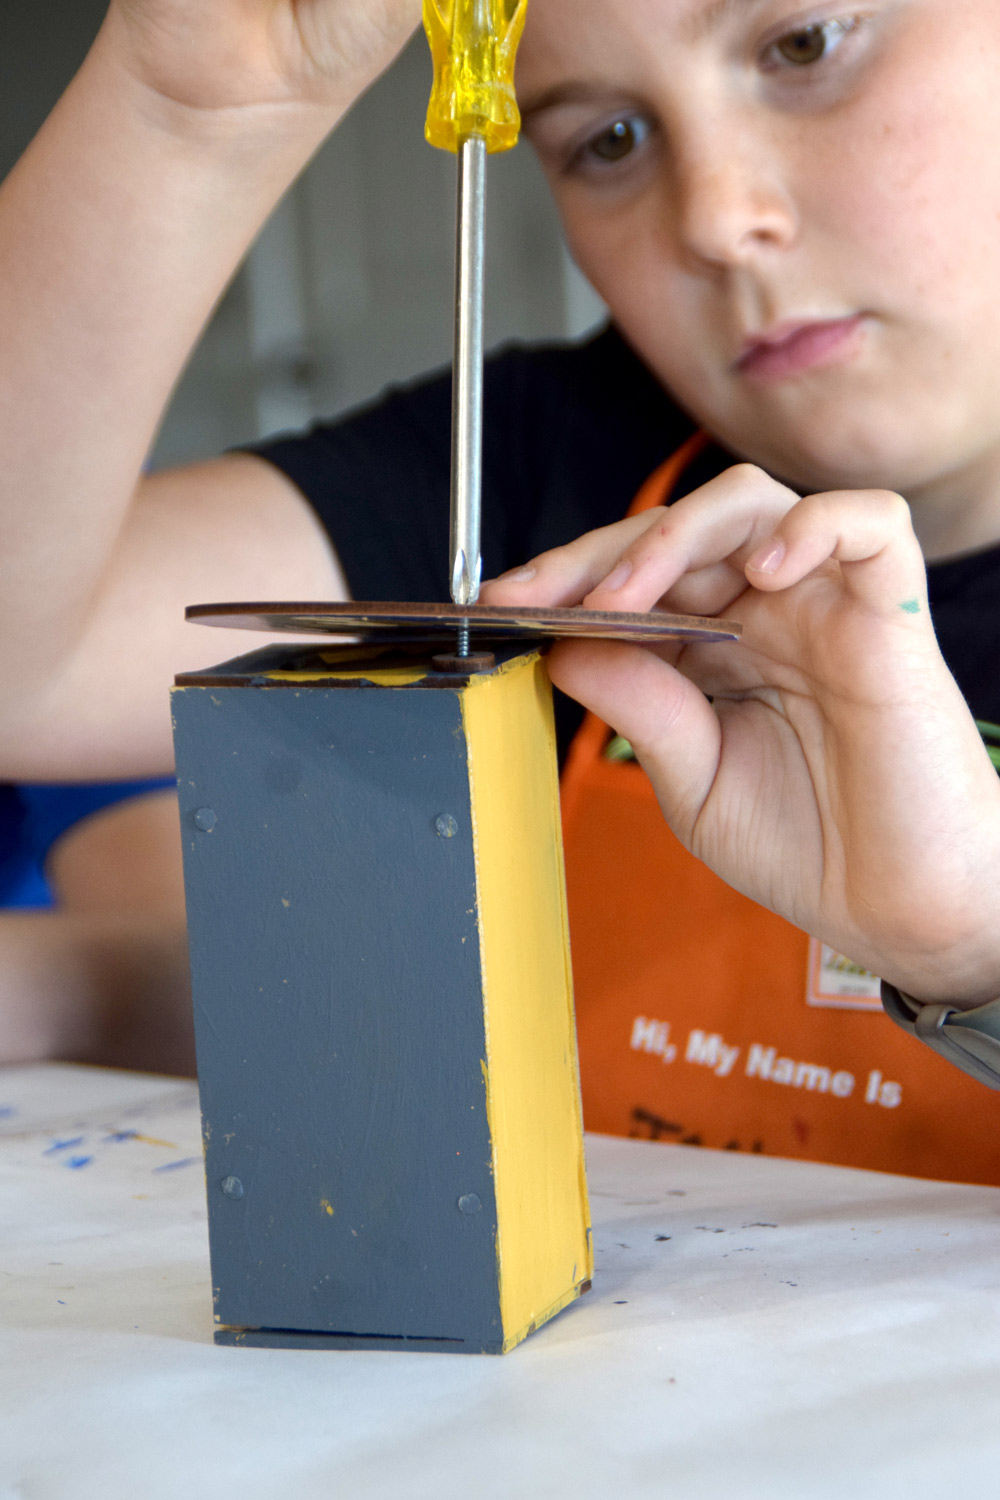
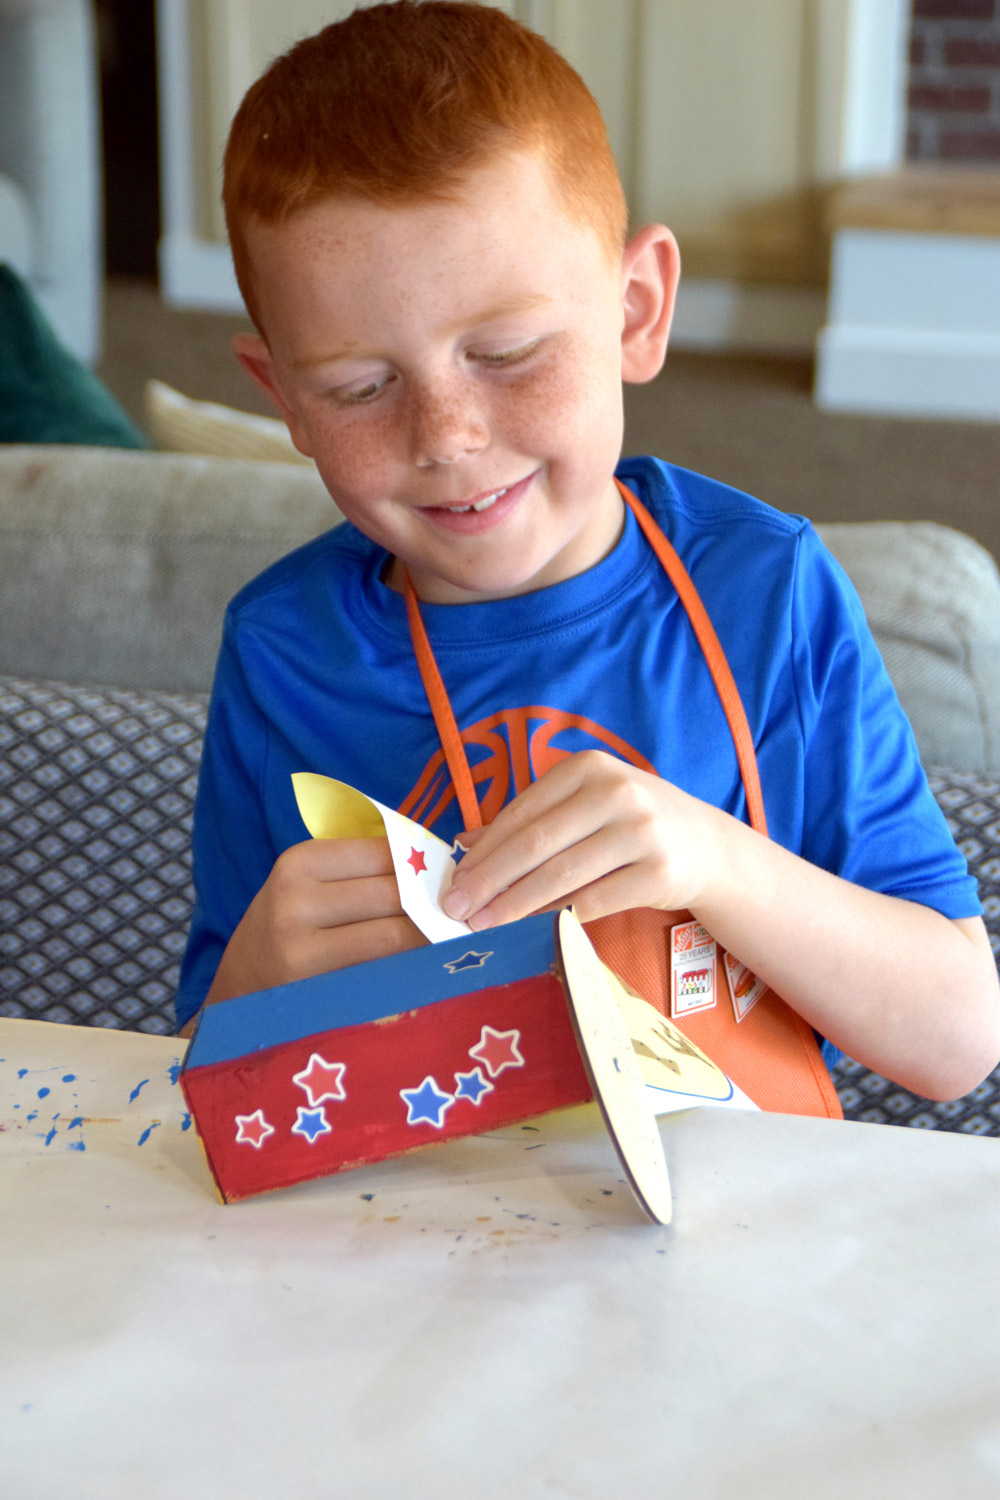
Make sure not to screw too tightly, because you’ll want the constellation disk to rotate easily. If you do tighten the screw too tight, just back it out a little bit. Then you can add stickers to your project however you’d like.
Workshop Extension Activity
One of our favorite parts of the Home Depot Kids workshops is that each kit comes with a workshop extension activity sheet, in partnership with Discovery Education. This is a fun little activity that kids can do with the project they just built.
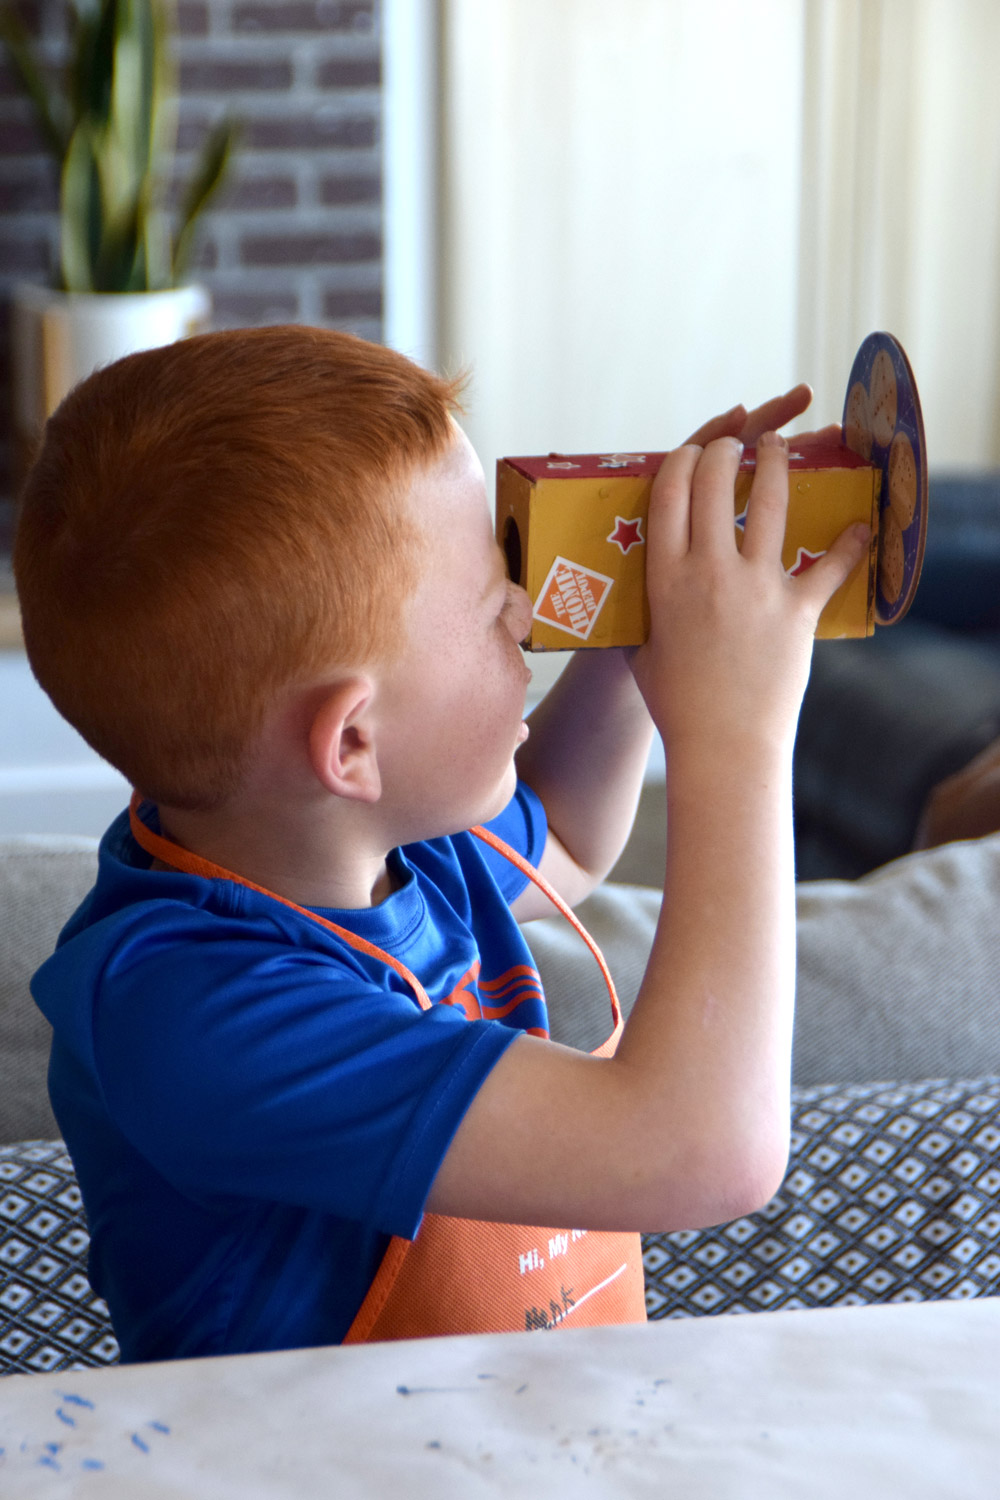
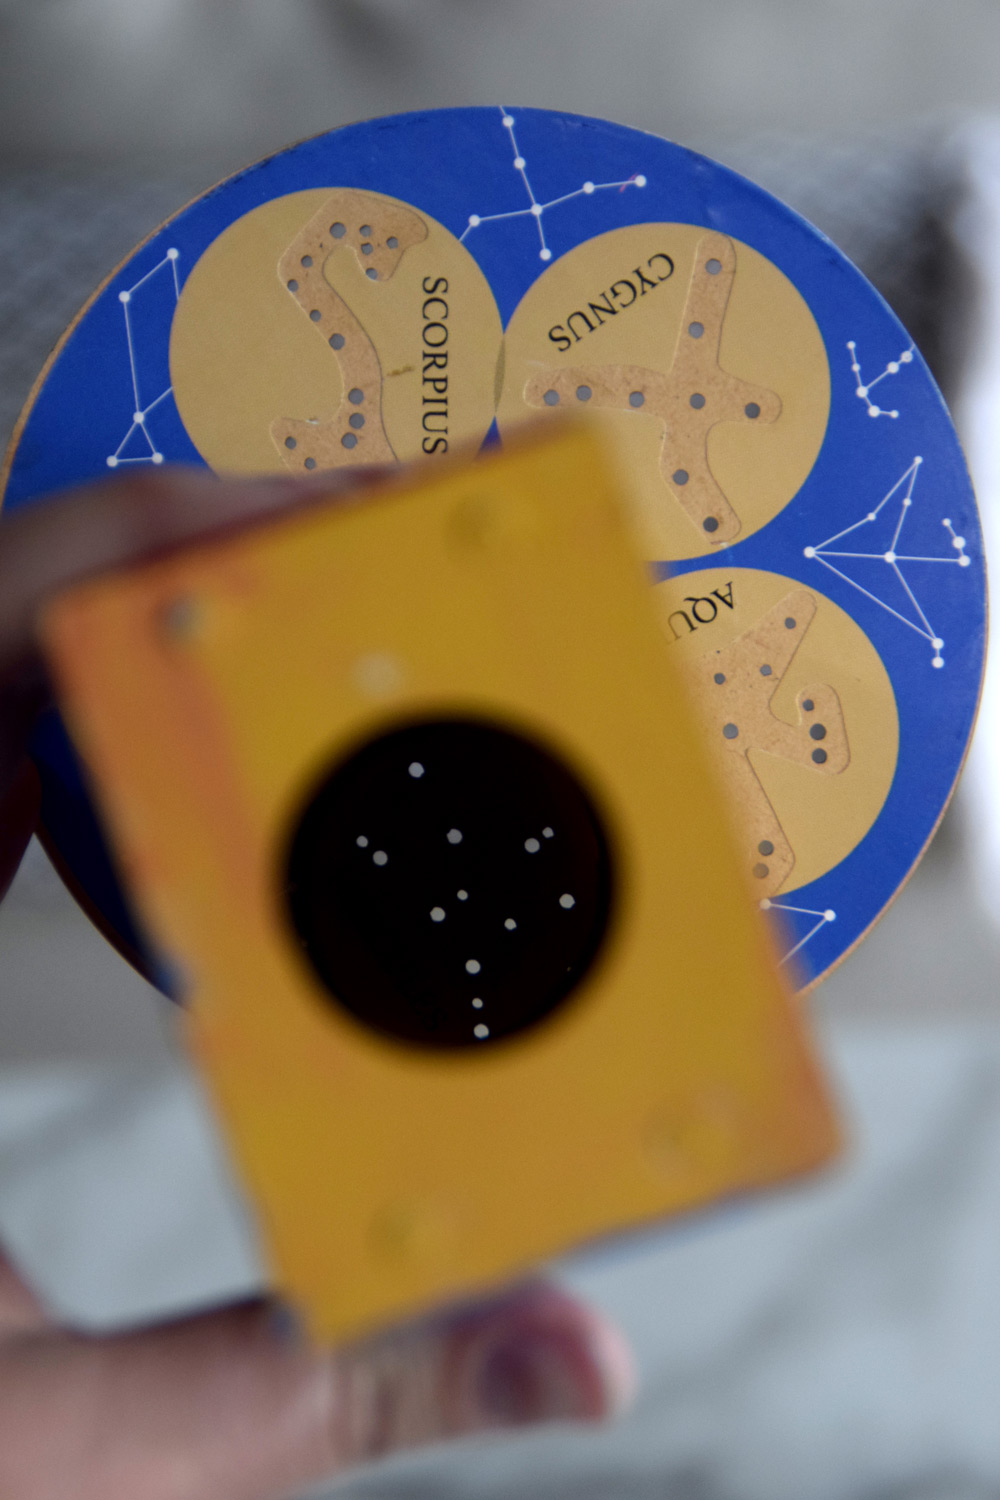
For the constellation viewers, we got to make our own little constellations. Don’t tell the kids, but as fun as this was, they were actually learning a little bit too! We loved looking at the constellations so much, that we thought it would be fun to make our own little constellation creations.
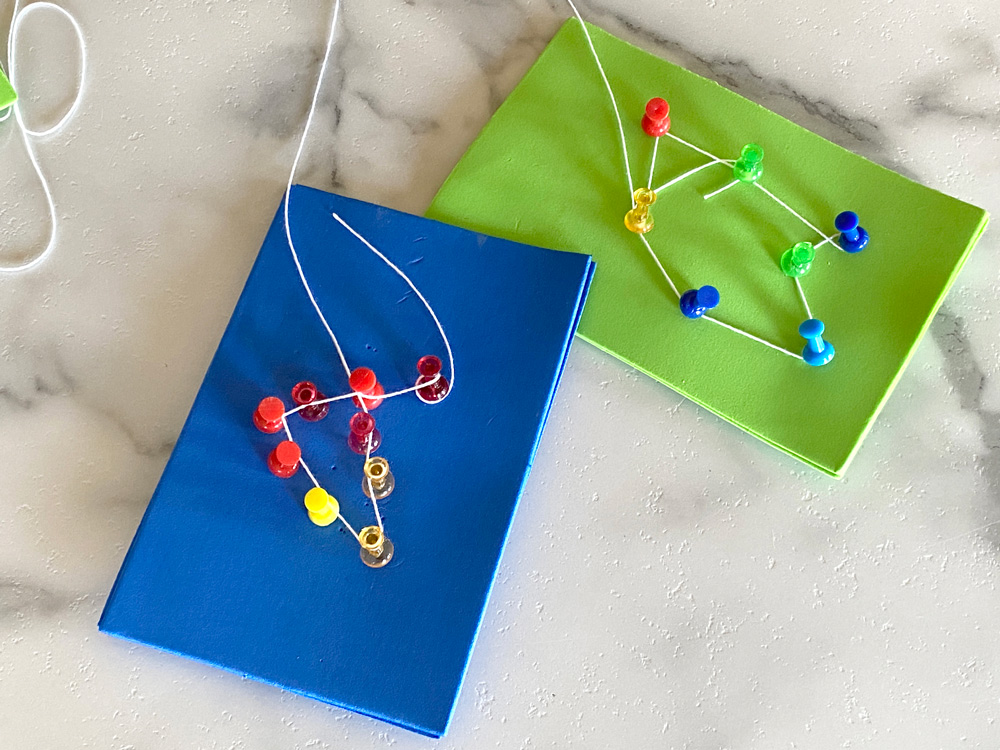
We took some craft foam, push pins, and string, and got creative. We pretended that the craft foam was the night sky and the push pins were the stars. We put the push pins in the foam and we used the string to connect the pushpins. Some of the kids had a plan and some just put them in randomly. It was fun to make our own constellations and recreate some of the constellations we found on our constellation viewers.
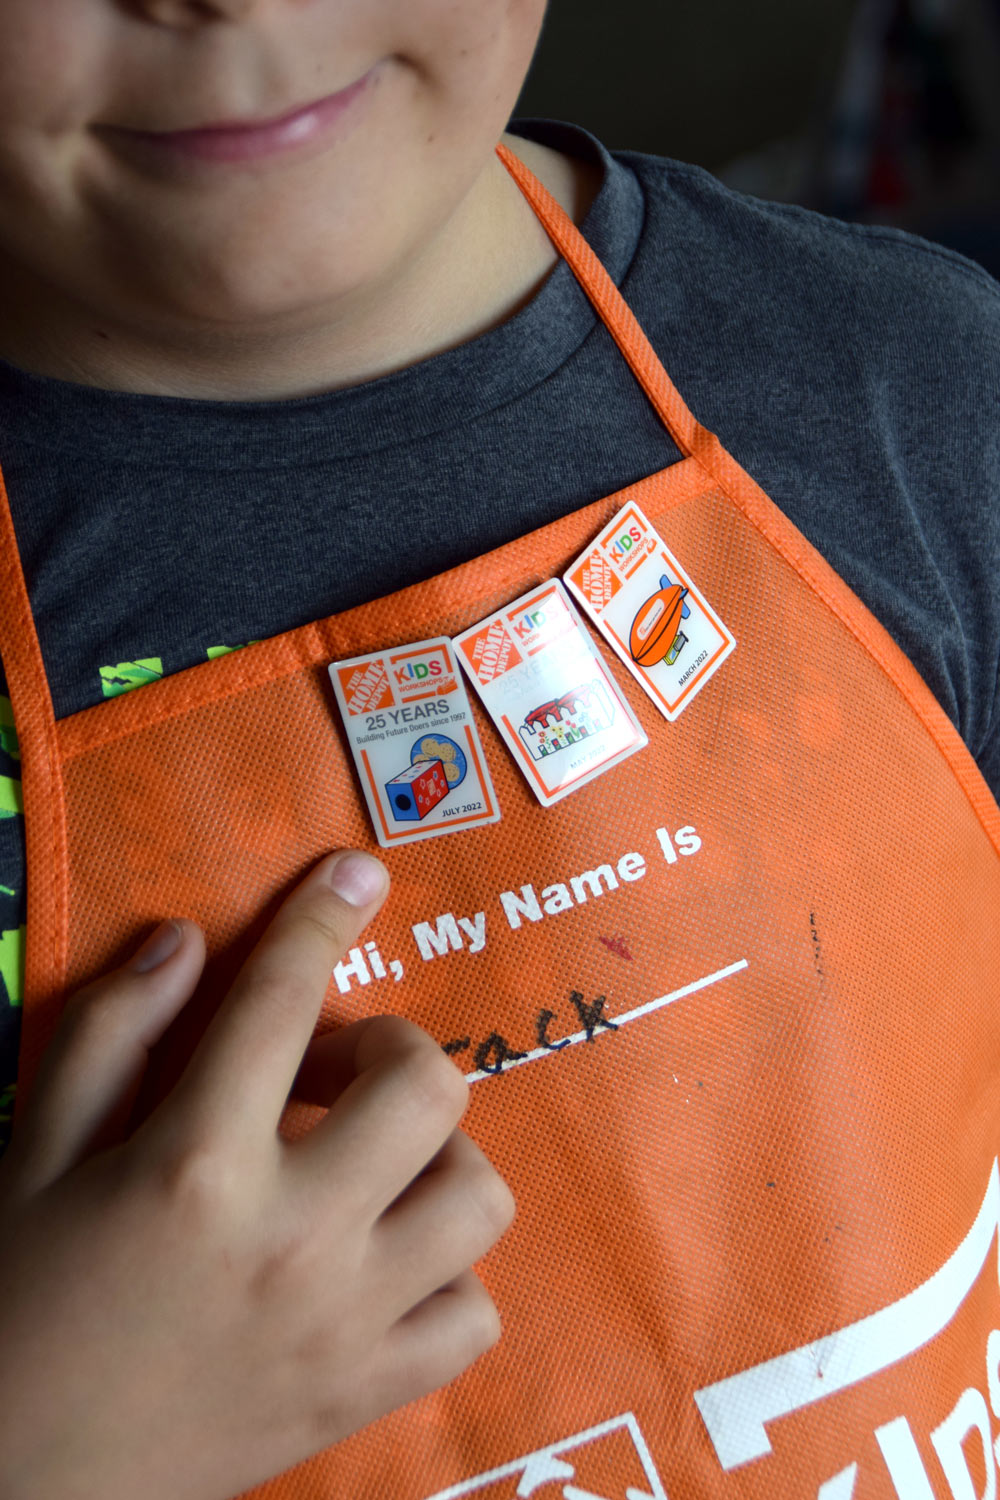
Every Kids Workshop kit comes with a certificate of achievement that you can fill out when your kids finish their projects. It also comes with a pin that is specific for each project. Every time you finish one of the kid's workshops, you can put your pin on your apron. Our kids have been collecting their pins on their aprons and love it when they get to add a new one.
Thank you for following along as we made these constellation viewers. This was one of our favorite kits yet. We had so much fun with it. Even the adults thought this was really cool. Don’t forget to check out these kits online at HomeDepot.com or in your local Home Depot store on the first weekend of July!
This post was created in partnership with The Home Depot. The author may have received compensation for this article and associated images or video, potentially in the form of products and/or services. All expressed opinions and experiences are the author’s own words.


