How to Make a Toy Lawn Mower

Last updated August 21, 2024

Serena Appiah is a blogger, entrepreneur, artist, thrifter, wife, and mother of three young sons. She had been named the 2016 Home + Garden Trendsetter of the Year, which won her the opportunity to speak at home shows nationally. Since 2012, she's been inspiring readers at ThriftDiving.com to decorate, improve, and maintain their home on a DIY budget. Thrift stores, power tools, and paint brushes have helped Serena and her readers transform their homes, one project at a time.
A Note From The Home Depot
Getting ready for Spring time is extra enjoyable with this hands-on craft project. This fun activity teaches kids a fun craft just in time for getting outdoors on your own lawn. The Home Depot sells Kids Workshop kits to teach your children something new and to get them involved. If you don’t have the kit on-hand, all you need is cardboard, paint, glue and other items you probably already have around the house. Read on for step-by-step instructions for making this toy lawn mower from Serena Appiah of Thrift Diving!
Table of Contents
Set Up Your Workspace
Step 1
Step 2
Step 3
Step 4
Step 5

Set Up Your Workspace


Step 1

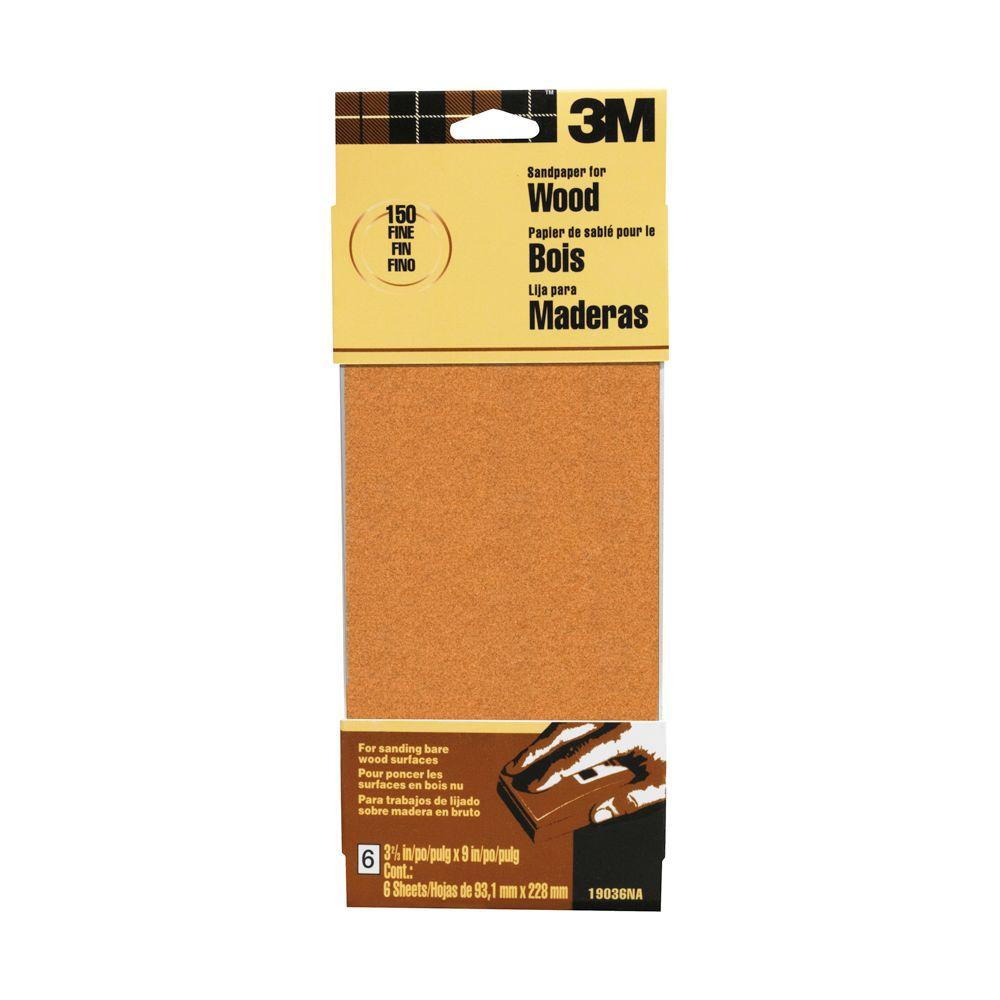
- Start with sanding each wood piece to remove any rough edges.
- Remember to sand in the direction of the wood grain.
- Glue and nail the pieces together and allow glue to completely dry.
- Place the deck down with the nail holes on top. Lay the base upside down so the bottom side with the lines face up.
- Using the lines as guides, align and glue the deck on top. Nail them together.
Step 2


- Place both front and back axle pieces down with the nail holes on top. Start with 4 long nails.
- Stand the project up. Glue the front axle on the base.
- Make sure the top and side edges are even and nail them together.
- Turn the project over and repeat to attach the back axle.
The most iconic sights, sounds, and smells of spring and summer are lawn mowers and fresh cut grass! While the grown-ups spend countless hours each week keeping the lawn trimmed and tidy, kids can make their own toy lawn mower to tend to their own backyard with this fun project with The Home Depot!
This project includes a FREE downloadable pattern to use to create their very own cardboard lawn mower with cereal boxes or any thin cardboard or cardstock. Kids will also get to create their own backyard oasis with grass seeds, soil, and a planter!
Step 3

- Place the hood on top of the project with the front edges even.
- Make sure the holes in the hood and base are aligned.
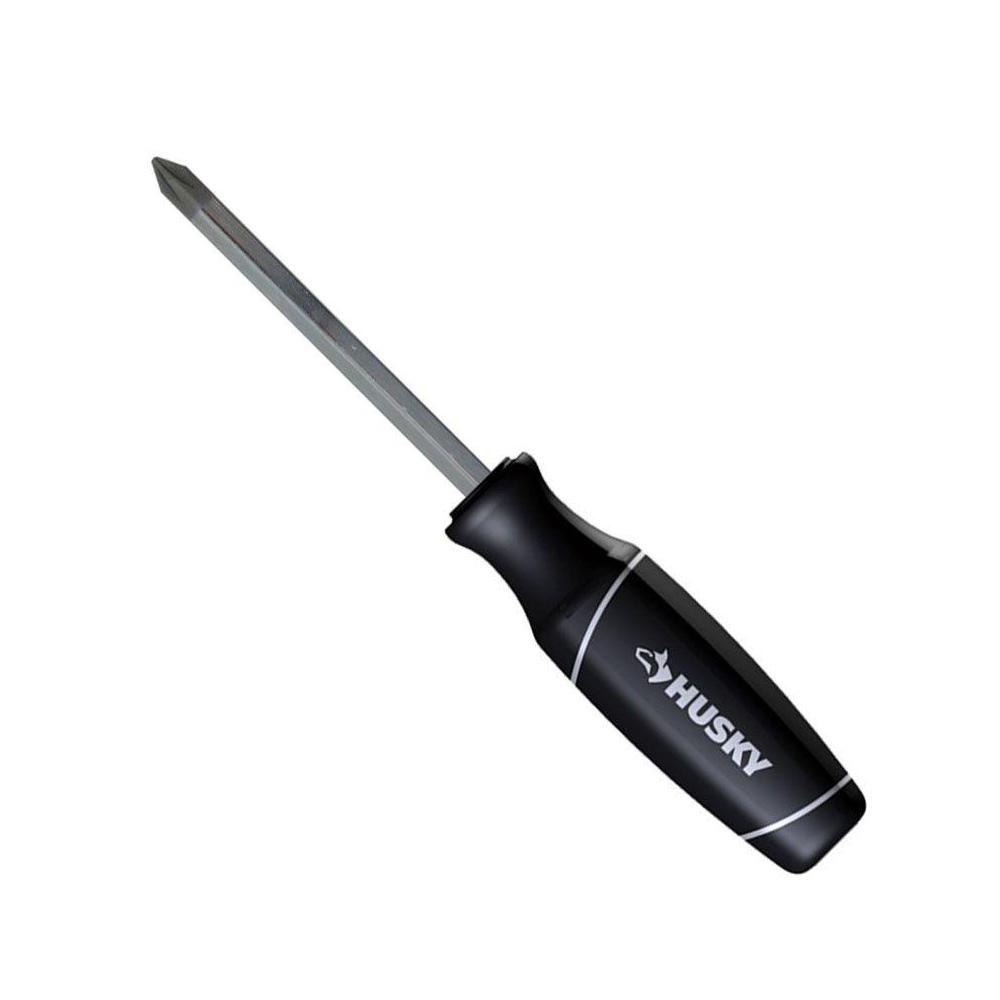
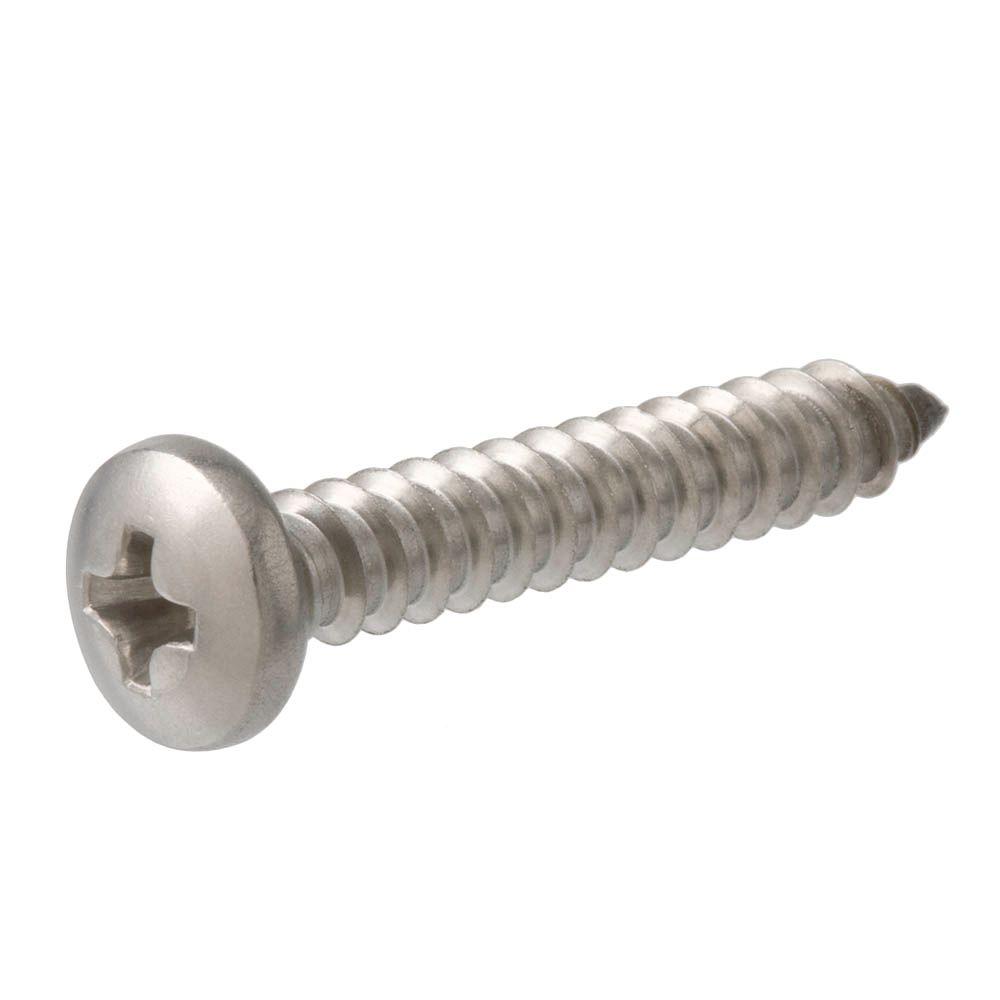
- Using a #2 Phillips screwdriver, attach them together with a screw.
Step 4

- Lay the backrest with the nail holes on top. Start with 2 short nails.
- Stand the seat piece on a wider edge. This side with whole is the bottom side.
- Glue the backrest to the seat piece. Make sure the bottom and side edges are even.
- Nail them together to complete a seat.
- Place the seat on top of the project with the back edges even.
- Make sure the holes in the seat and base are aligned. Attach them together with a screw.
Step 5

Glue the down into the hole in the hood.
Step 6

- Slide an axle peg through the small wheels.
- Put a dot of glue in the end of each axle peg.
- Insert them into the peg holes in the front axle.
- Repeat to add the large wheels to the back axle.
- Tap the axle pegs with a hammer if necessary.
- Glue the steering wheel to the dowel. Add the stickers as shown.
- Attention: If you are painting the project, DO NOT paint inside or around the peg holes. Painting inside or around the peg holes make it difficult to insert axle pegs. Allow the paint to dry completely.
Enjoy and Make the At-Home Version
Congratulations! You have successfully built your own toy riding lawn mower with you kids. If you don’t have The Home Depot’s kit at home, feel free to follow along below to learn how your child can build their own toy lawn mower out of cardboard and common materials found around the home. Challenge your kids to see what they can do!
Step 1: Print the free pattern templates.
Cardboard is something we all have plenty of around the home! From delivery boxes, to cereal boxes, it’s perfect for recycling into fun cardboard toys for kids! (Find more fun cardboard toys, such as a Ladder Truck or a Toy Crane. What’s better is when there are free patterns available for cutting out cardboard pieces in order to make the toys!
This DIY toy lawn mower comes with free printable templates that can be printed out on your home printer. The templates will print out a little small, so be sure to increase the scale in your printer settings to at least 135%. Each of the pattern pieces will be folded along all the solid lines. The blue areas represent the flaps that will be glued to hold the toy lawn mower pieces together.

Step 2: Cut Out the Lawn Mower Cardboard Pieces
Lay out each of the pattern pieces onto the cardboard, trace it out, and then use scissors to cut them out. Be sure to trace all the lines on the pattern onto the cardboard.

There will be 7 main pieces total of cardboard in order to make this toy lawn mower:
- 1 Base
- 1 Deck
- 1 Front Axle
- 1 Back Axle
- 1 Hood
- 1 Seat
- 1 Backrest

Step 3: Fold and Glue the Cardboard Pieces
Cardboard is super easy to fold when you make crease marks. Use the edge of your fingernail or the edge of anail head (as shown) to run along the fold lines of the pattern.

As you fold each edge, you can begin to carefully glue each corner’s edges together to make each lawn mower part. When each piece is folded and glued, you’ll have all 7 pieces of your lawn mower. Now it’s time to assemble it!

Step 4: Assemble the Cardboard Lawn Mower
First, glue the deck on top of the base.

Next, flip the base over and glue the front and back axle to the ends of the base. Be sure that the axles are added in the appropriate direction and not upside down.


Glue the hood to the body of the lawn mower. The long sloped part of the hood will face forward.

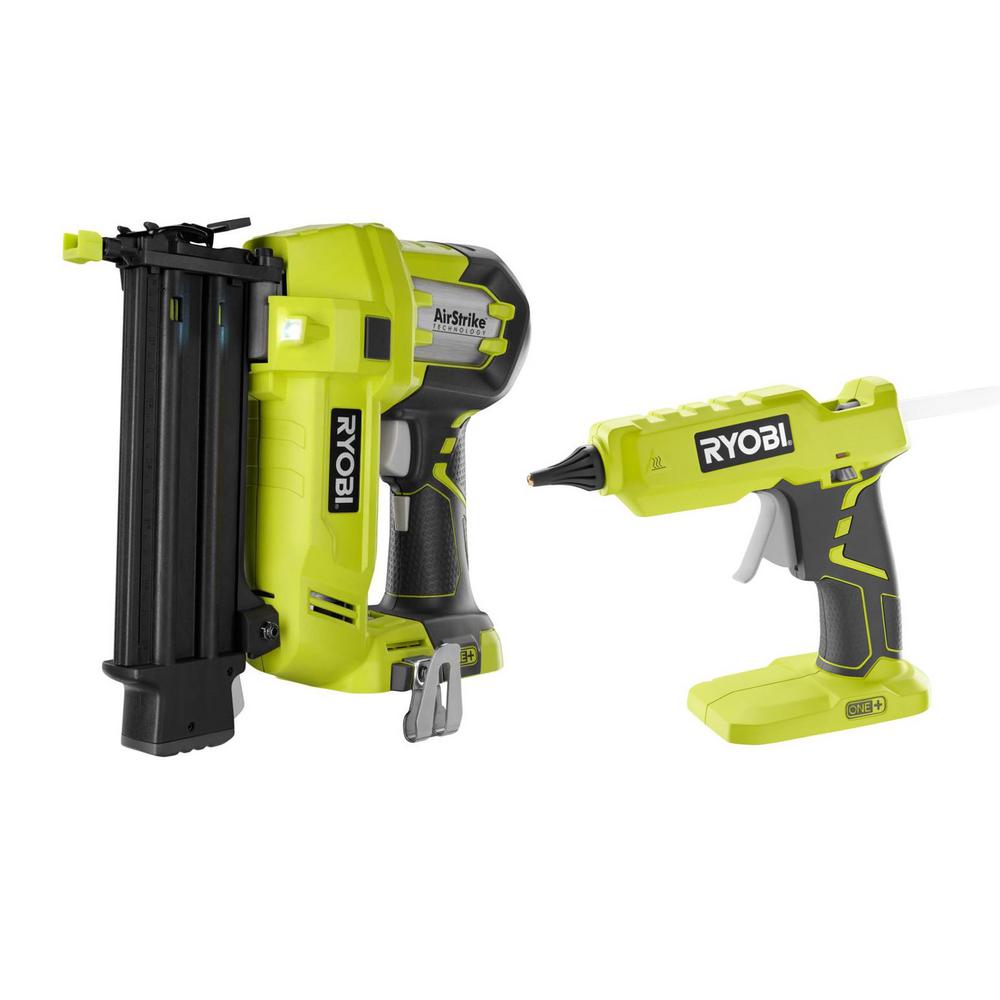
Next, glue the seat and backrest together to form the seat. Use a hot glue gun to attach it to the body of the lawn mower.


Step 5: Cut a Hole for the Steering Wheel
Using the edge of a pair of scissors (or a utility knife), cut a small hole in the hood. Using a scrap piece of cardboard, fold in place with a bead of hot glue, and insert it into the hole.


Add hot glue to the bottom of the button to hold it in place to create the steering wheel. If you don’t have a button to create the steering wheel, cut and glue a cardboard circle.


Step 6: Create Holes for the Wheels
It’s easier to poke holes in the axles before painting the lawn mower. Using the milk container caps, push a long nail (100156844) through the center of the caps. Next, about ⅜” from the edge, poke holes in the axle to test-fit the wheels. Remove the wheels and set them aside to be painted.

Step 7: Paint and Attach Wheels
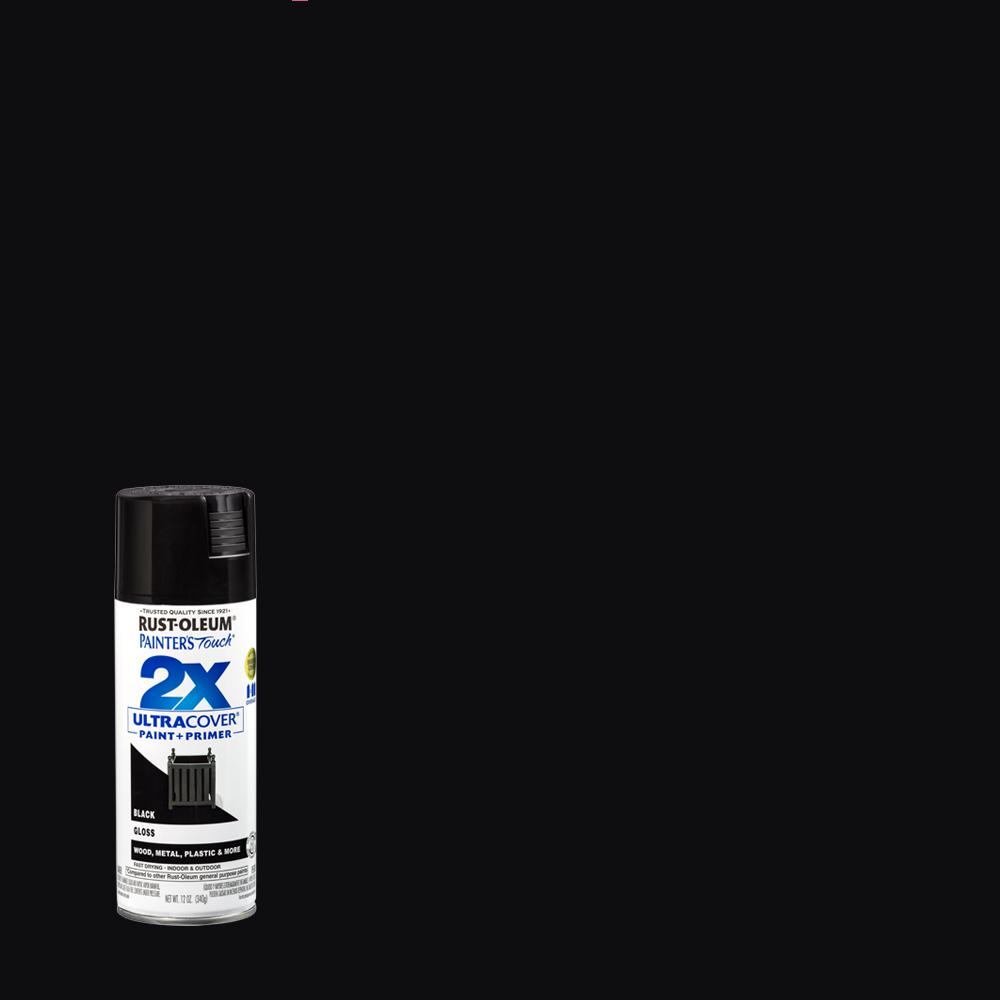
Using the four plastic milk or water bottle plastic caps, spray paint them or use craft paint to paint them black. Don’t paint the inside because the black spray paint will smudge the craft paint on the lawn mower.


Step 9: Add the Painted Wheels
Once the lawn mower is dry, insert the wheels into the axle holes. To help prevent the wheels from falling out, use a bit of hot glue on the tip of thenails.

To make this project even more fun and educational for the kids, this project comes with a Workshop Extension activity!
Fill the bottom of the planter with loose stones or pebbles for drainage, add soil, and a layer of grass seeds. Cover the grass seeds with a thin layer of soil. Let the kids decorate their own backyard oasis! Some fun ideas include: Glue foam board fencing around the planter, turn a clay saucer into a birdbath, or design a playground with polymer clay! The possibilities are endless!
Whether you purchase one of The Home Depot Kids Workshop Lawn Mower kits, or you make your own lawn mower out of cardboard, your kids are sure to enjoy this creative project!


Check out Serena's video here.
This post was created in partnership with The Home Depot. The author may have received compensation for this article and associated images or video, potentially in the form of products and/or services. All expressed opinions and experiences are the author’s own words.