How to Make an Airship with a Kids Workshops Kit

Last updated August 21, 2024

Natalie is a crafty, DIY mom who does everyday mom stuff with just a little glitter in her hair and paint on her jeans. And she blogs about it along the way. She's a firm believer that no matter the project, with the right tools, good instructions, and a little bravery, you can do anything.
A Note From The Home Depot
Are you looking to create new memories with your kids? Natalie Dalpias from The Creative Mom shows you how to make an interactive Airship using the monthly Kids Workshop kit available at The Home Depot. Keep reading to find out how to create this fun toy.
Table of Contents
Step One:
Step Two:
Step Three:
Step Four:
Step Five:
Step Six:
I’m Natalie, from TheCreativeMom.com, and I’m so excited to be partnering with The Home Depot on this Kids Workshop project. My kids and I made the Airship from the Home Depot Kids Workshop kit, and it turned out to be a lot of fun. Let me walk you through this project, with step by step instructions.
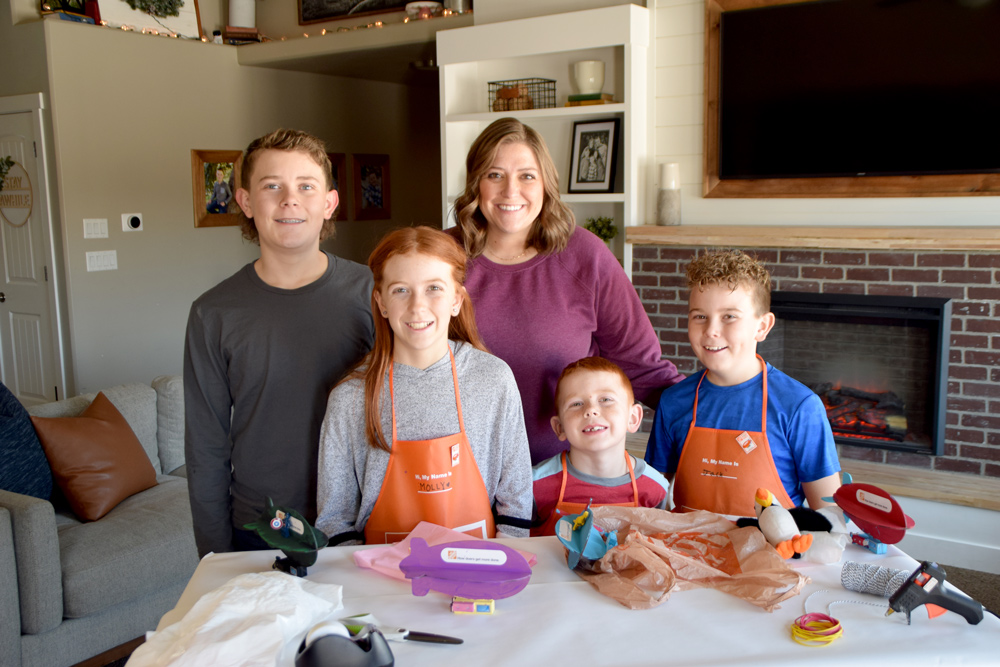
You can find the Airship kit online a Homedepot.com or in your local Home Depot store. We set up a table in our living room and we enjoyed doing this project in our own home.
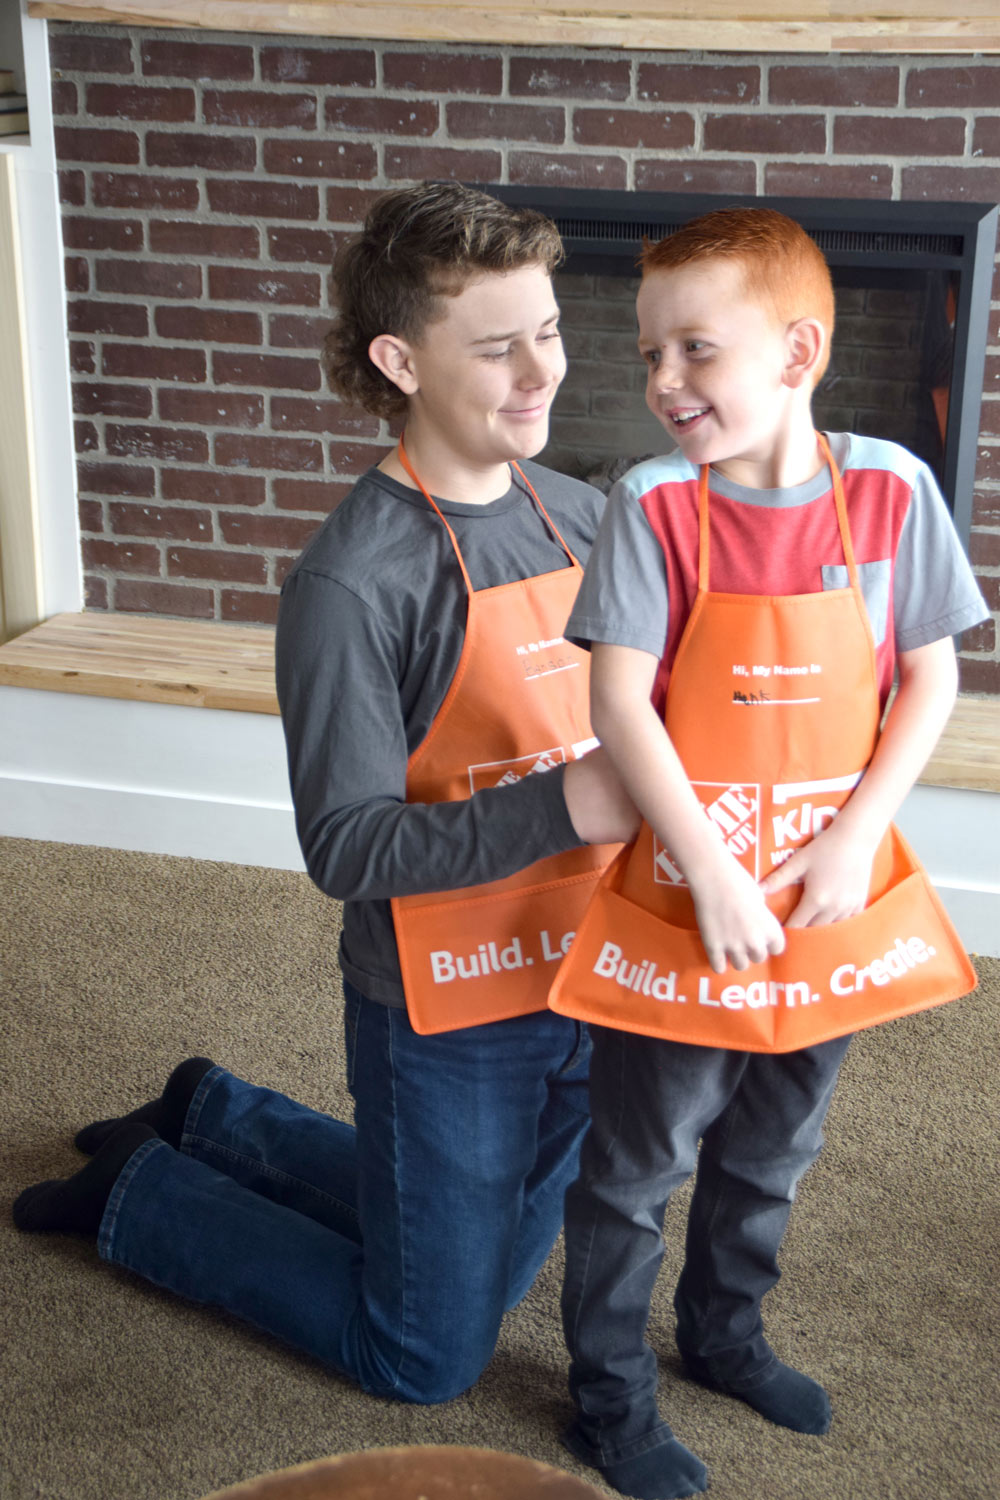
One of the best things about this project was that our big kids were able to help our little kids, and that was a really sweet surprise for us to watch.
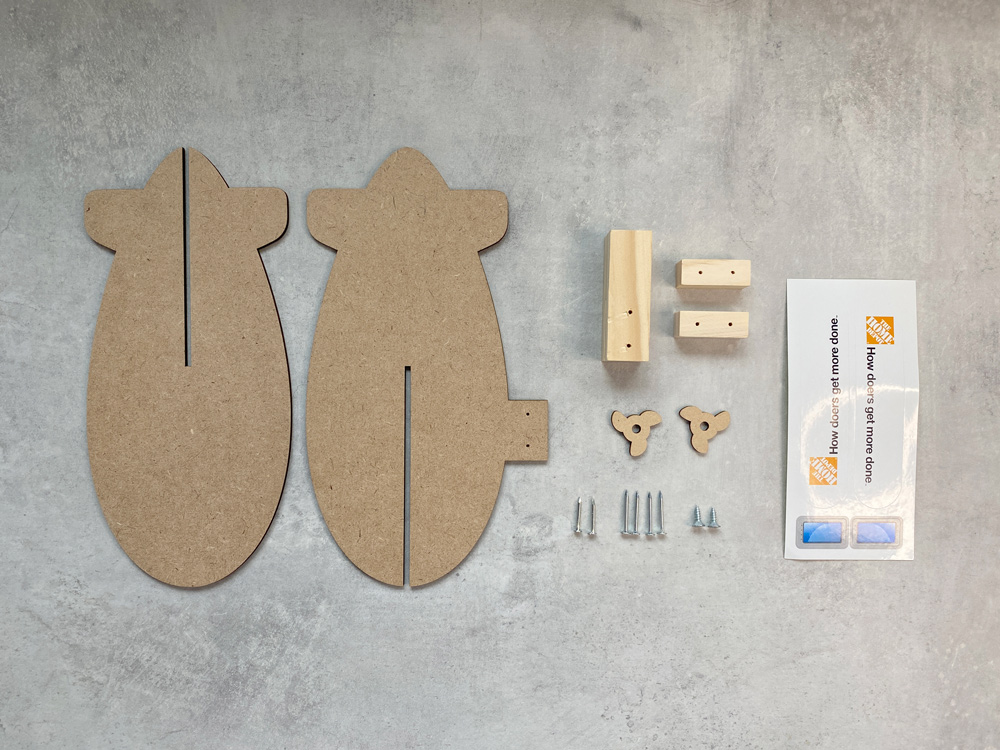
If you purchase online, the Kids Workshop kit comes with everything you need to build your Airship.
- 2 Aiship Pieces
- 1 Gondola
- 2 Engines
- 2 Propellers
- 2 Short Nails
- 4 Medium Nails
- 2 Screws
- 1 Sticker Sheet
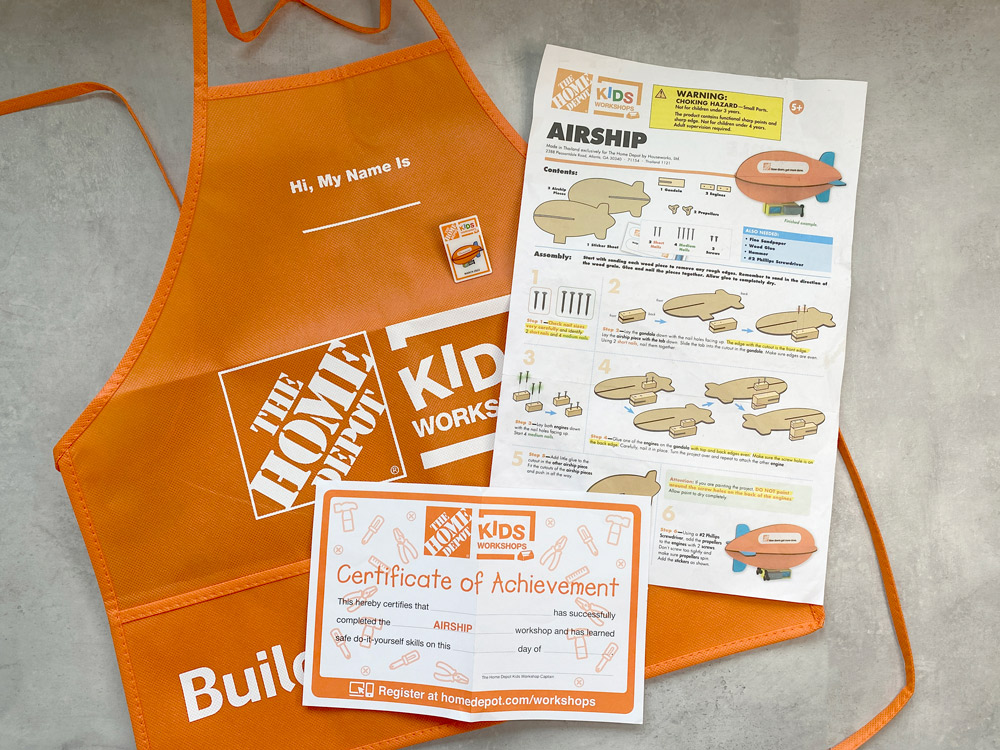
- Instruction Sheet
- Home Depot Kids Apron
- Kids Workshop Certificate of Achievement
You’ll also need a few things you can find around your home, or in your local Home Depot store.
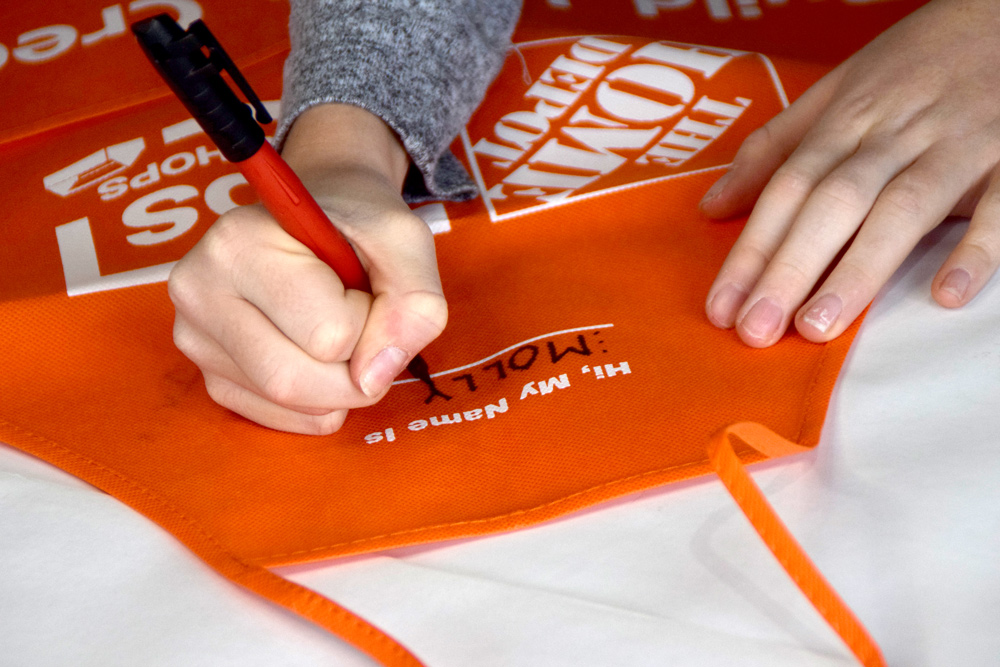
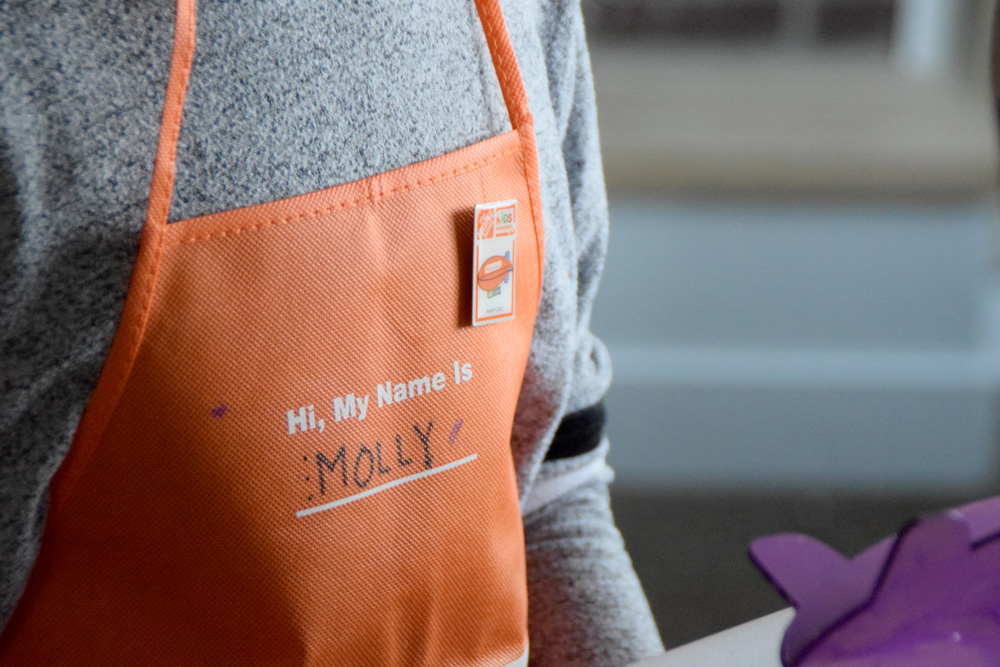
My kids loved that they got their own little Home Depot aprons. They were excited to write their names on their own apron, and after the project was over, they used them to pretend they were working at The Home Depot. These little aprons have seen a lot of use at our house.
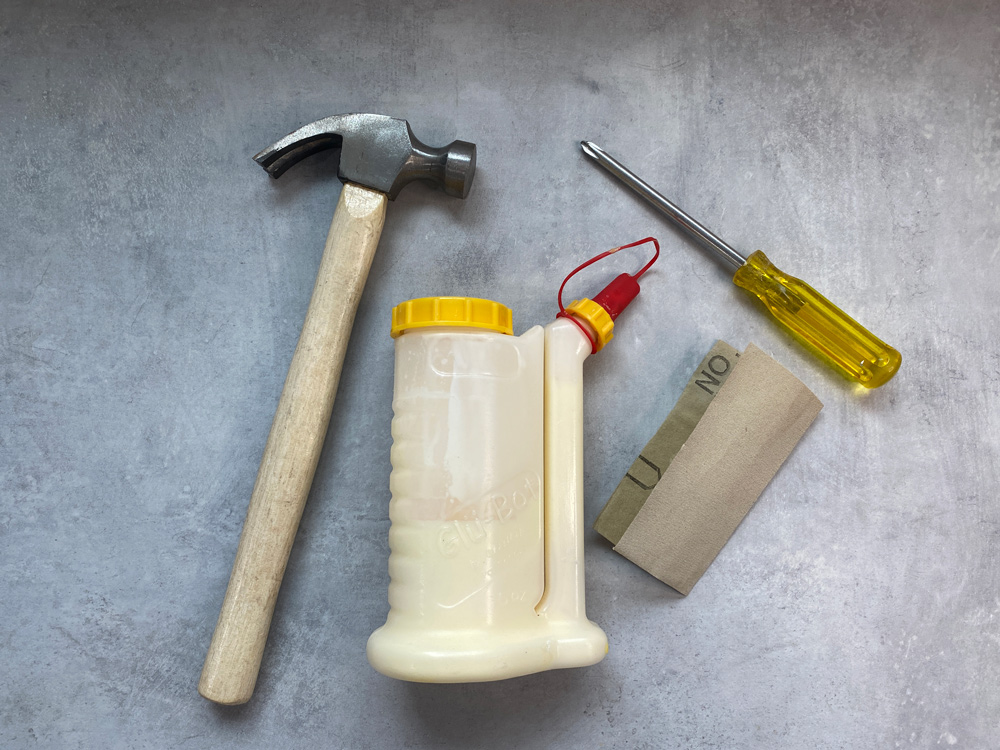
Step One:
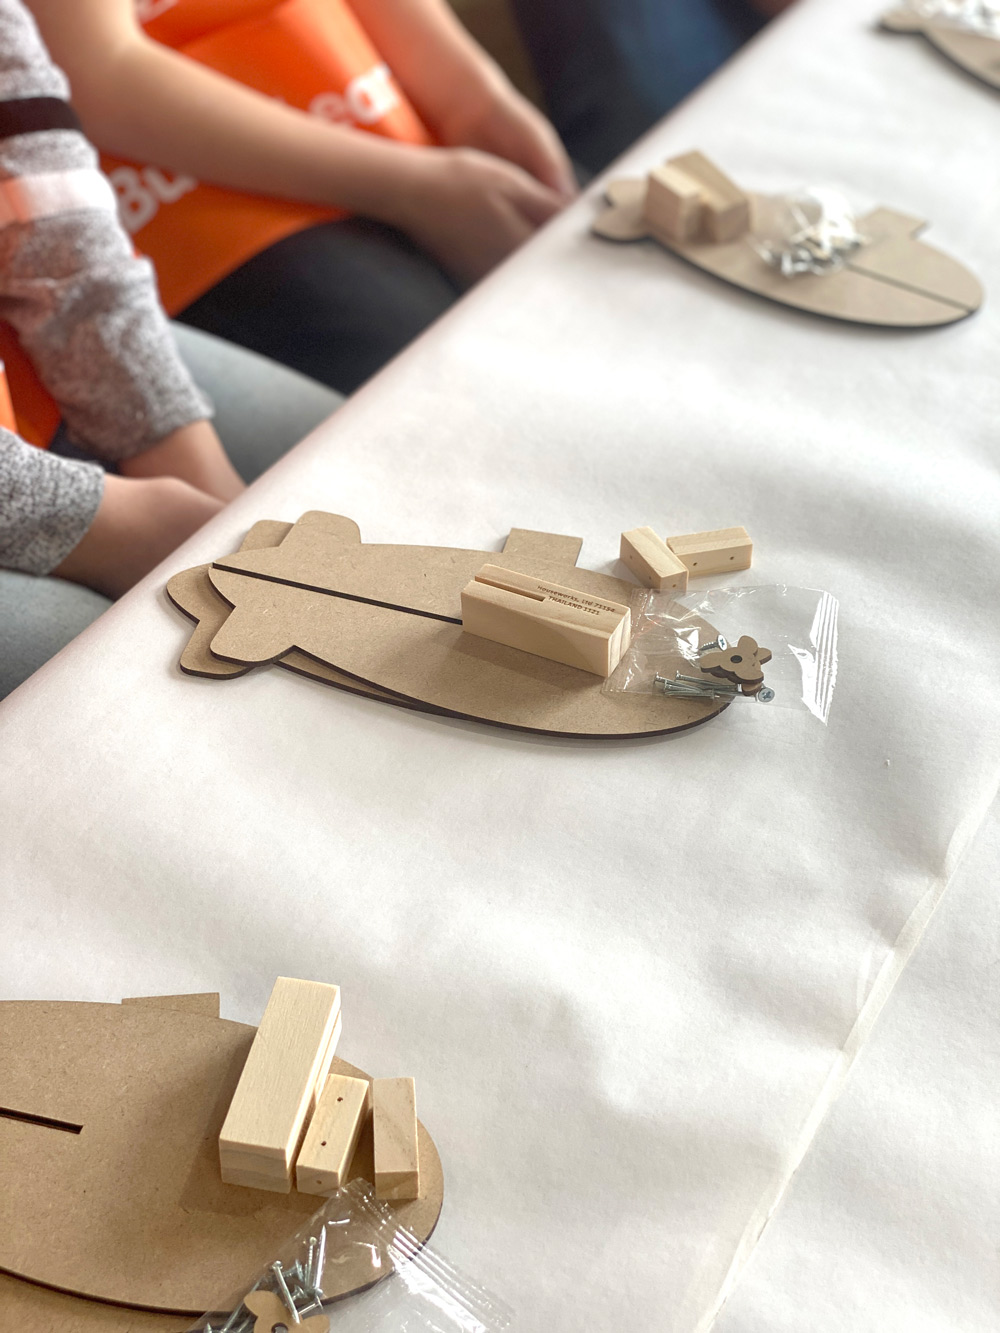
Get familiar with your nail sized and parts to get started. The first thing we did was open the packages and organized our pieces. This helped us keep everything straight and made the project go more smoothly. Then we put on our safety glasses, read through the instructions, and got started building our airships.
Step Two:
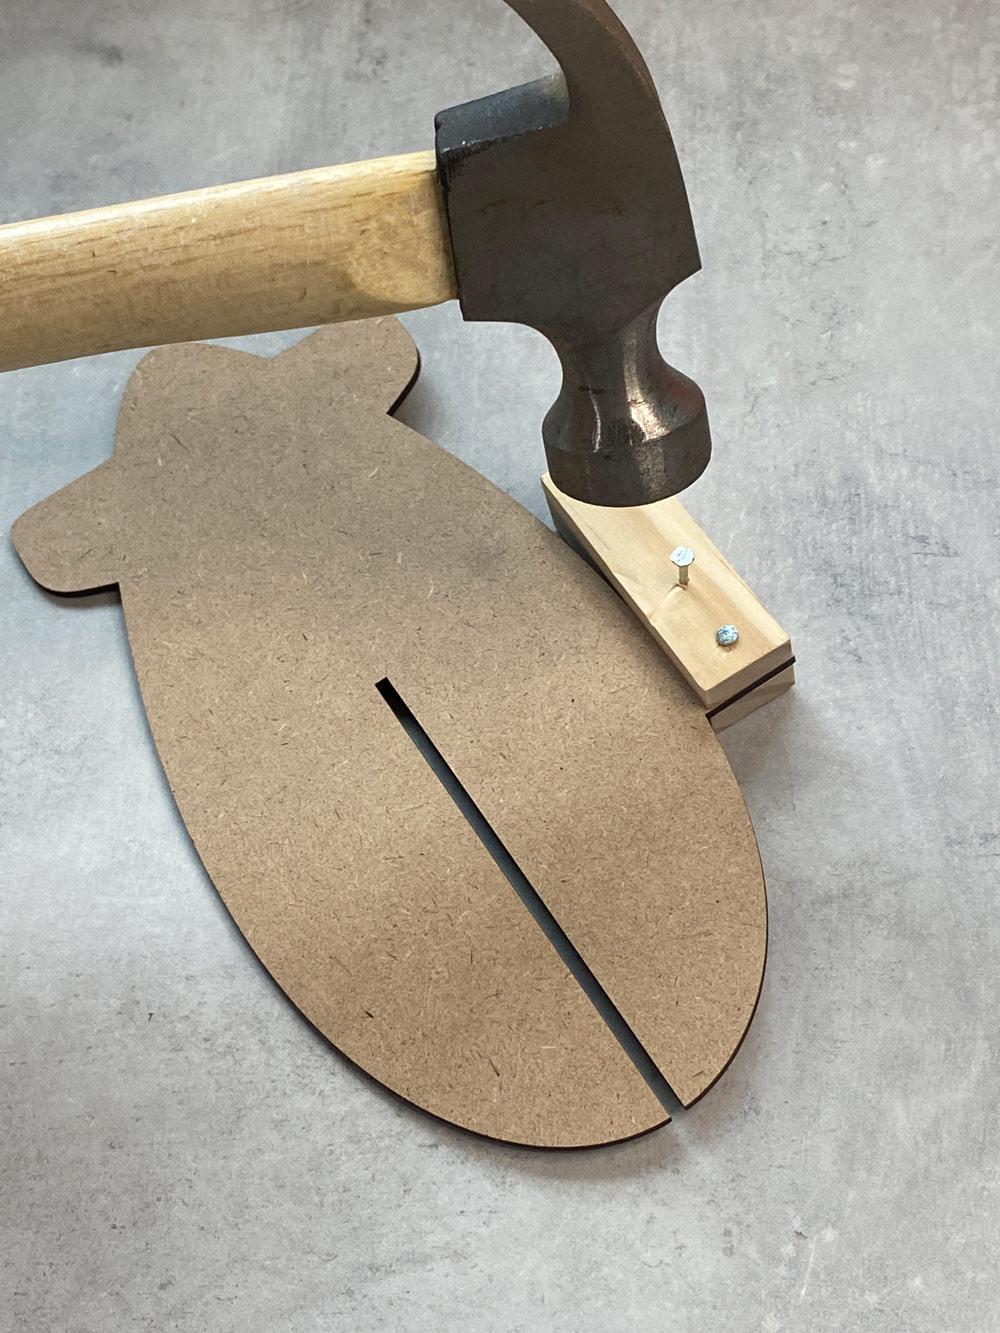
Lay the gondola down with the nail holes facing up. The edge with the cutout is the front edge. Lay the airship piece with the tab down. Slide the tab into the cutout in the gondola. Make sure the edges are even. Using 2 short nails, nail them together.
The littler kids needed some help with this part. We noticed it was easier for them if I held it steady while they hammered the nails in. But the older kids were able to do this part all on their own.
Step Three:
Now you’re going to lay both engines down with the nail holes facing up. Start 4 medium nails.
Step Four:
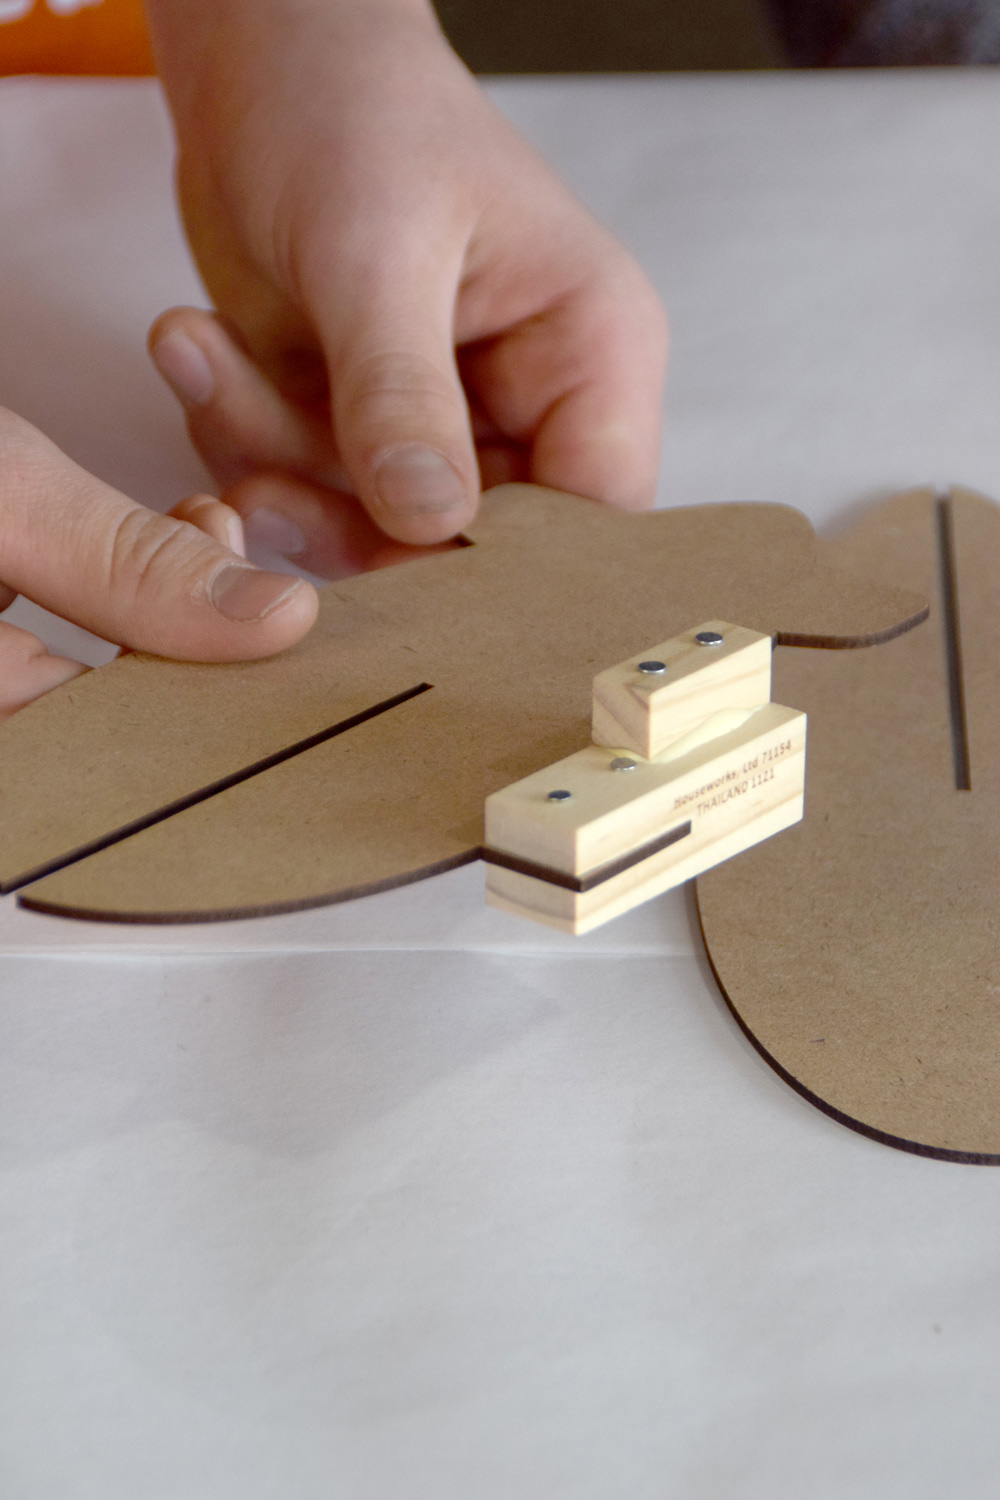
Then you’re going to glue one of the engines onto the gondola. Make sure you aren’t using too much glue. We noticed that if we used too much glue, it was harder to hammer in the nails.
Line the engine up with the gondola. Make sure the top and back are even. And you’ll want to make sure the screw hole is on the back edge. This is where you’ll attach the propeller later, so make sure that hole is toward the tail fin.
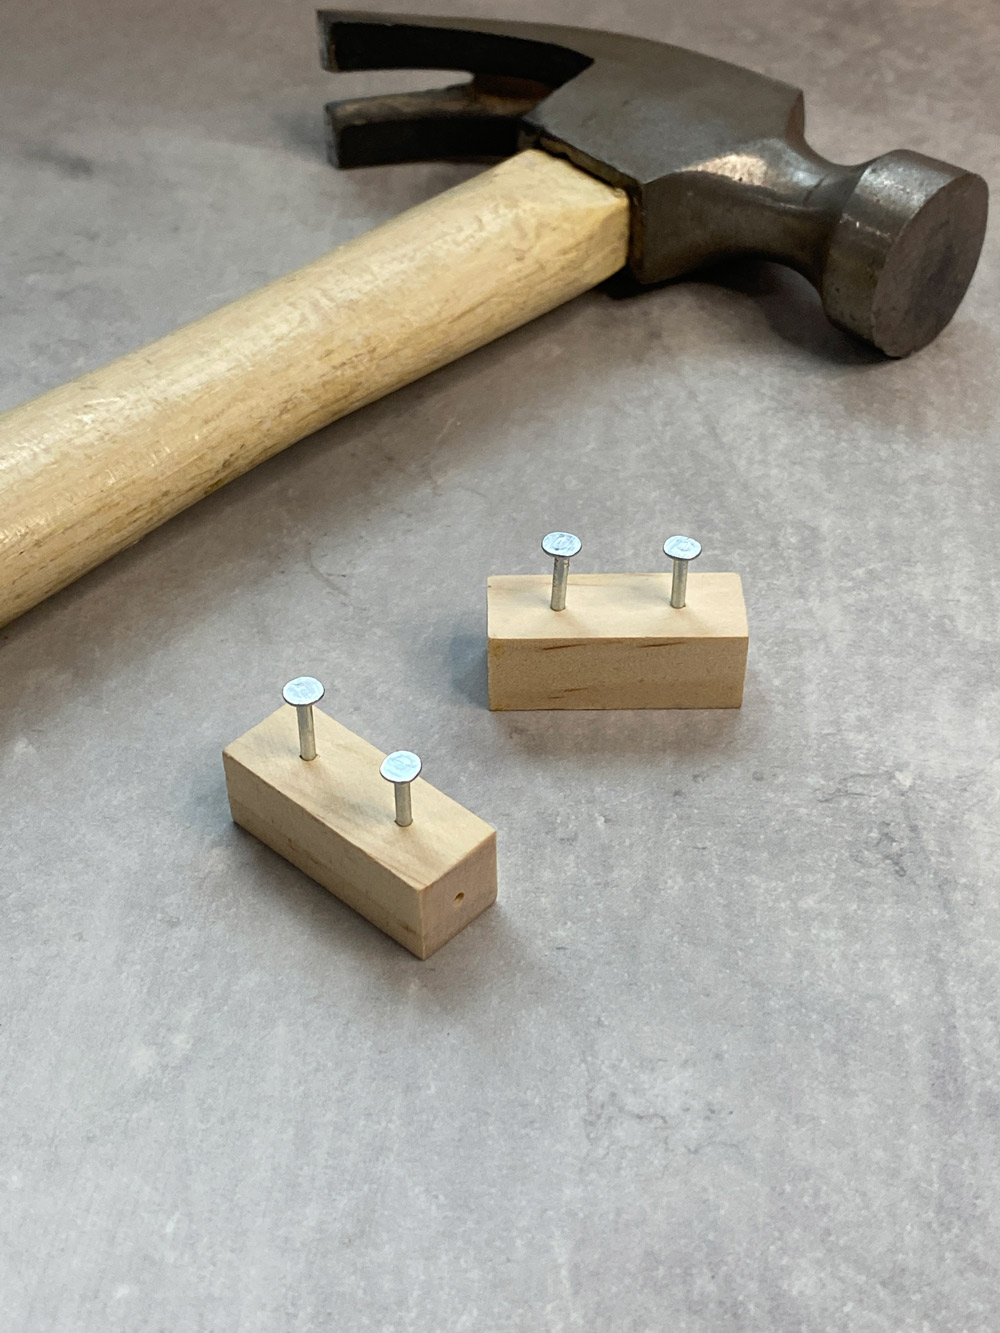
Carefully nail the engine into place. Then turn the project over and repeat to attach the other engine. Now you’ve got two engine pieces attached to your airship pieces.
Step Five:
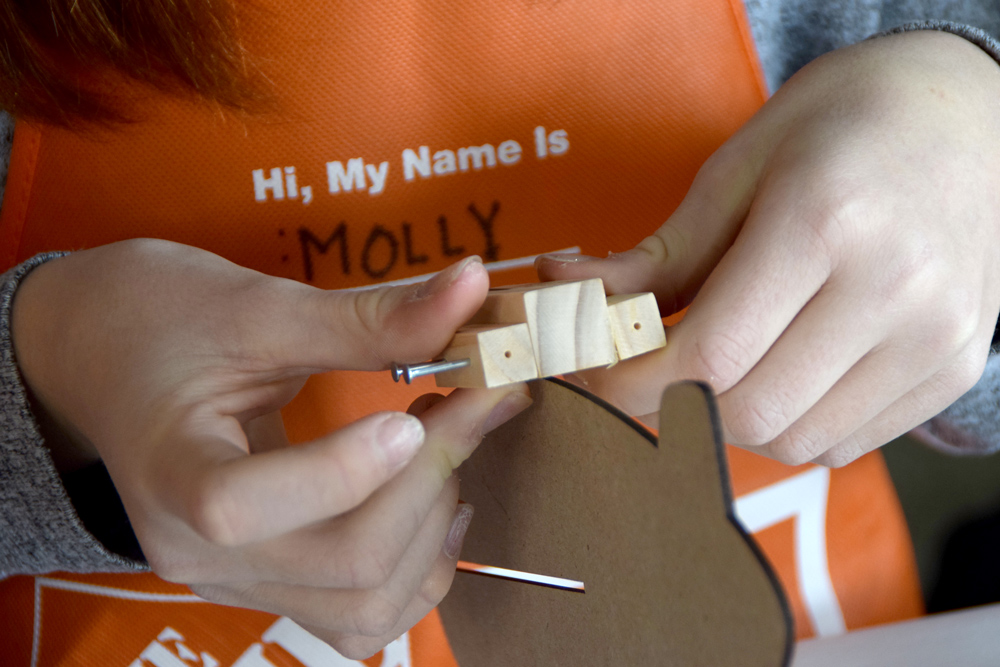
Add a little glue to the cutout in the airship piece. Slide the airship pieces together and make sure it’s pushed in all the way.
My kids were really excited after this step because the airships really started to take shape. They immediately started to fly them around and play with them.
Step Six:
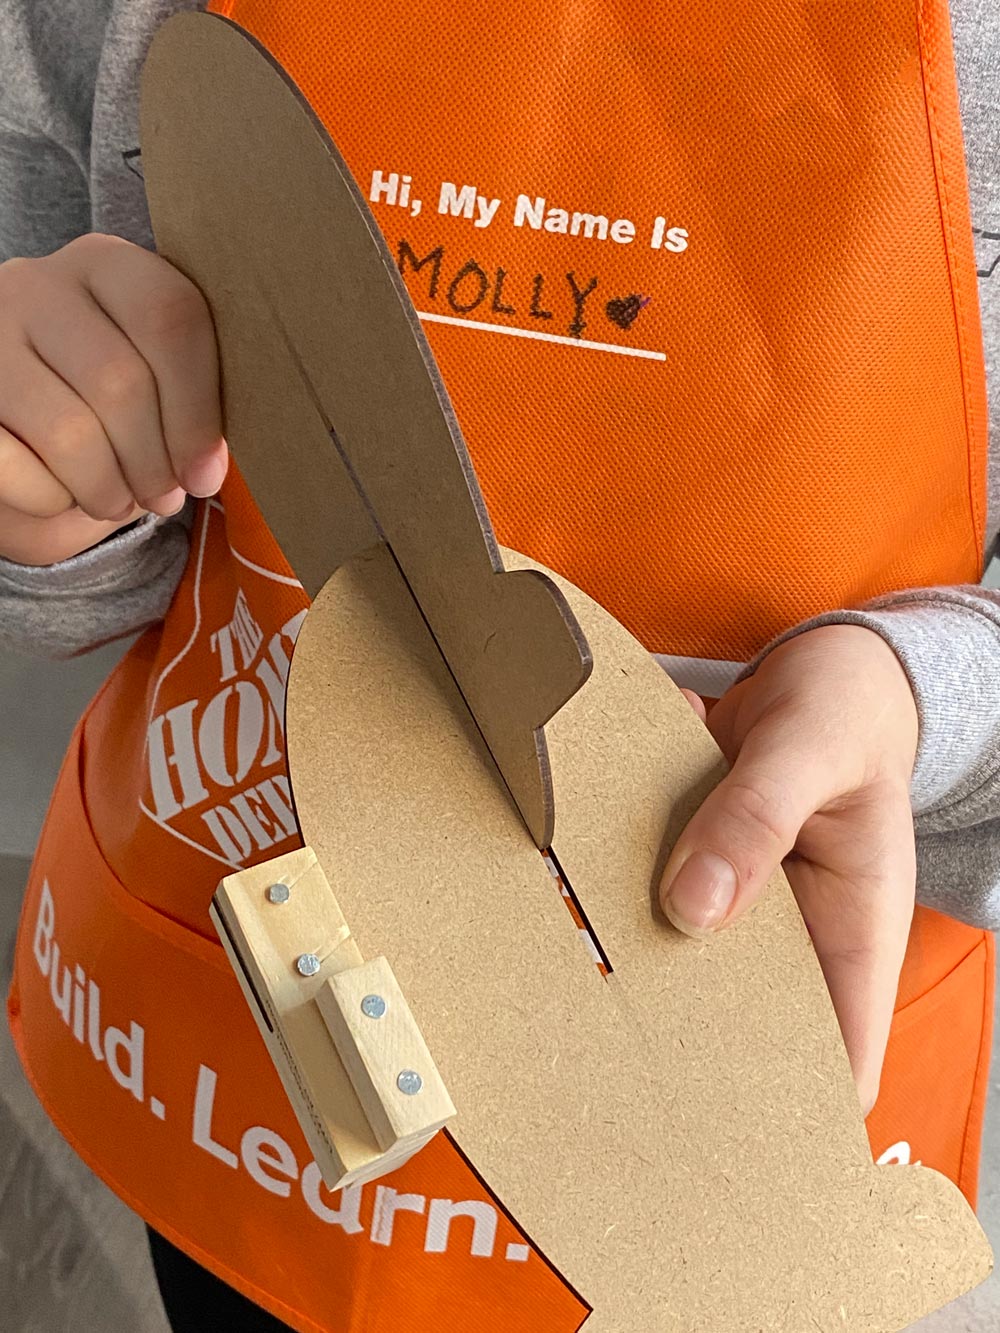
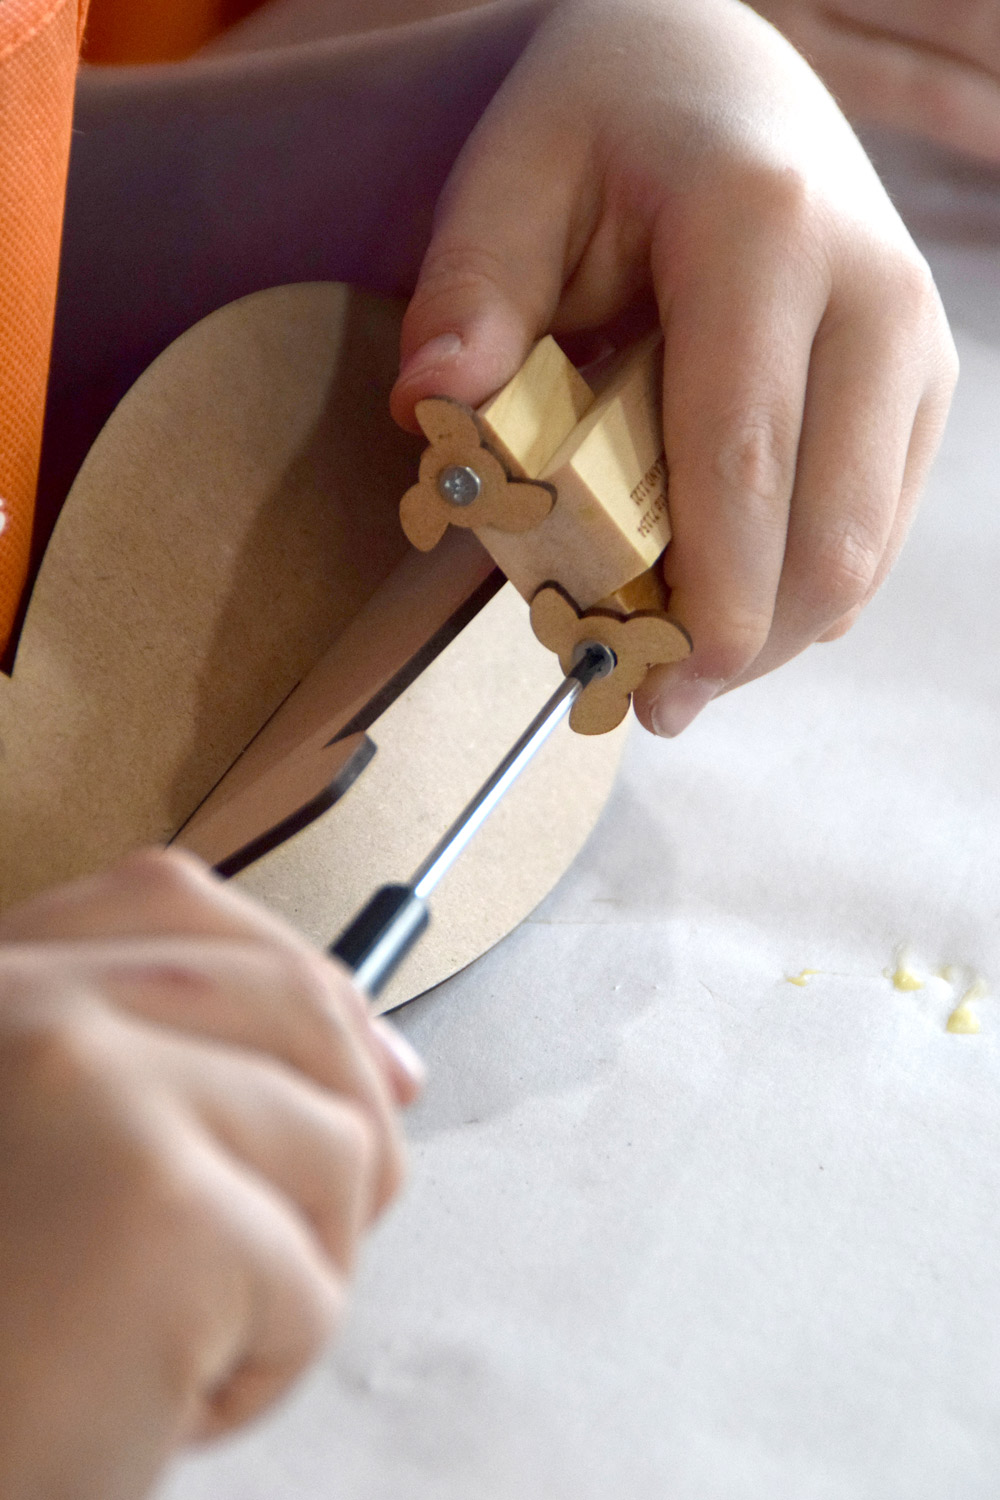
Using a #2 Phillips screwdriver, add the propellers to the engines with 2 screws. Be careful not to tighten the screws too tight, or the propellers won’t spin. If you tighten them too tight, just back the screws out a little bit until the propellers both spin freely.
Step Seven:
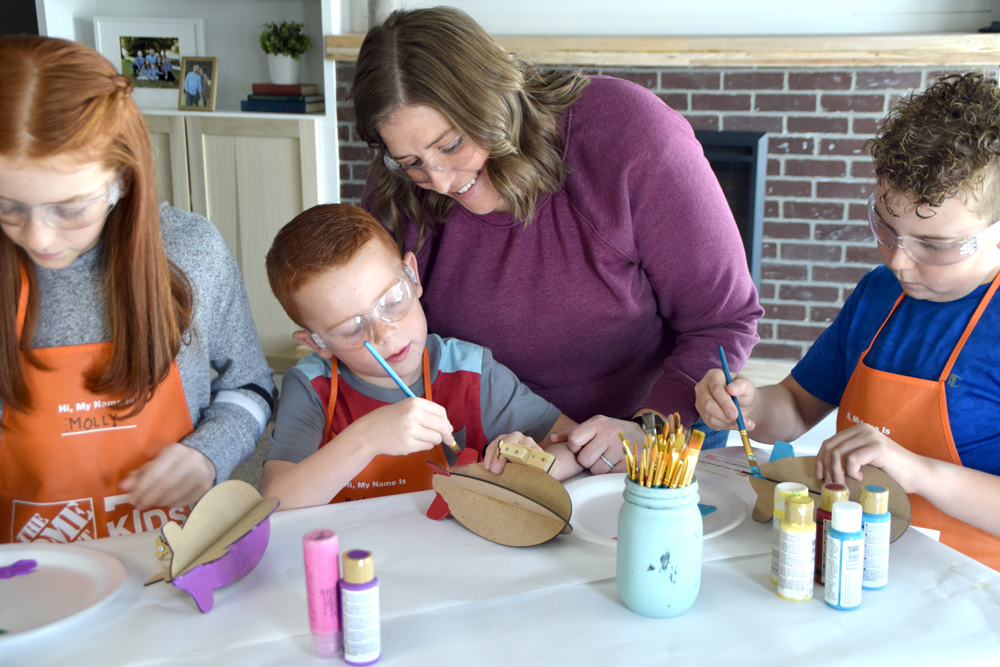
Now we have a pretty cool airship, let’s give it some personality. This part is optional, but we thought it was really fun to personalize the airships. We used some craft paint we had on hand and each child painted their airship however they wanted.
It was fun to see how different each child’s ship looked after they gave it a little paint job. Then, you’ll add the stickers that were provided in the kit.
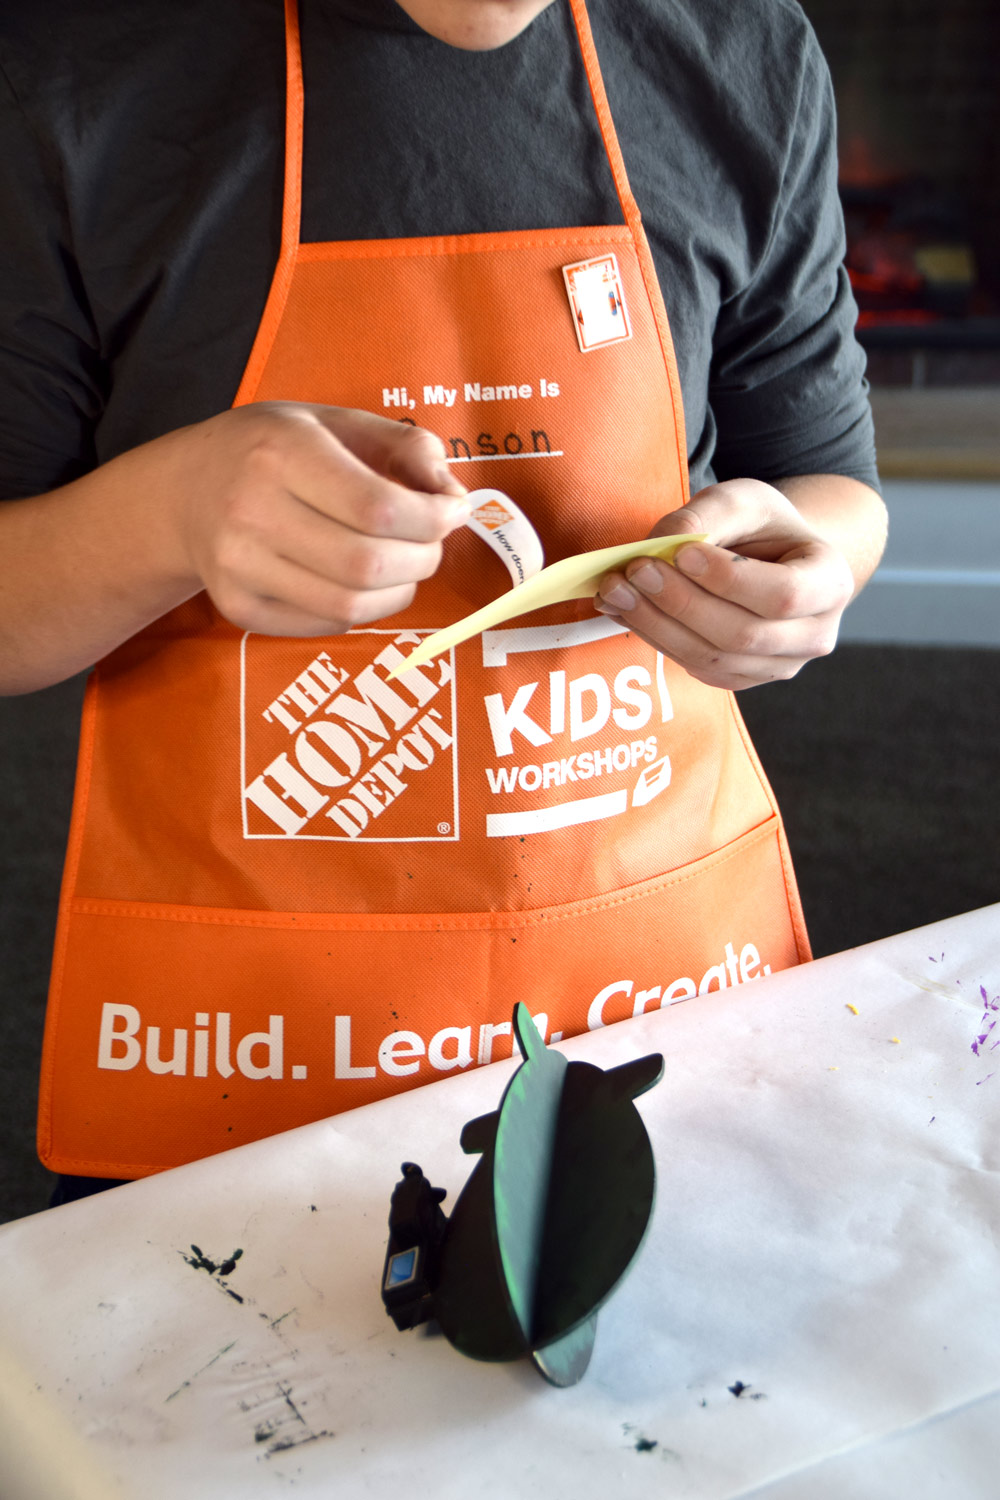
Now that your airships are complete, you can fill out the certificate of achievement that was included in your Kids Workshop kit. And you can pin your airship pin onto your apron. My kids thought it would be really fun to collect a bunch of different pins from different projects.
You can stop here and have a really cool Airship, or you can keep going with an optional Workshop Extension Activity.
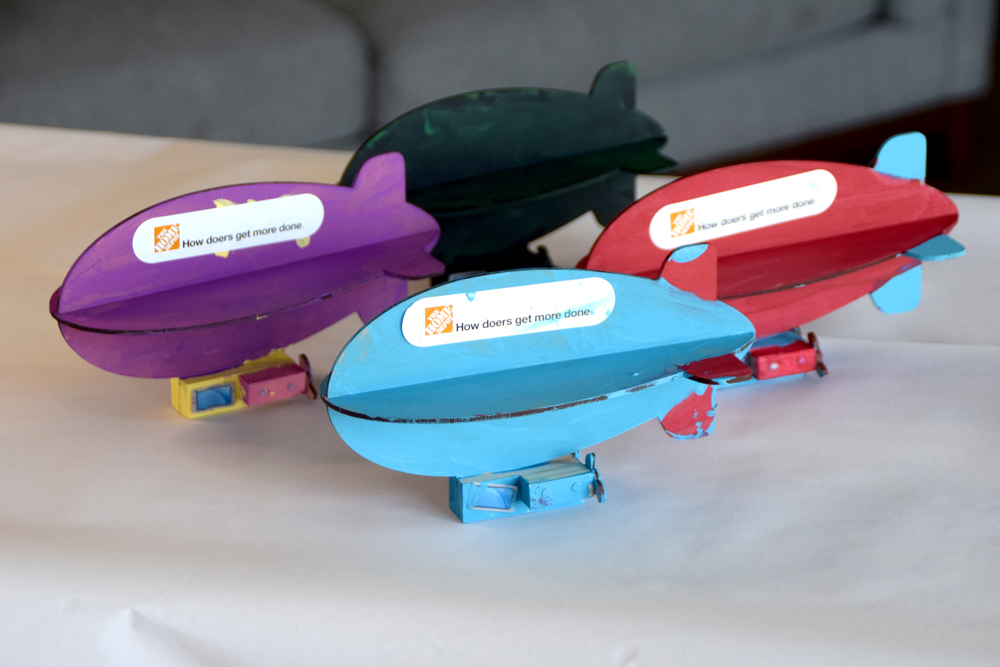
Workshop Extension Activity:
The Kids Workshop kit includes a sheet with a workshop extension activity idea, made in partnership with Discovery Education. My kids thought this workshop extension activity would be really fun, and it turned out they were right!
Once you build your Airships, you are ready for passengers. We looked around our house and found little toys they thought would be fun to fly on their airships. We found stuffed animals, little plastic dinosaurs, play ponies, and mini figures.
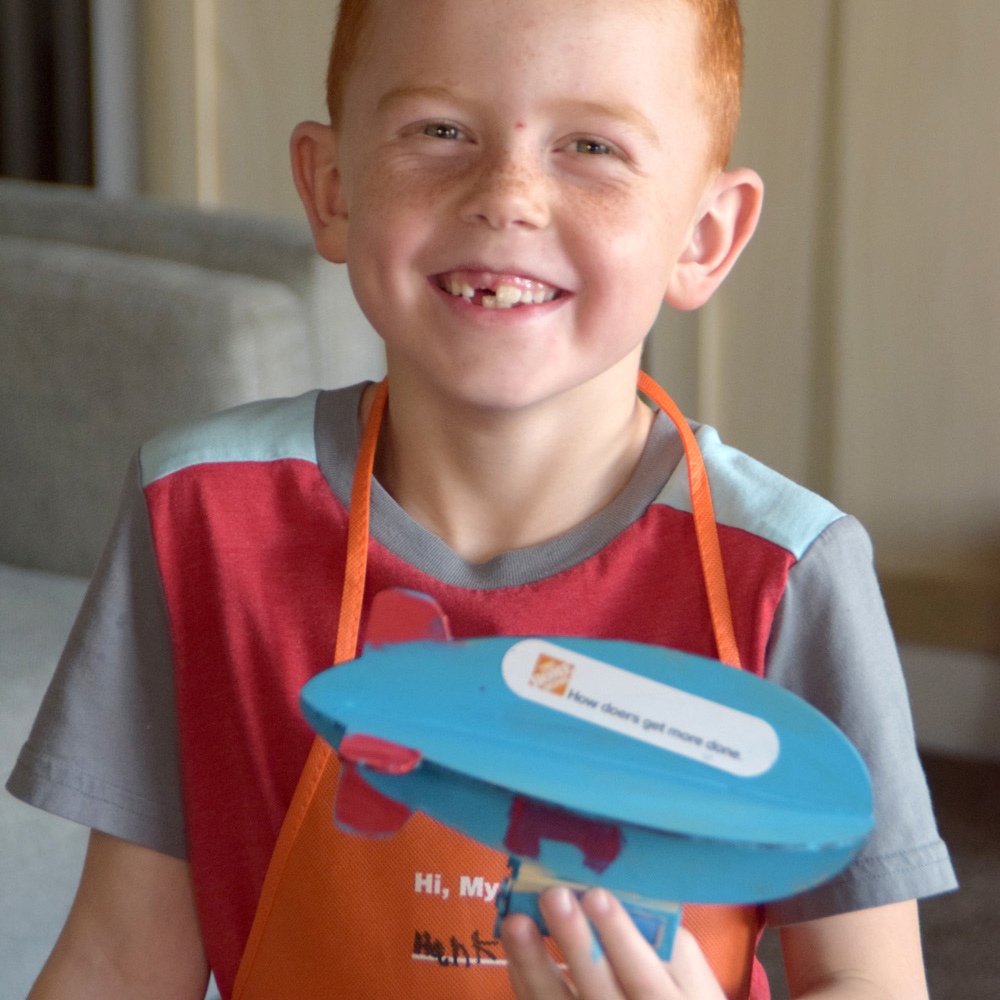
We wanted to give our little toys a ride on the airship, but just in case there was trouble on the ship, they might have to evacuate. We decided to build them a little parachute, so they could escape the airship and float safely to the ground.
We looked around the house and found some things we thought would be good to build a parachute out of. We used a tissue, a grocery bag, tissue paper, and a trash bag. We also found other items to help us build our parachutes. We used tape, scissors, hot glue, string, and rubber bands.
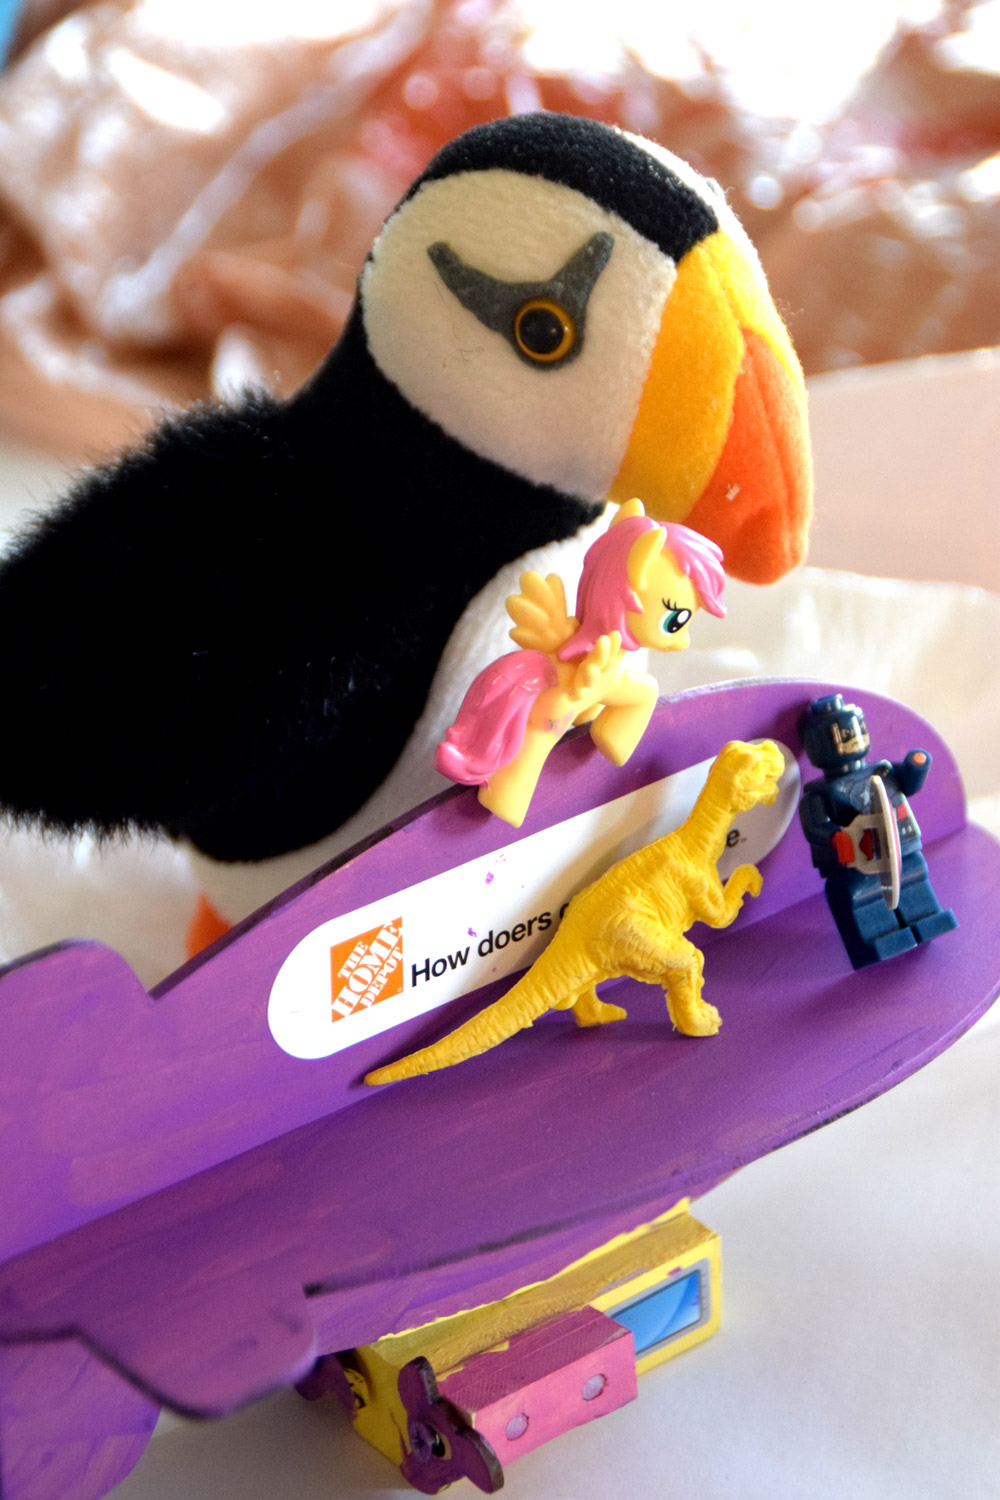
My kids loved constructing the parachutes. They had free reign over their materials, their designs, and how they assembled them. This was really fun for me to watch. I got to see them be creative, and then problem solve to create the best parachute for their little passengers.
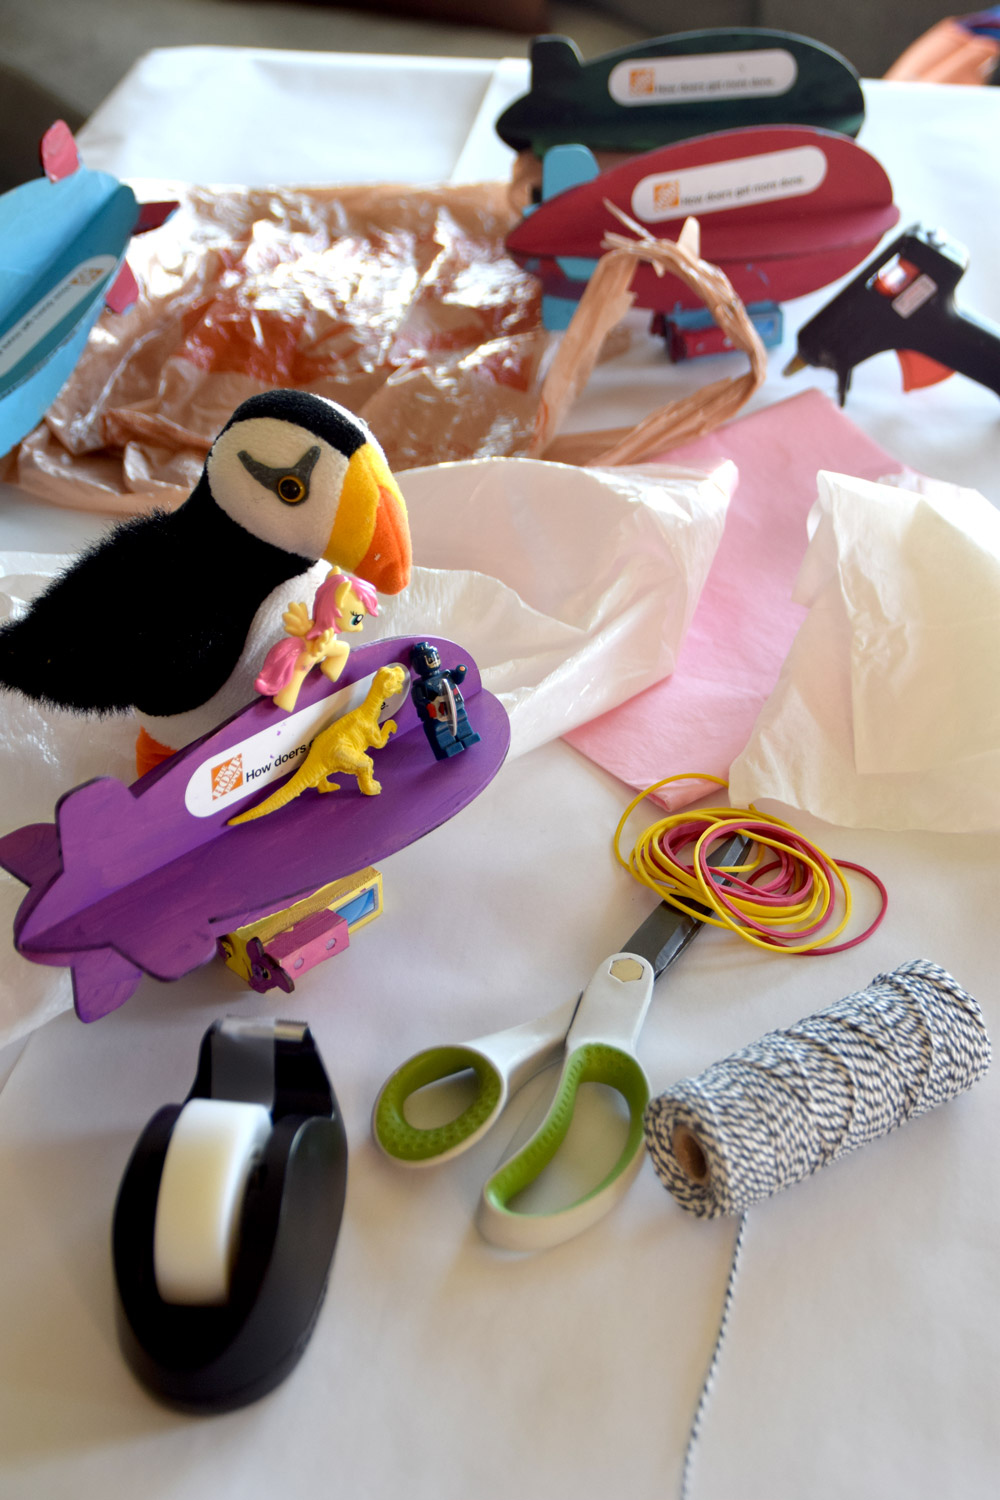
The kids put their parachutes together and started testing them out. They made some adjustments, tested again, and adjusted again.
Once they were happy with their parachutes, we had our inaugural flights of the airships. We started by standing on our fireplace bench and tossing the parachutes into the air. Then they wanted to toss them off something a little higher. So I stood on a ladder while each kid handed me their parachutes and we tested what happened when we dropped them from a little higher up.
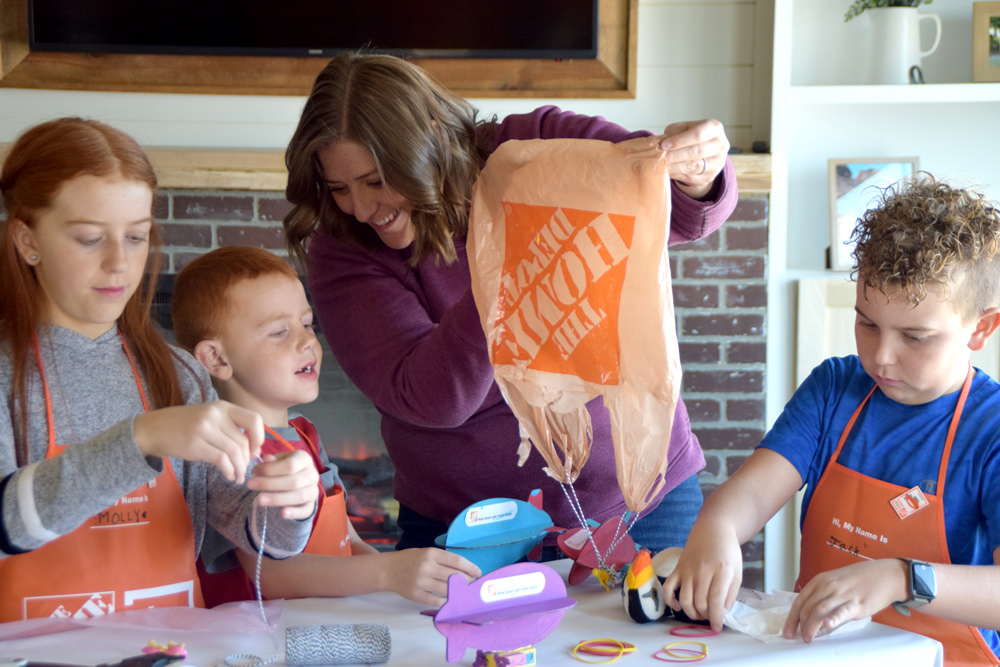
We kept track of the results and we decided that the tissue paper worked best because it had more surface area to slow her passenger down. We also found that the trash bag and grocery bag took a little longer to open up, so they weren’t as effective.
When you do this with your family, you can test different materials and passengers to see what gives you the best results.
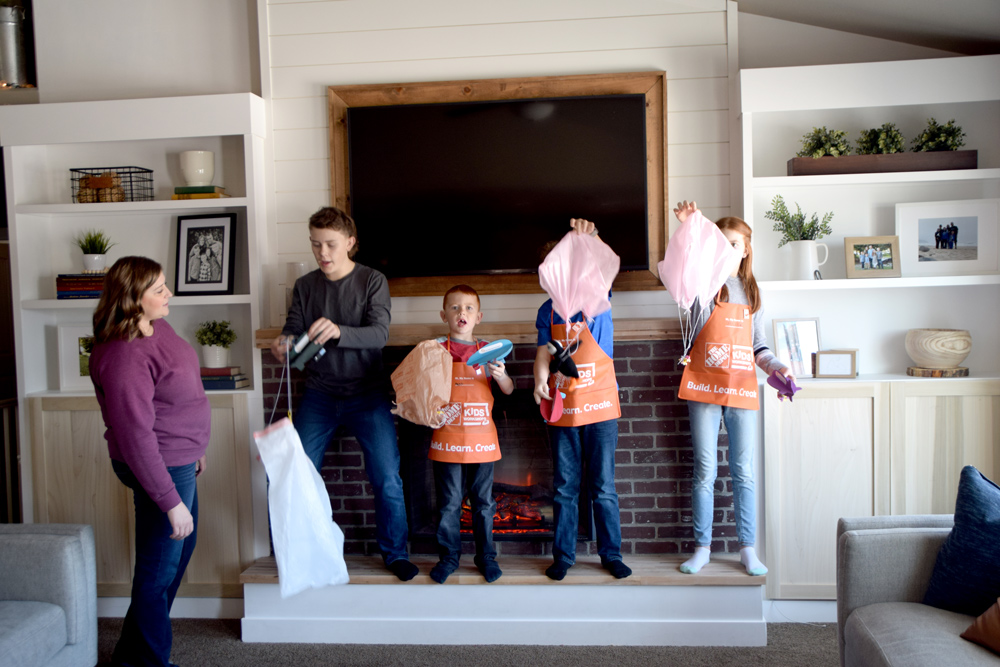
We enjoyed this additional activity because while it was fun and exciting, we were also able to learn about things like gravity, air resistance, and wind.
Overall, I would definitely recommend this Kids Workshop project. It was simple enough that the little kids enjoyed it, but cool enough for my older kids as well.
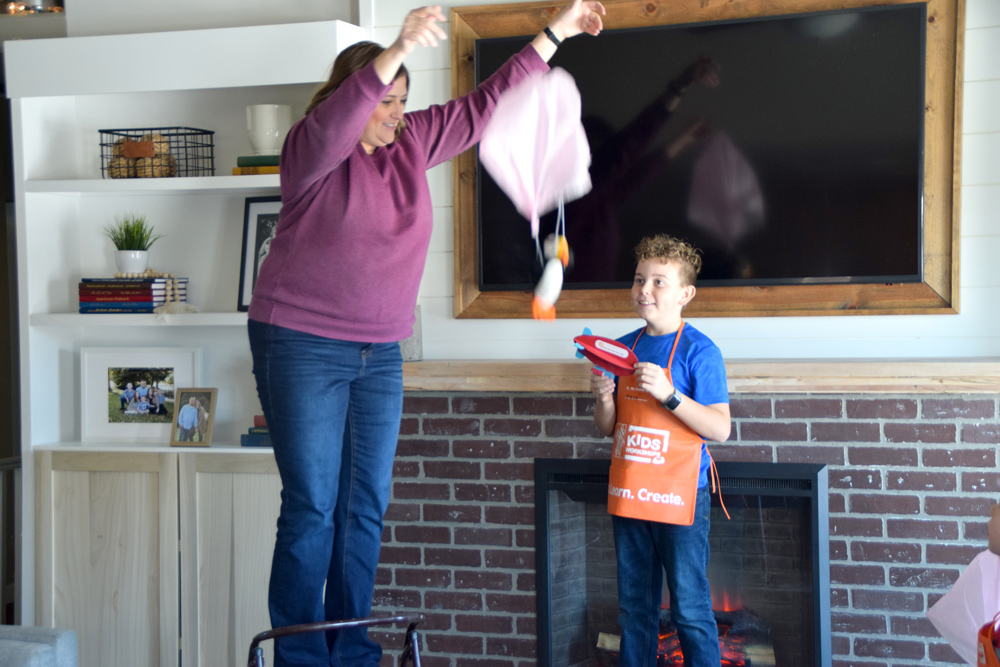
This post was created in partnership with The Home Depot. The author may have received compensation for this article and associated images or video, potentially in the form of products and/or services. All expressed opinions and experiences are the author’s own words.


