How to Create a Designated Fab Trash Can Storage Area
Last updated August 21, 2024

Karina Meikle of At Meikasa is a mom, wife, and self-taught DIYer who is passionate about all things home and interior design.
Her goal is to empower and motivate her audience to attempt even the smallest home improvement projects and for them to experience the amazing feeling of accomplishment that comes with it.
A Note From The Home Depot
If you’re looking to hide your trash cans in a chic way this season, Karina Meikle from At Meikasa has the perfect project for you.
Keep reading to see how she transformed her outdoor space into a functional storage and living area.
Table of Contents
How to Create a Designated Fab Trash Can Storage Area
Clear and Prep the Area
Make it Bright - Add a Light Post
Assemble the Shelf
Add Finishing Touches
How to Create a Designated Fab Trash Can Storage Area
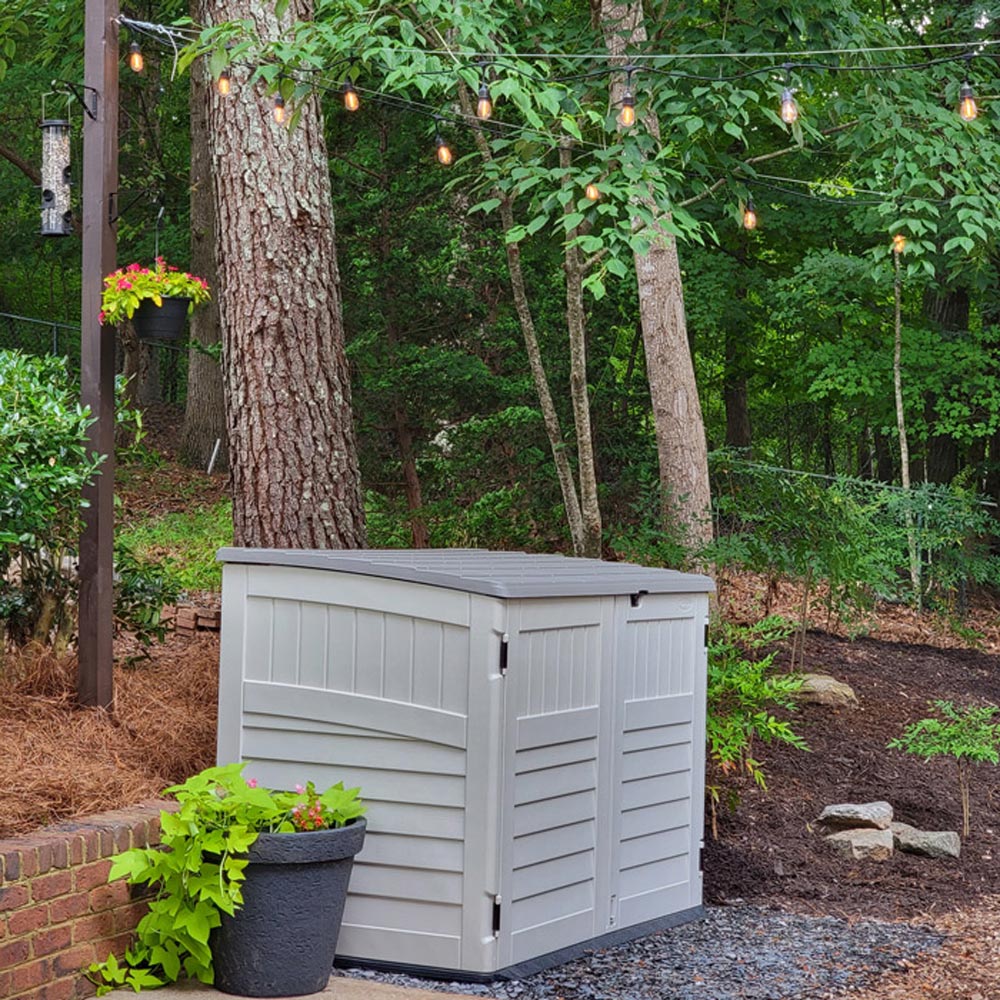
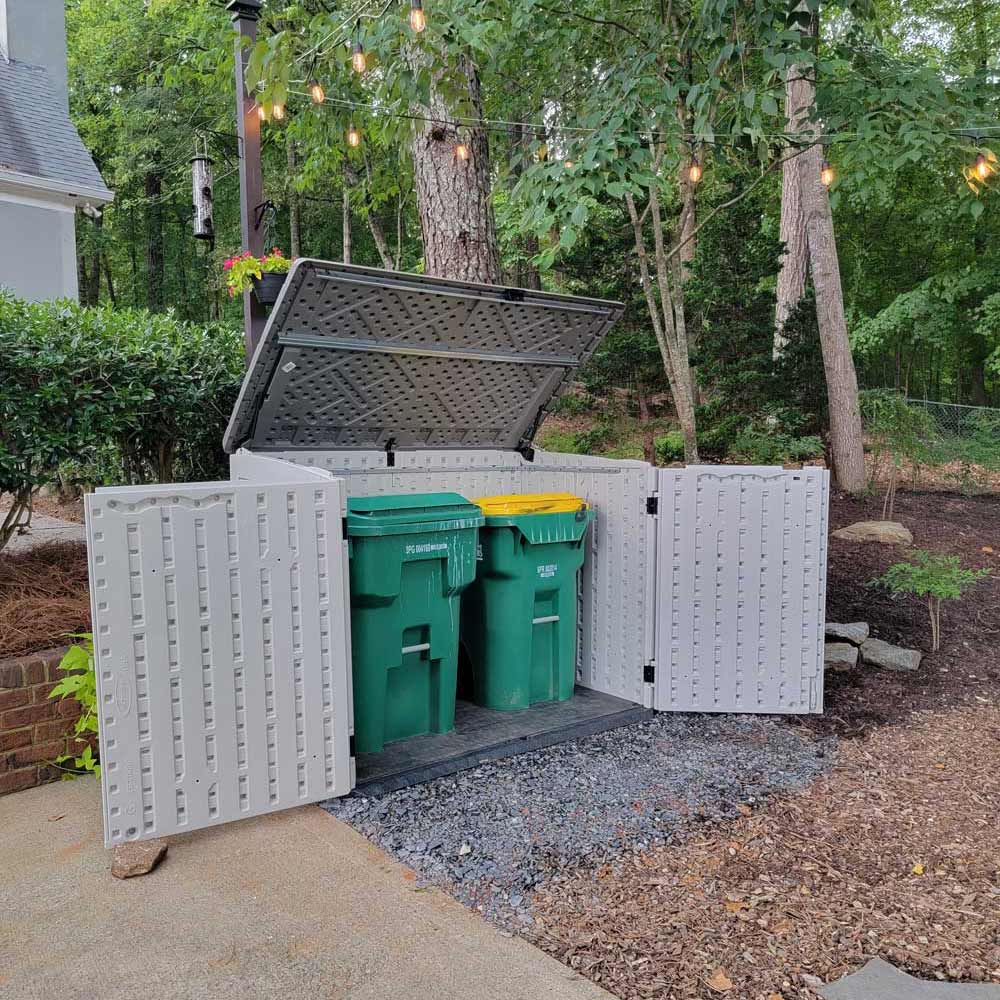
After spending most of the past year focusing on the interior of my house, it was now time to focus on the exterior. And let me tell you, the exterior of my house has seen better days. The drive up my driveway is something that I see everyday so it made sense to spend some time creating a more welcoming sight. I partnered with The Home Depot to create a designated storage shed for my trash cans which provide both curb appeal and function for my home. I enlisted the help of my neighbor Ed who happens to be a retired geologist and enjoys all things gardening. Between The Home Depot supplies, Ed’s gardening knowledge, and my determination I knew we could finish this project in no time.
Clear and Prep the Area
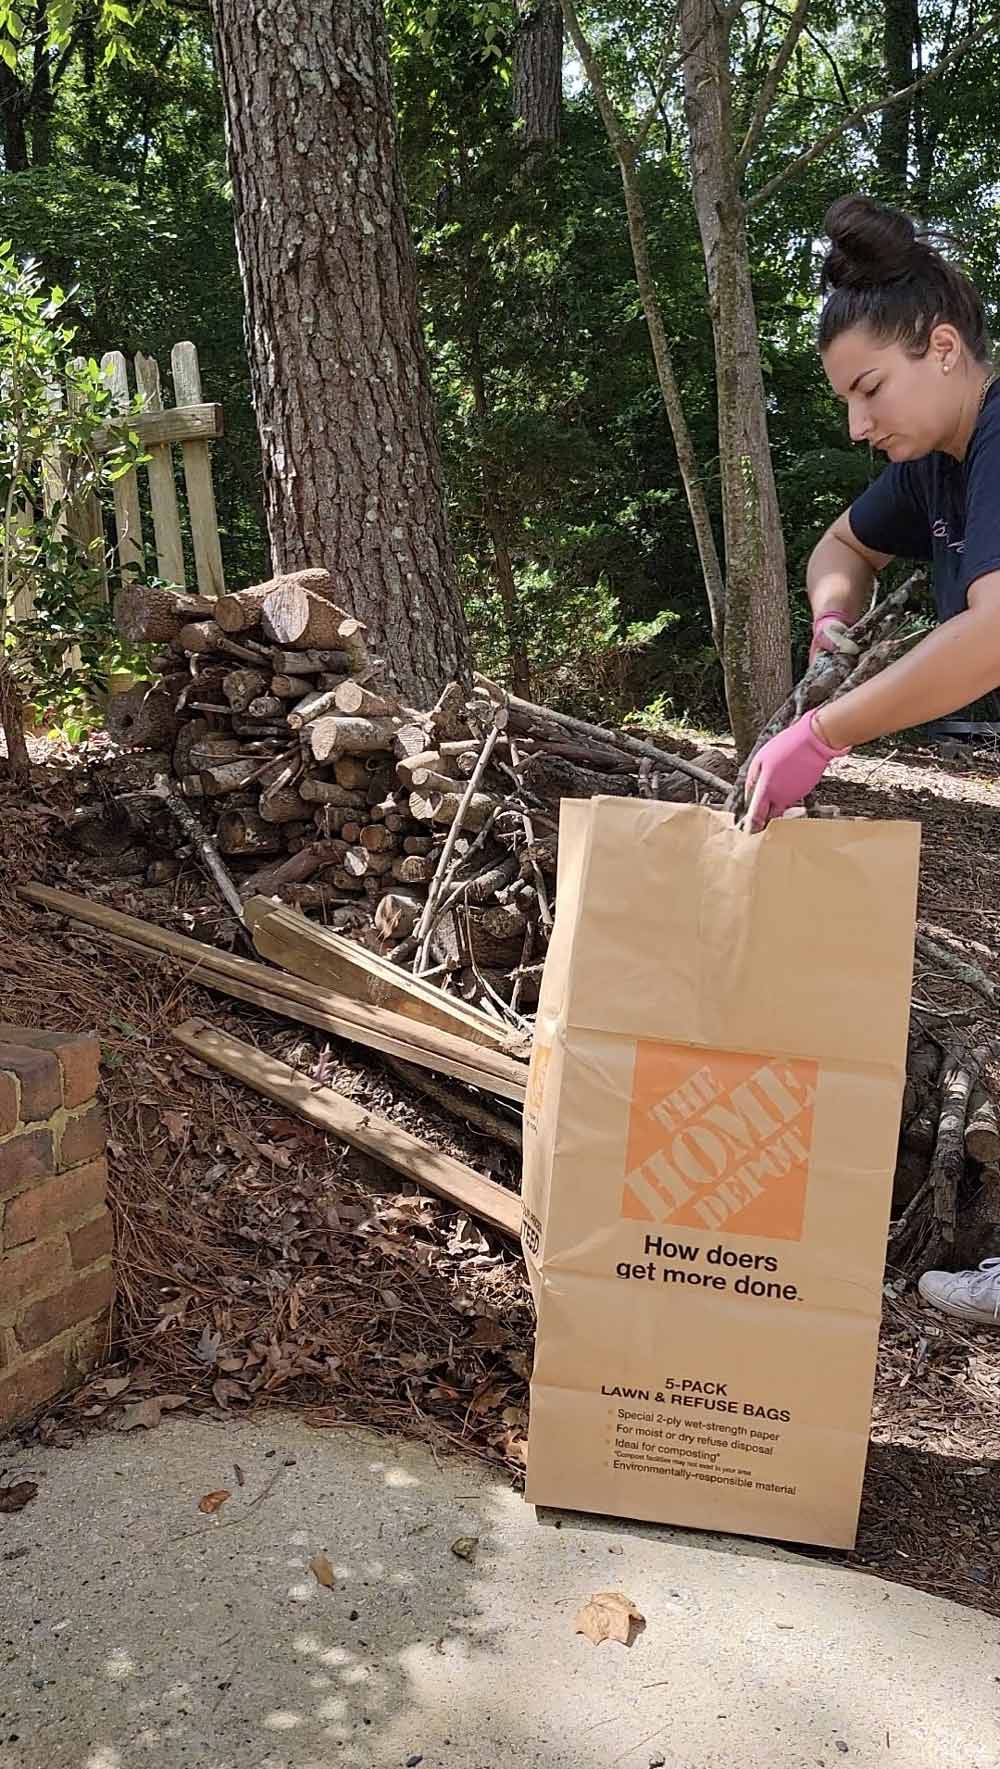
When picking an area for the shed, I wanted to make sure it would be convenient for our needs and that it would fit the shed we chose. You always want to make sure that you know the measurements of the shed so that your foundation area will accommodate it properly. Once we designated the best area for the storage shed it was time to clean and prep. We removed an old fence post that no longer served a purpose and removed any other yard debris by placing it in The Home Depot waste bags.
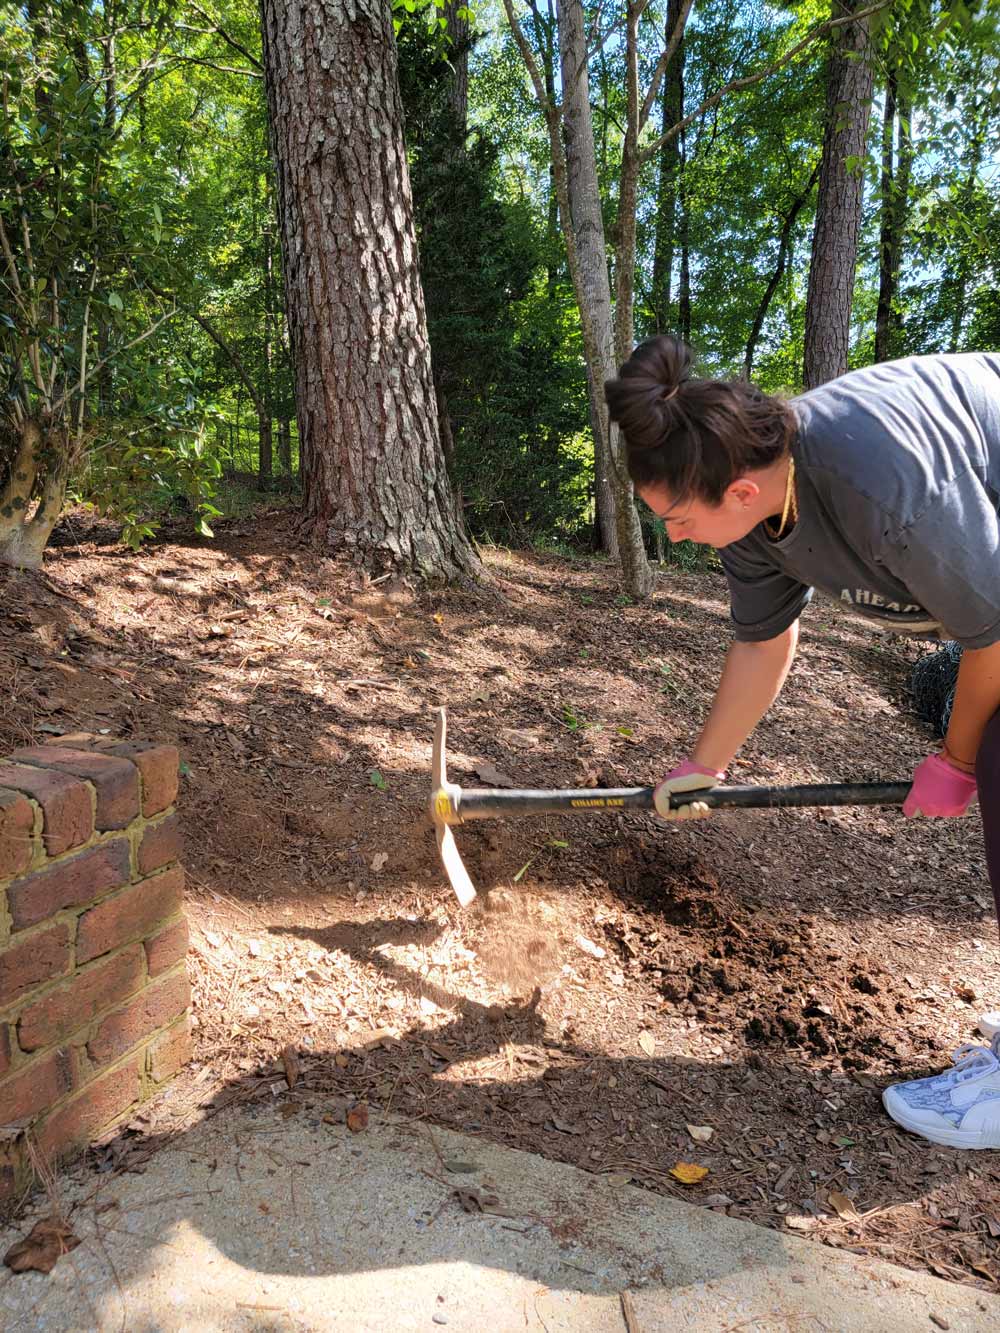
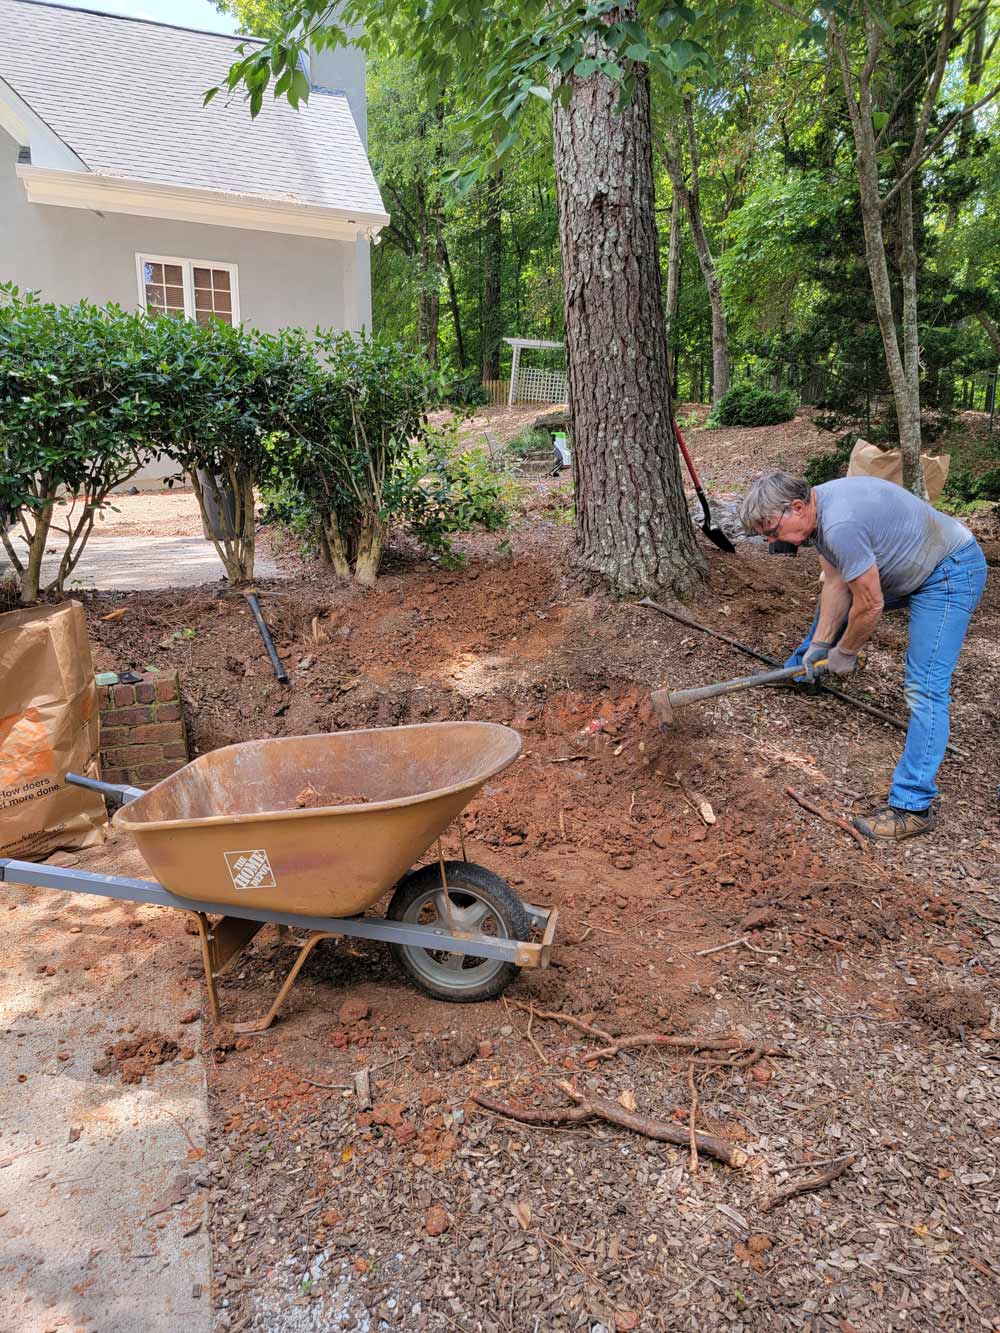
The spot we chose was at the base of a slight slope so Ed and I used a pick-ax to remove the extra dirt and create a flat base making sure that it had proper grading for drainage using a square point shovel.
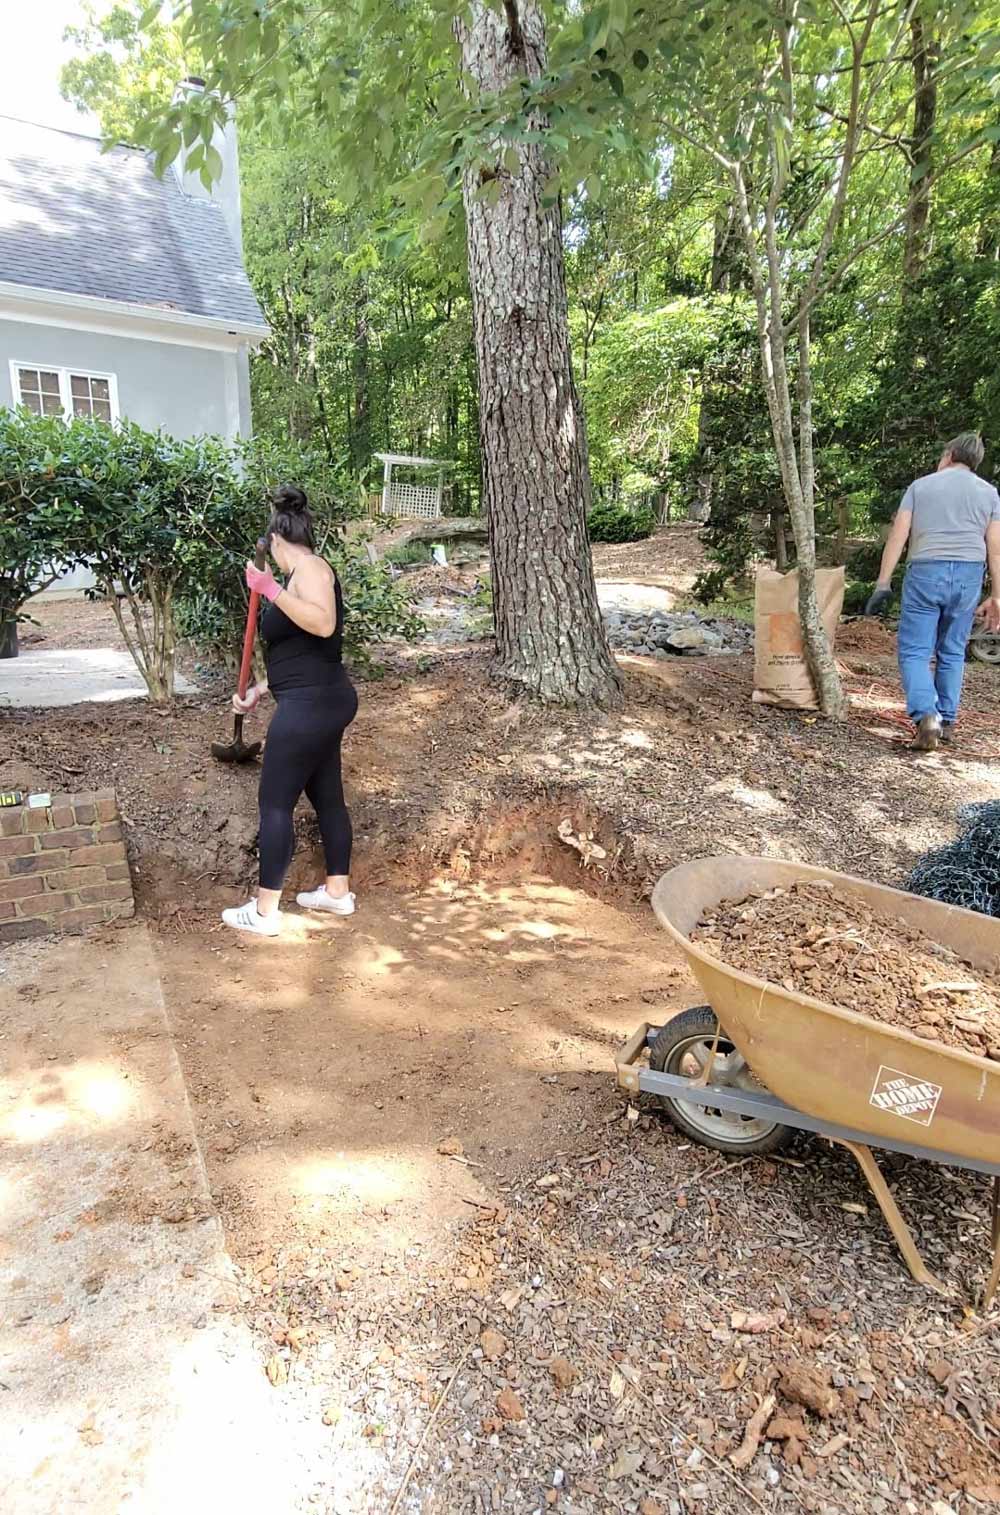
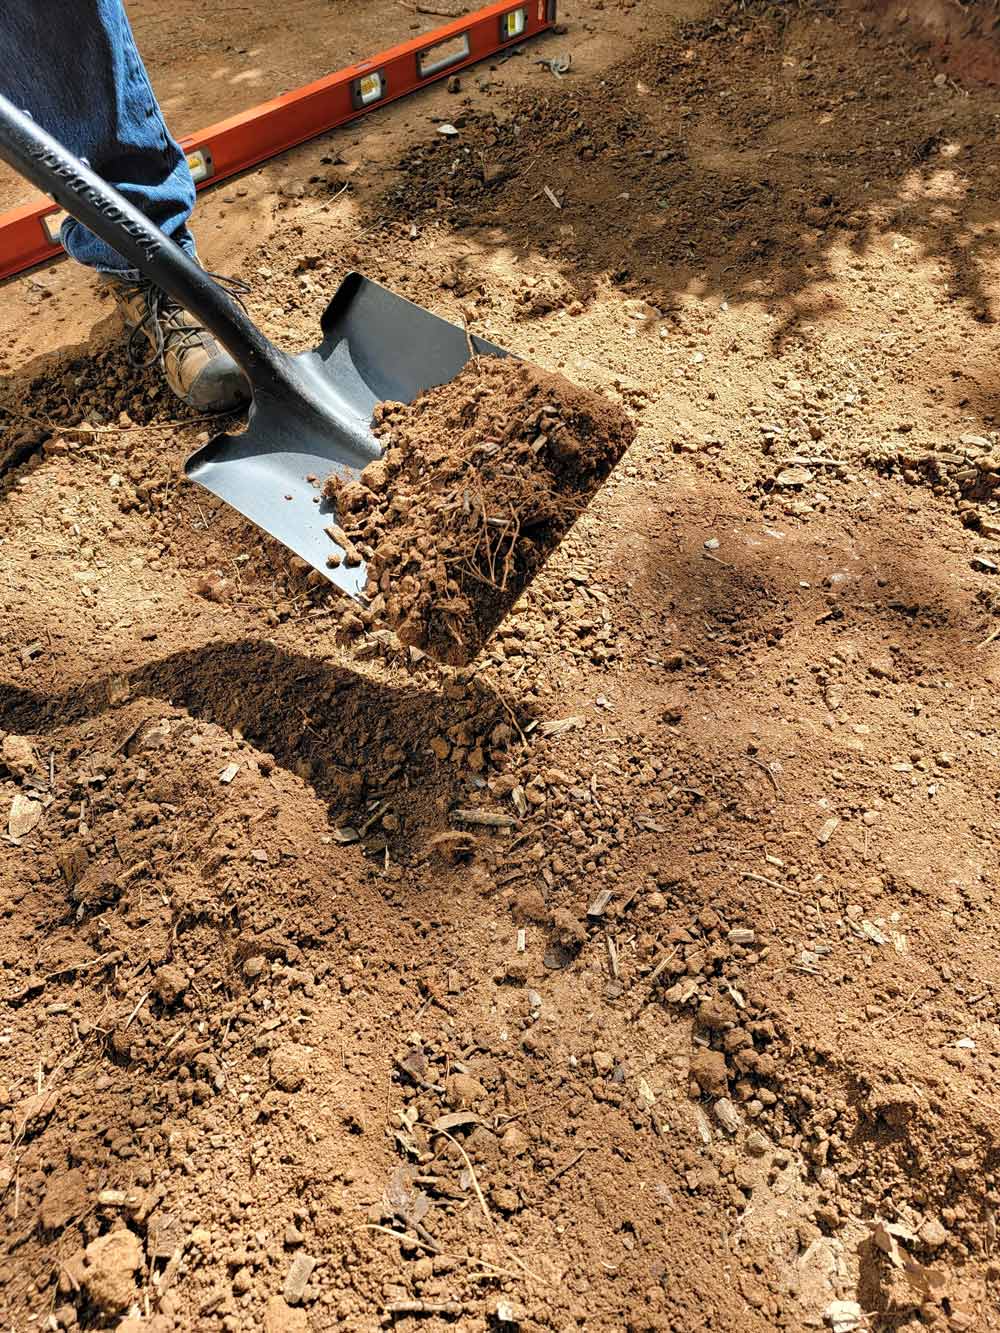
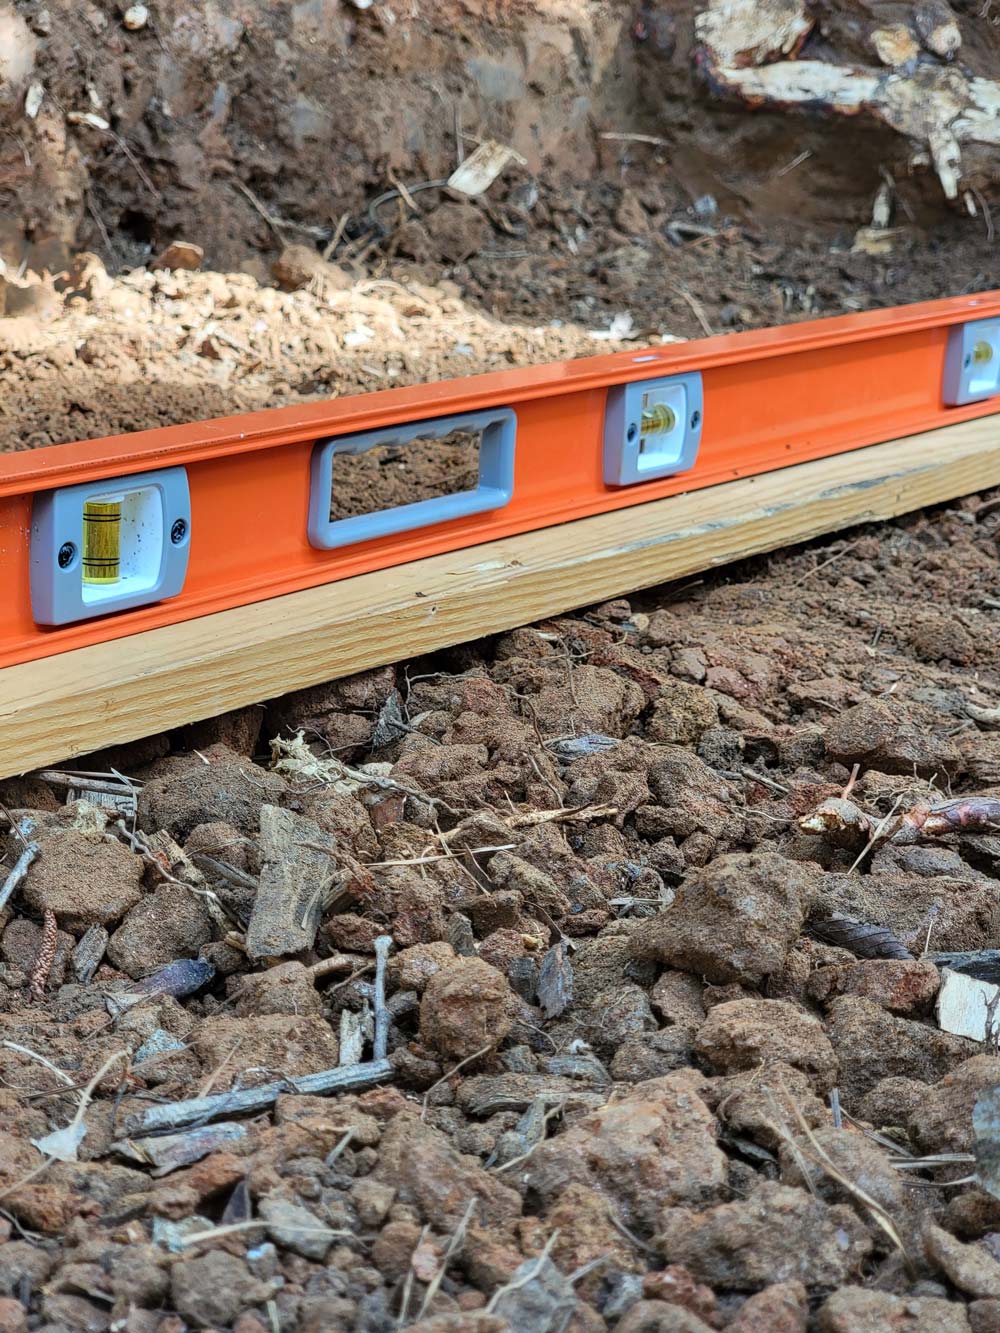
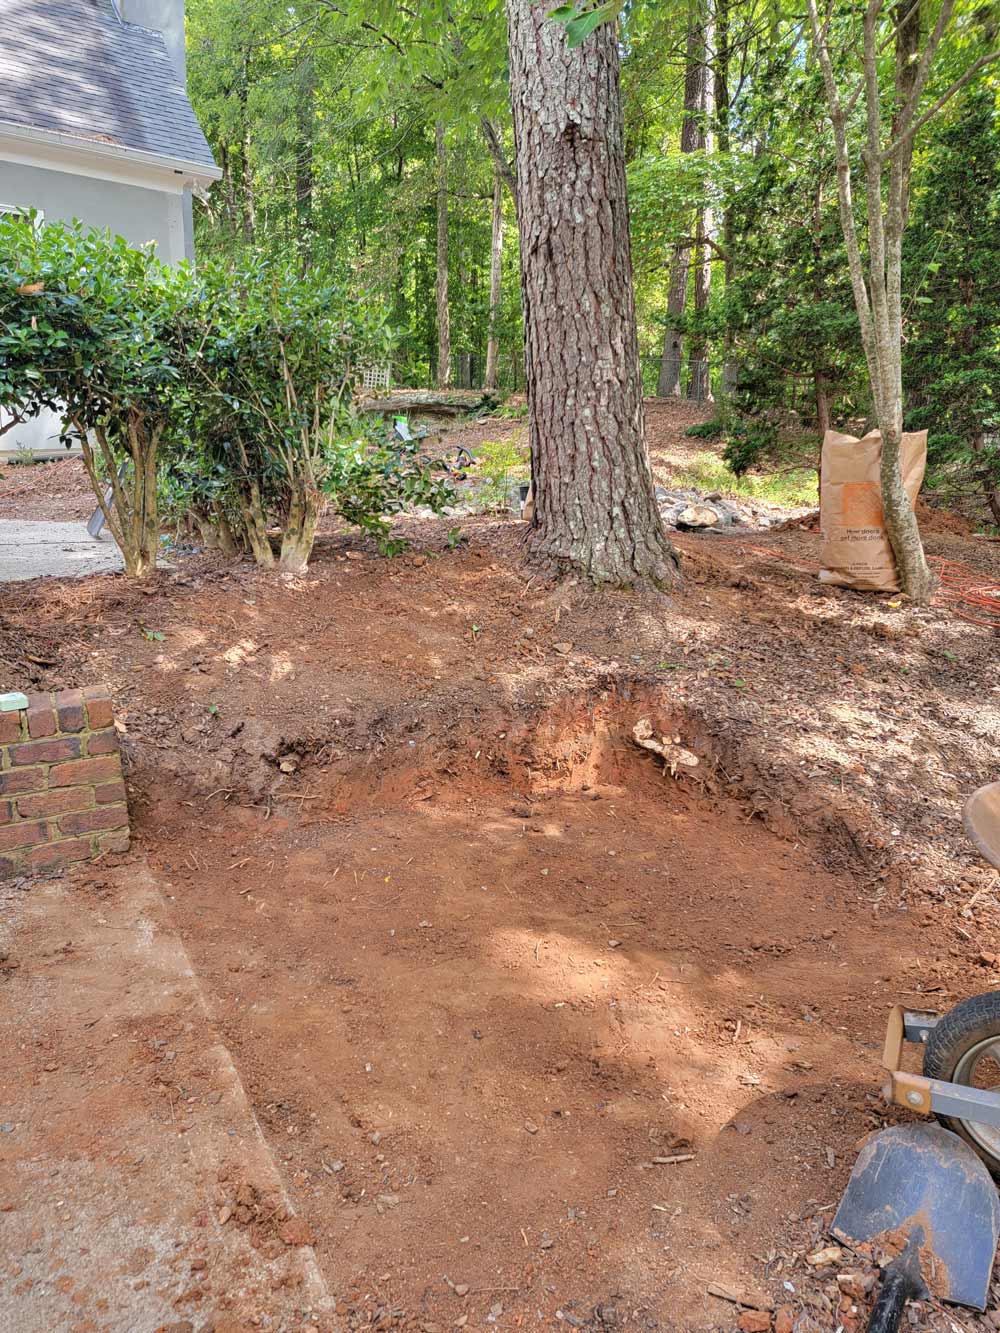
We used a straight wood plank and a level to make sure we were grading the area properly.
Now it was time to lay down some weed control fabric. The fabric was covered with slate chips to allow any water to drain properly but keep the red clay dirt from washing away.
Make it Bright - Add a Light Post
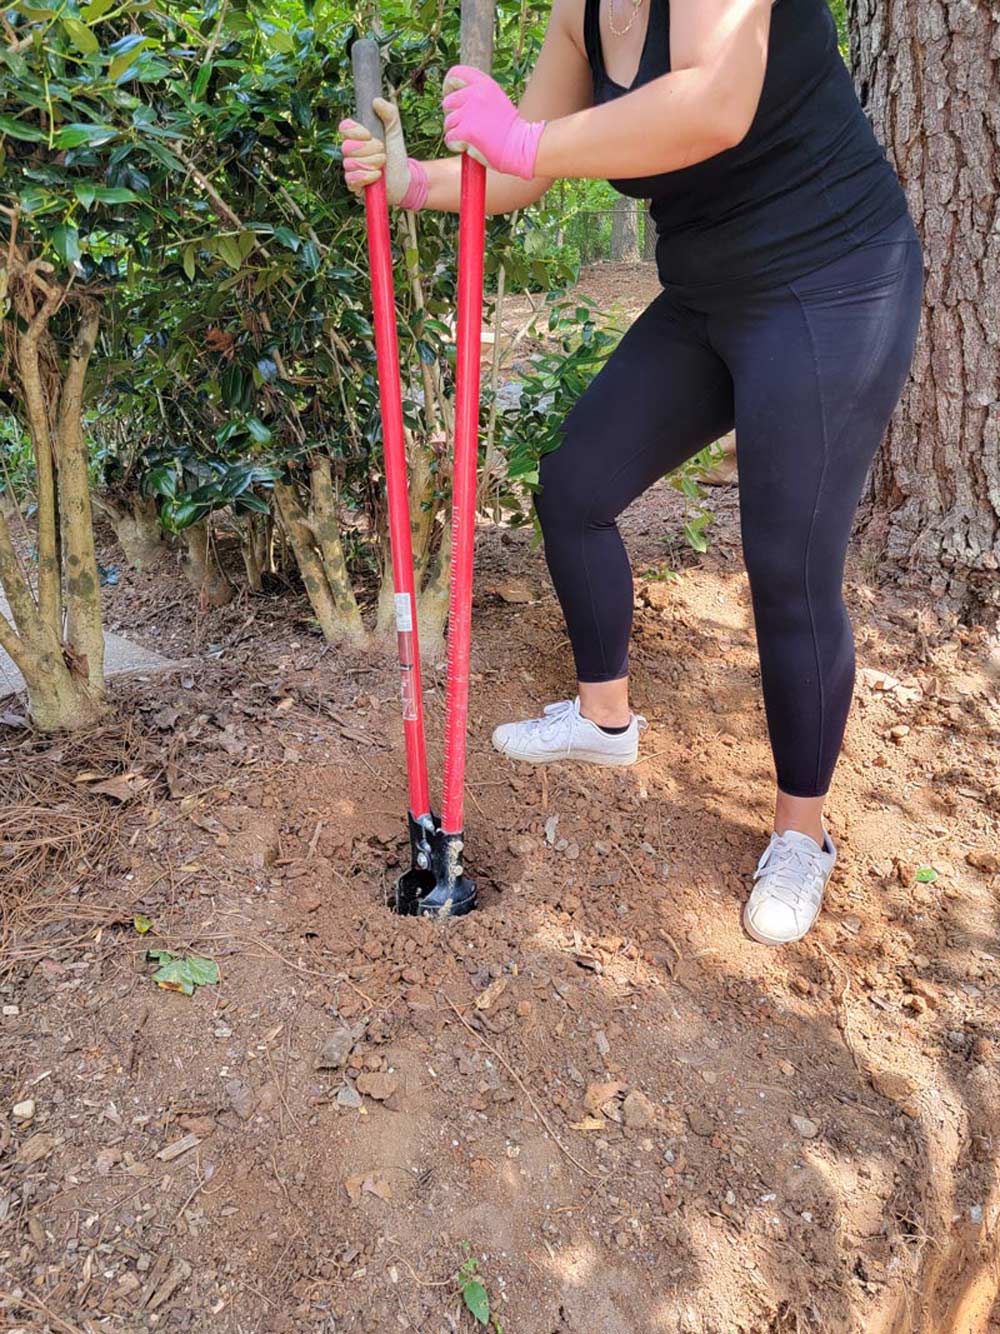
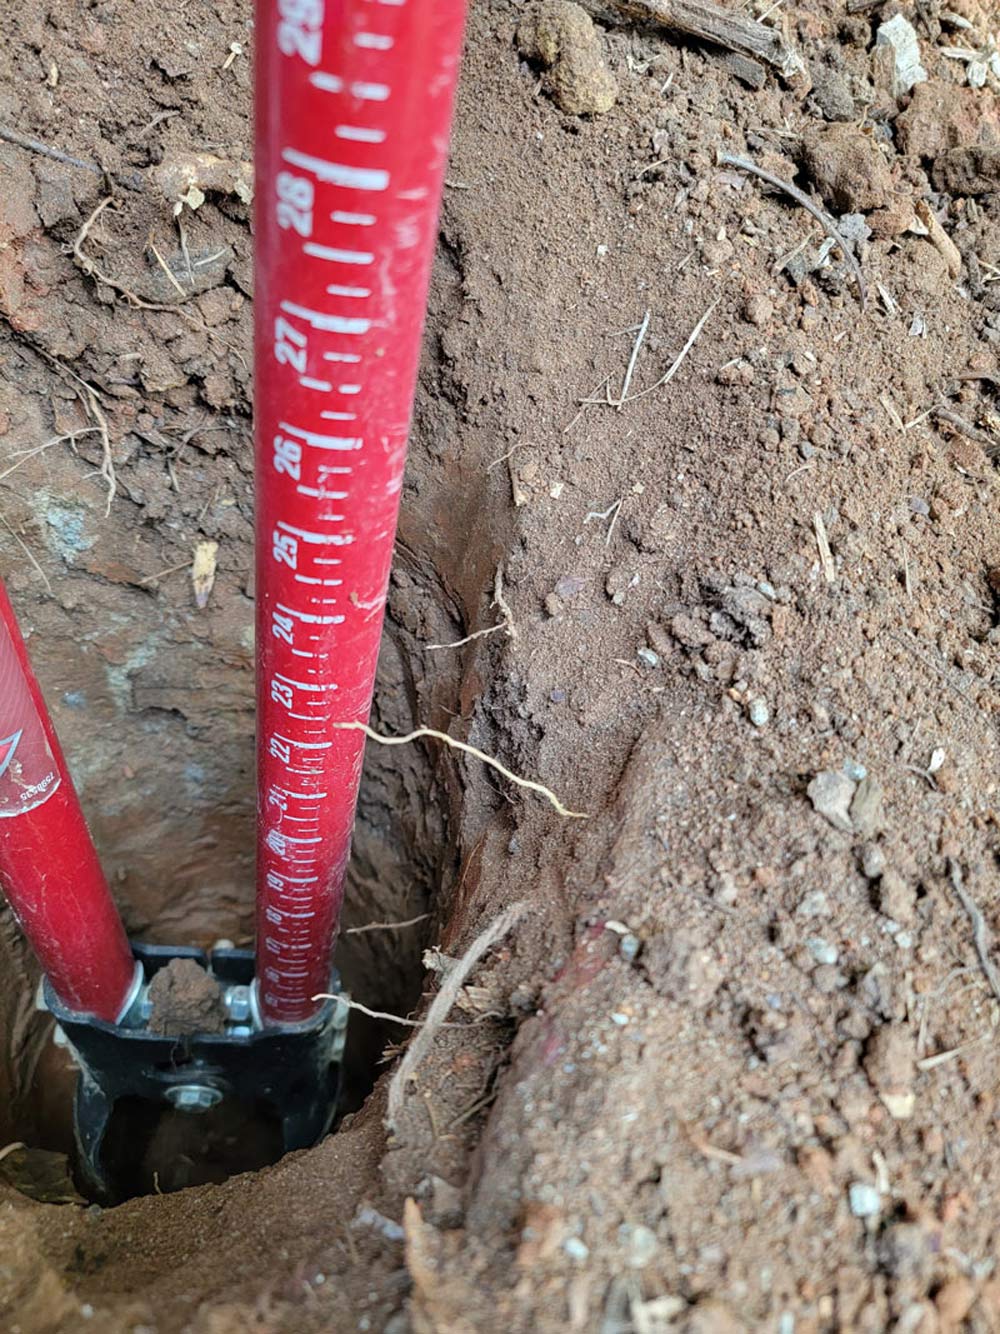
I knew that this corner had to have lights. Taking the trash out in the darkness of winter months is no fun! So with that in mind we decided to add a light post. We started by using a 4x4x10 pressure treated post (height should be based on your needs). We dug a hole approximately 24 inches deep and placed the post in the hole.
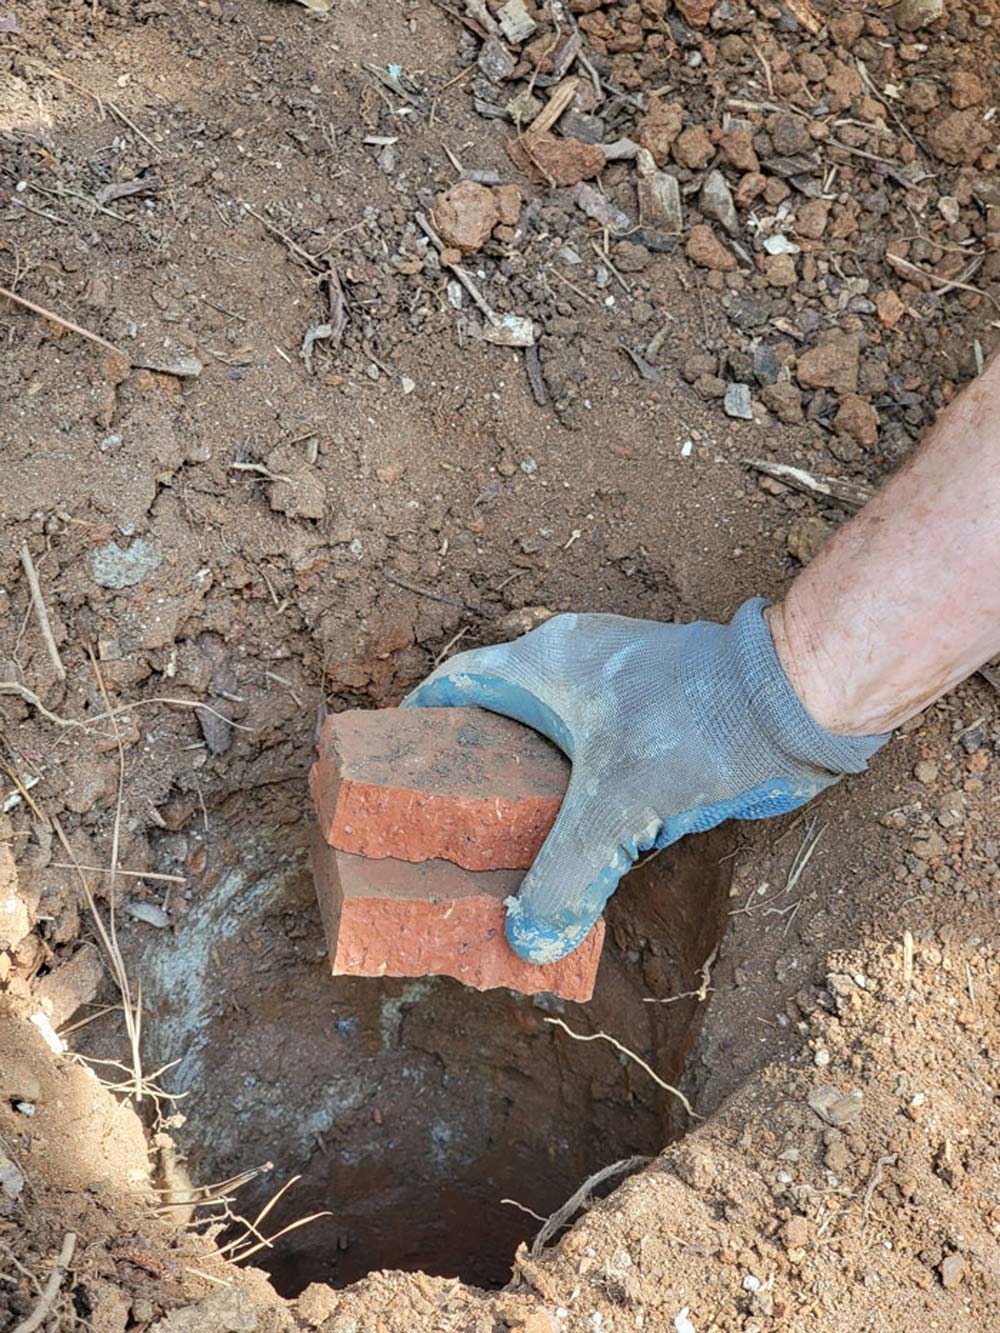
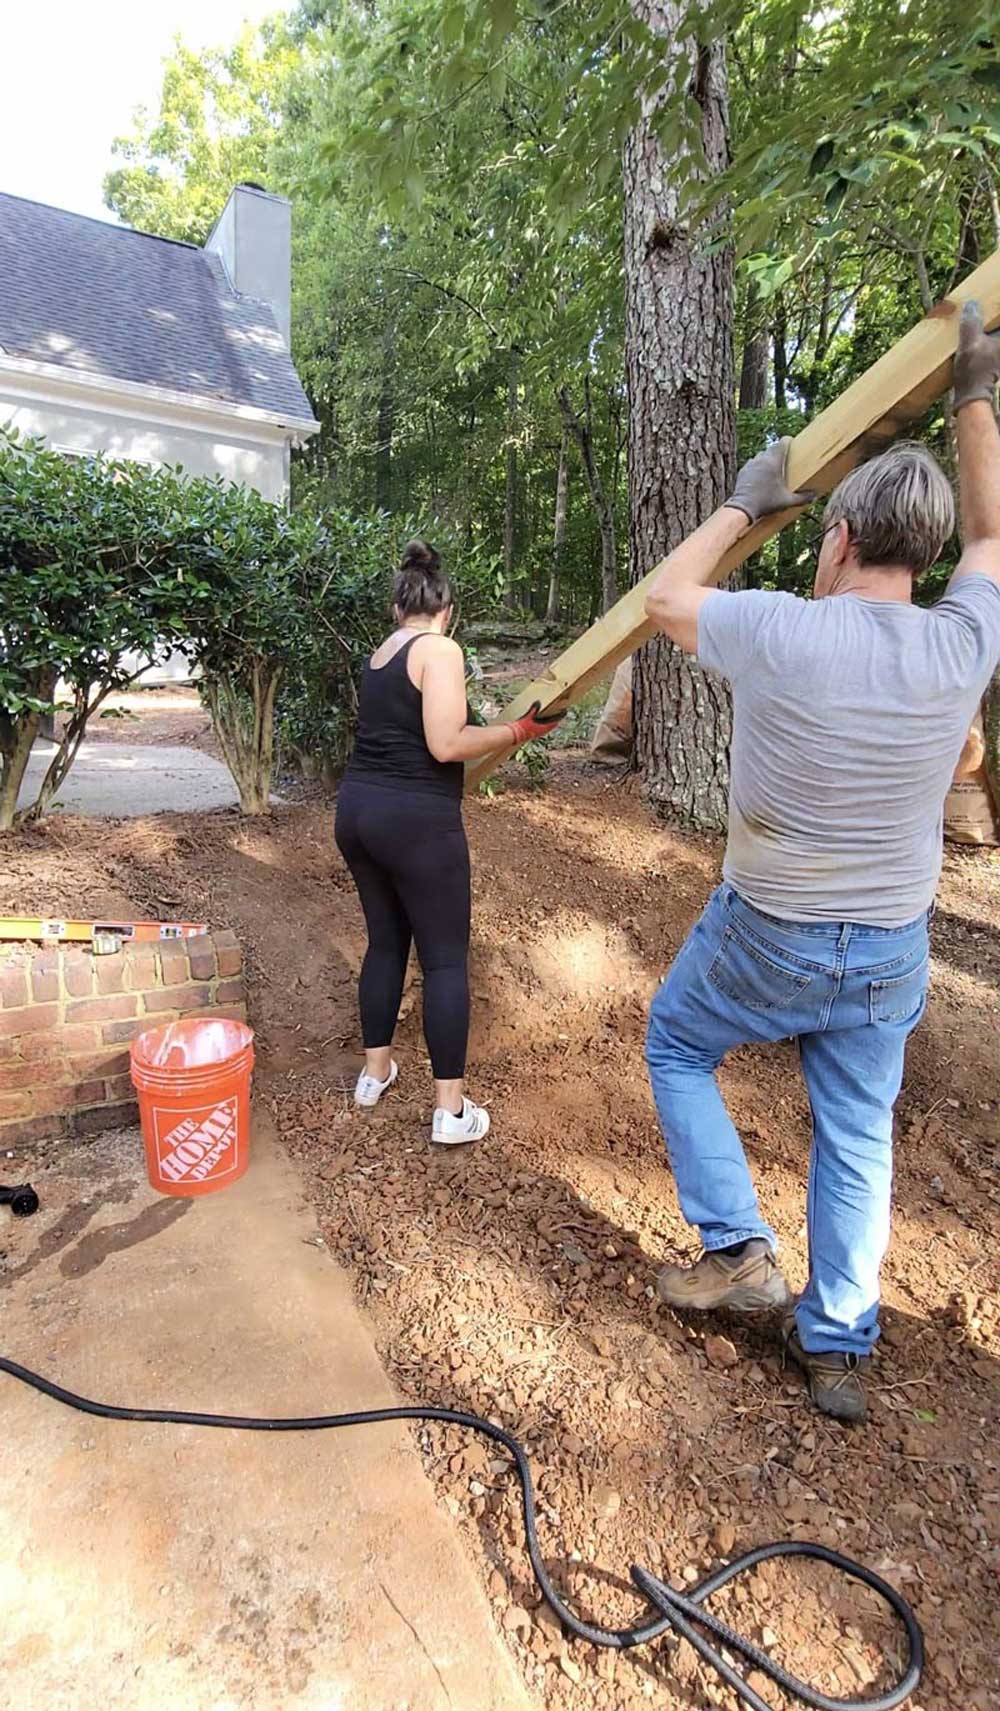
Ed suggested adding something flat to the bottom of the hole so that the post would have a flat base to sit on so we used some old brick remnants.
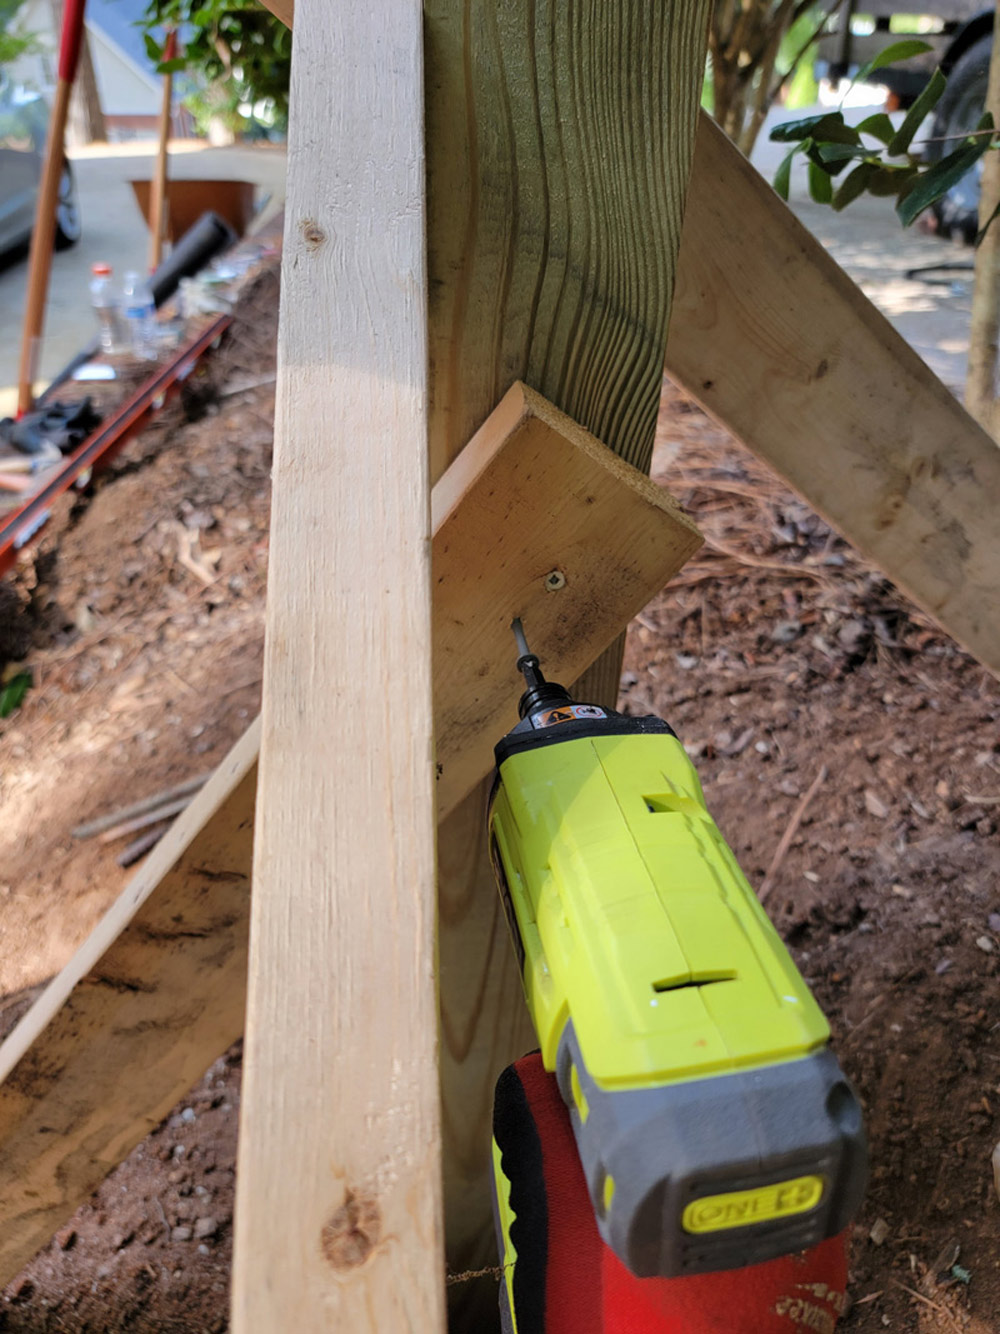
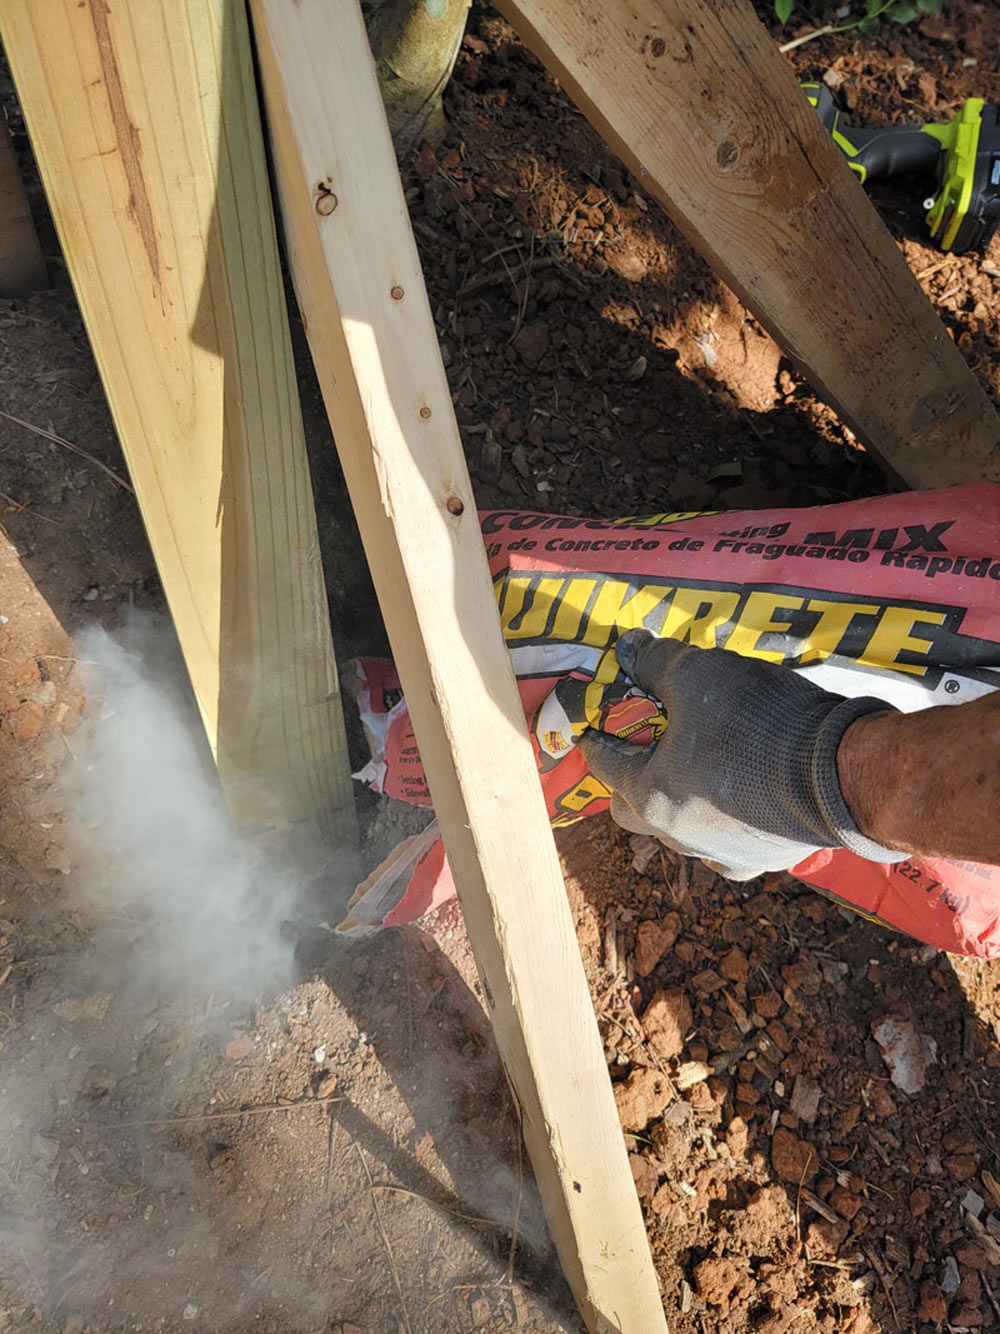
We then secured the post in the ground by using fast-setting concrete which is easy to use. After you place the dry cement in the hole you simply add water and mix it around a bit.
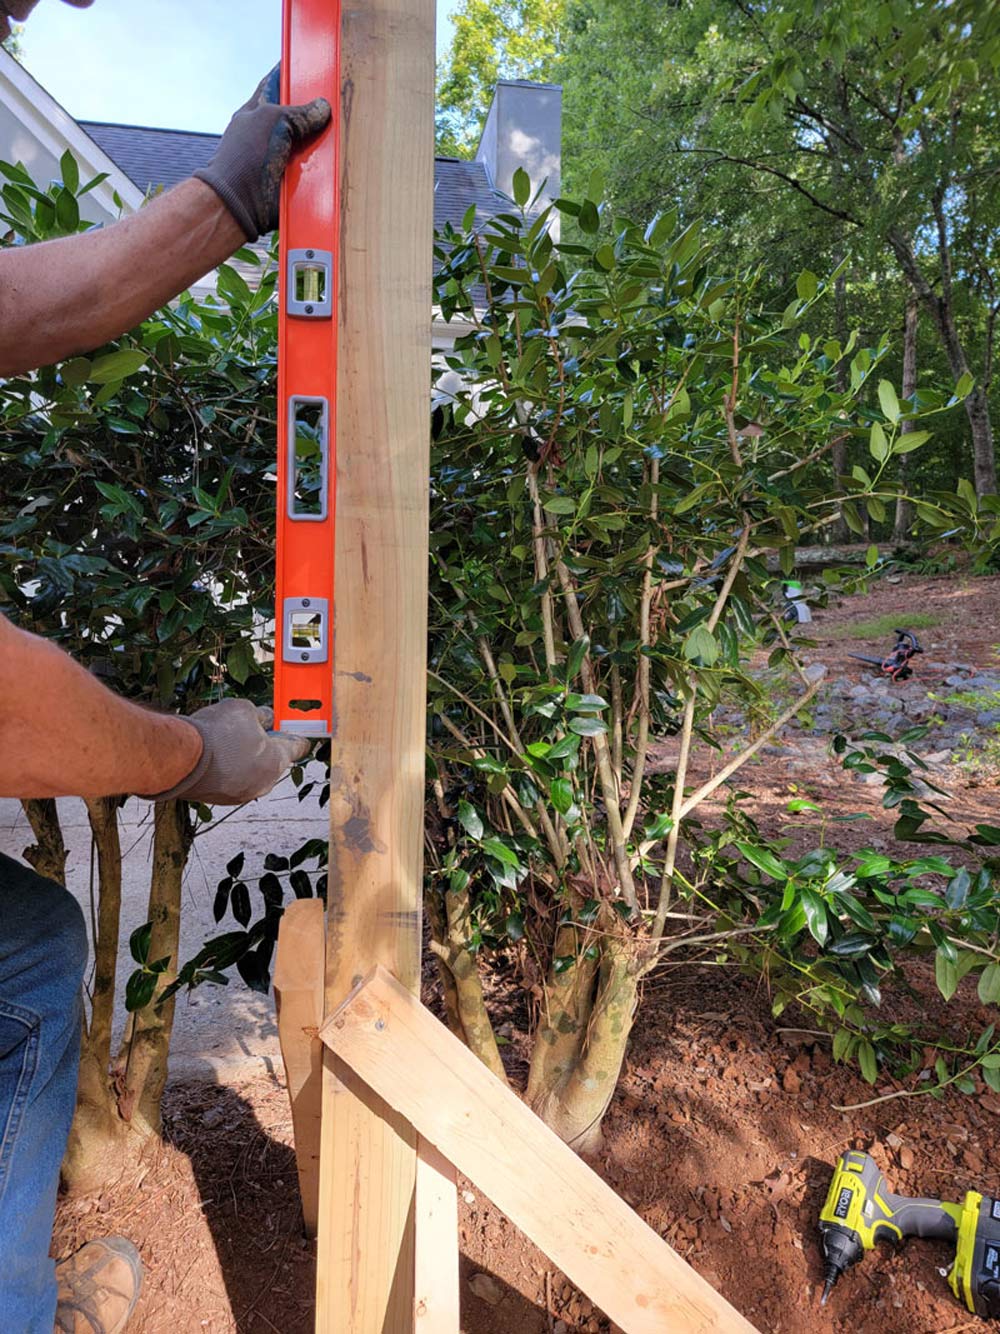
Before the cement sets you want to make sure that the post is plumb so use that leveler to adjust accordingly. Once the post was plumb we used a few scrap 2x4 wood pieces to anchor the post to the ground and allow it to set overnight.
Assemble the Shelf
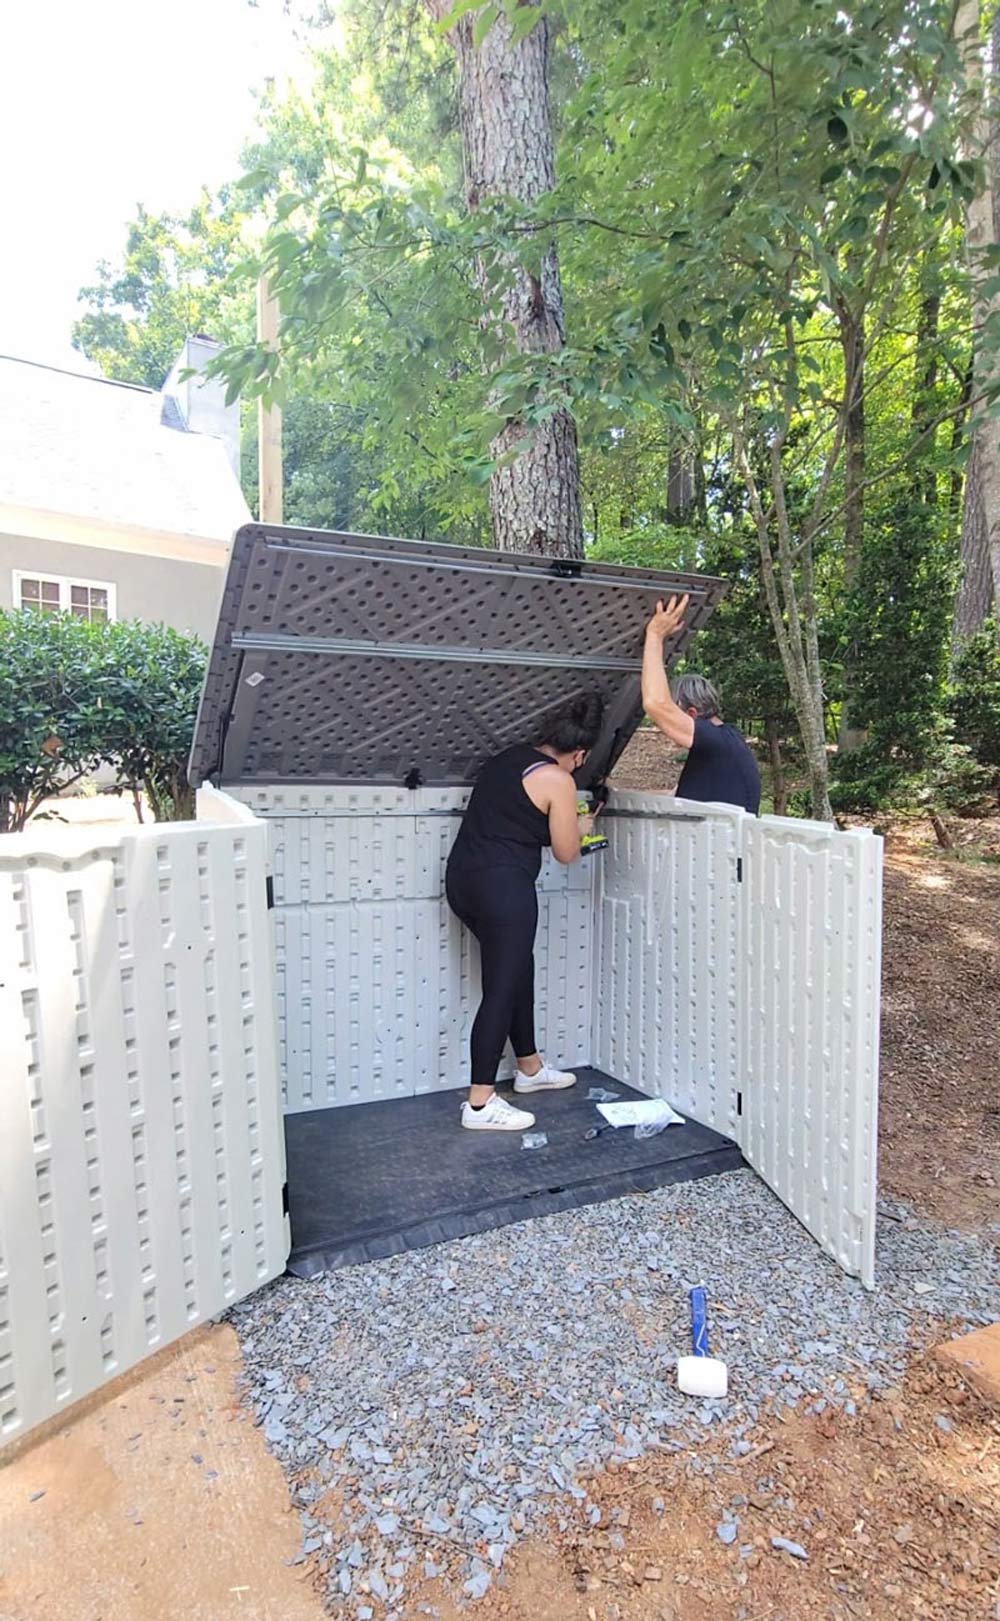
Not all trash cans are the same so I picked a storage shed that would accommodate the trash cans we currently use. I opted for a PVC/plastic premade storage shed that would hold up to the elements but mainly was easy to use since my kids are on weekly trash duty and they would be using it.
Add Finishing Touches
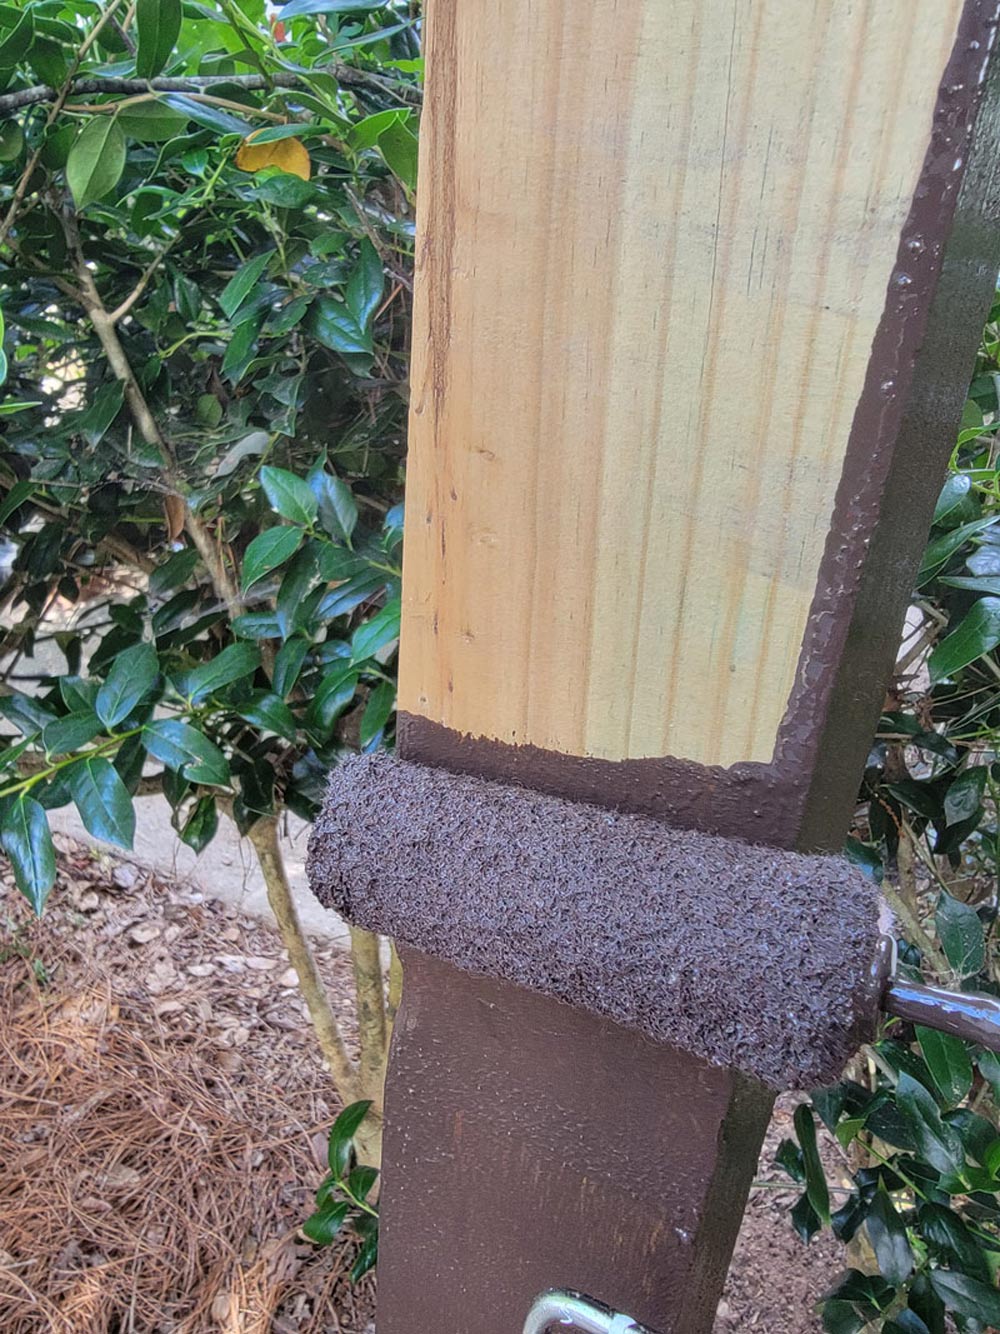
The post could not be left unfinished so I used the Behr Solid Waterproofing Stain and Sealer in the color Cordovan brown.
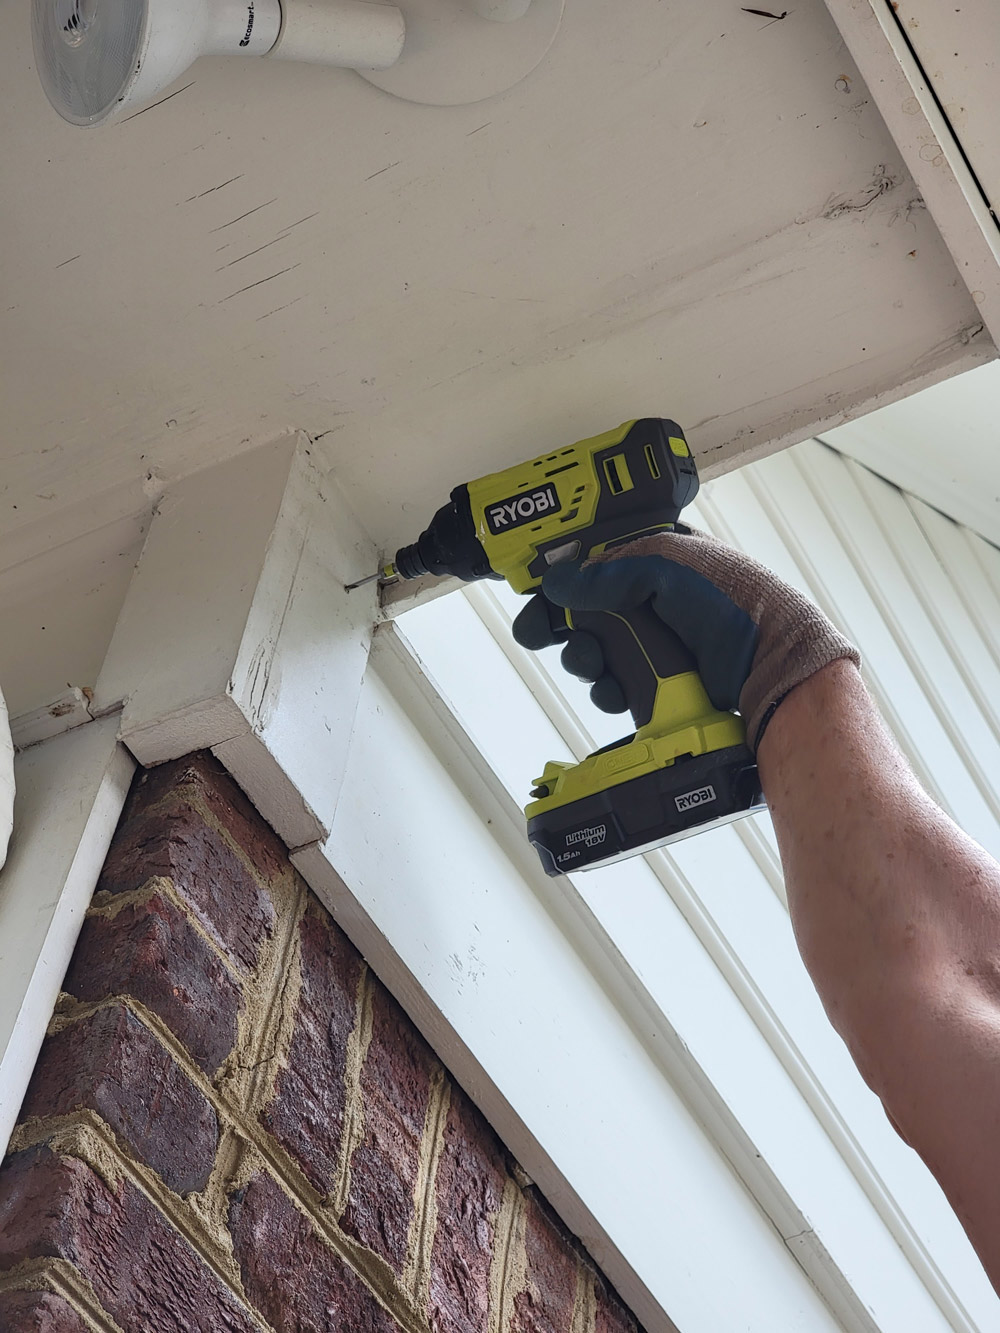
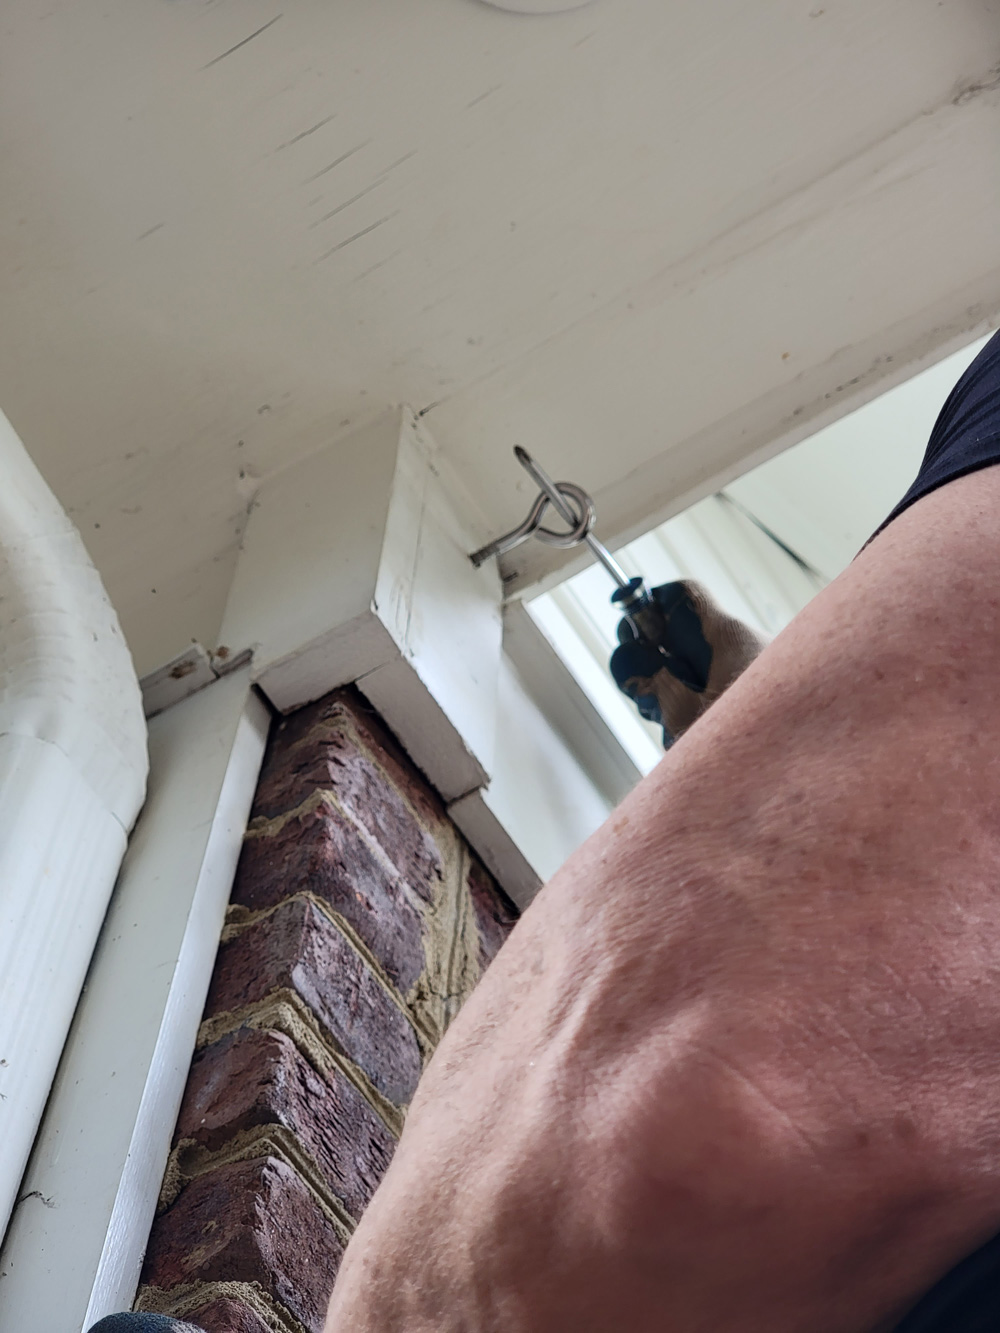
Once it was dry, I drilled a small pilot hole into the post where I was adding an eye hook. A trick to tightening an eye hook is to use a screwdriver to twist the hook. This hook would serve as an anchor for the string lights. The other end of the lights was secured to the siding of our house with another eye hook.
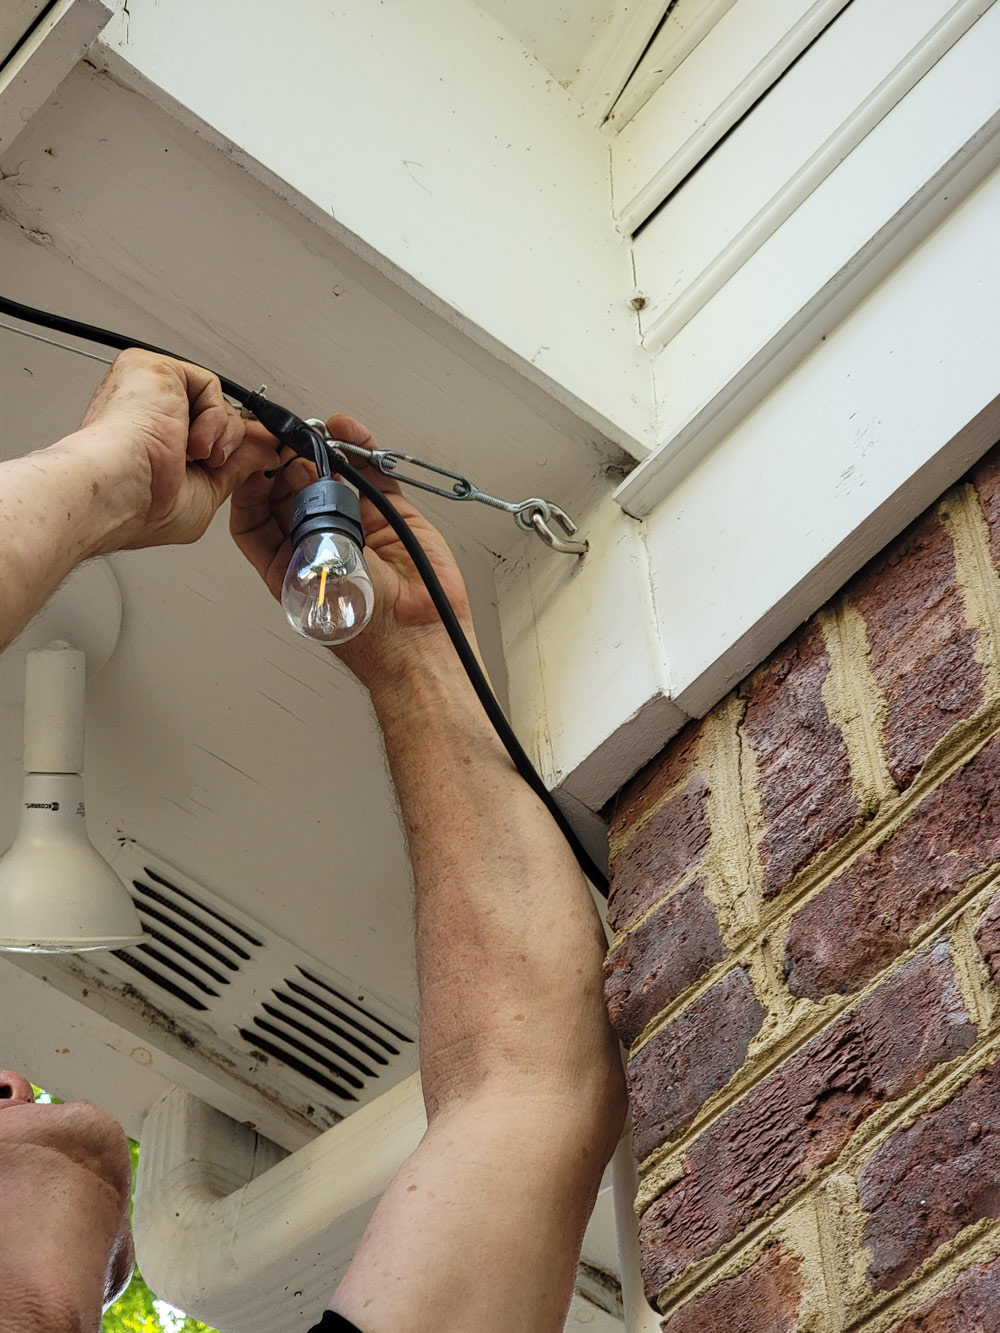
We added a cable between the two hooks to give added support to the string lights since they will be staying out all year long.
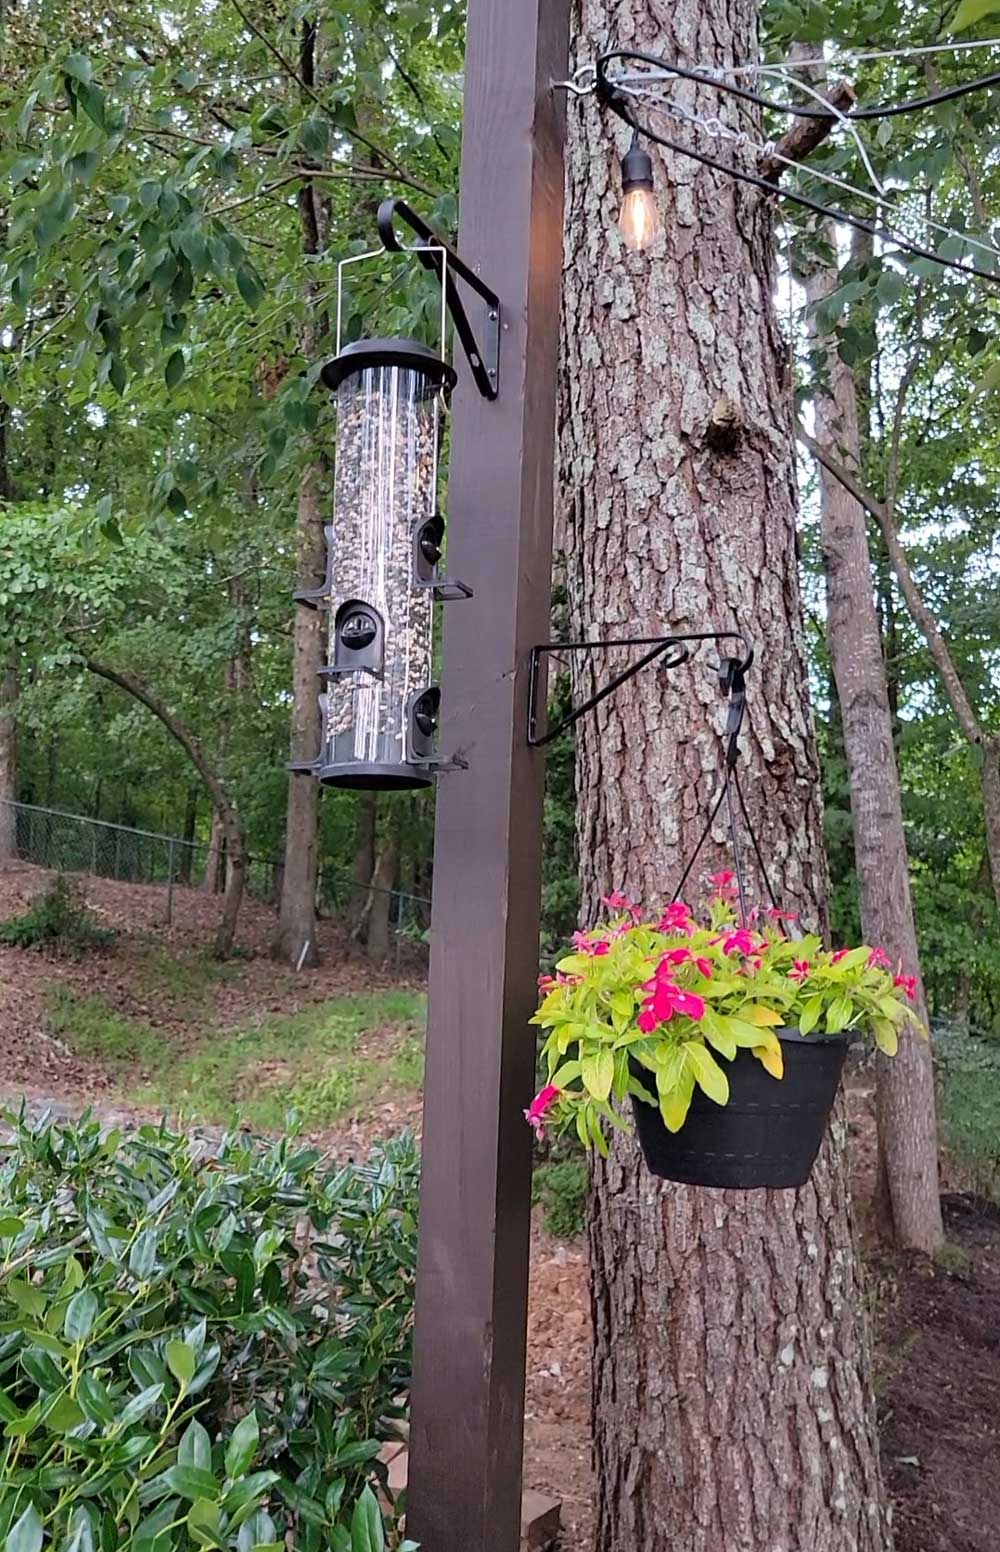

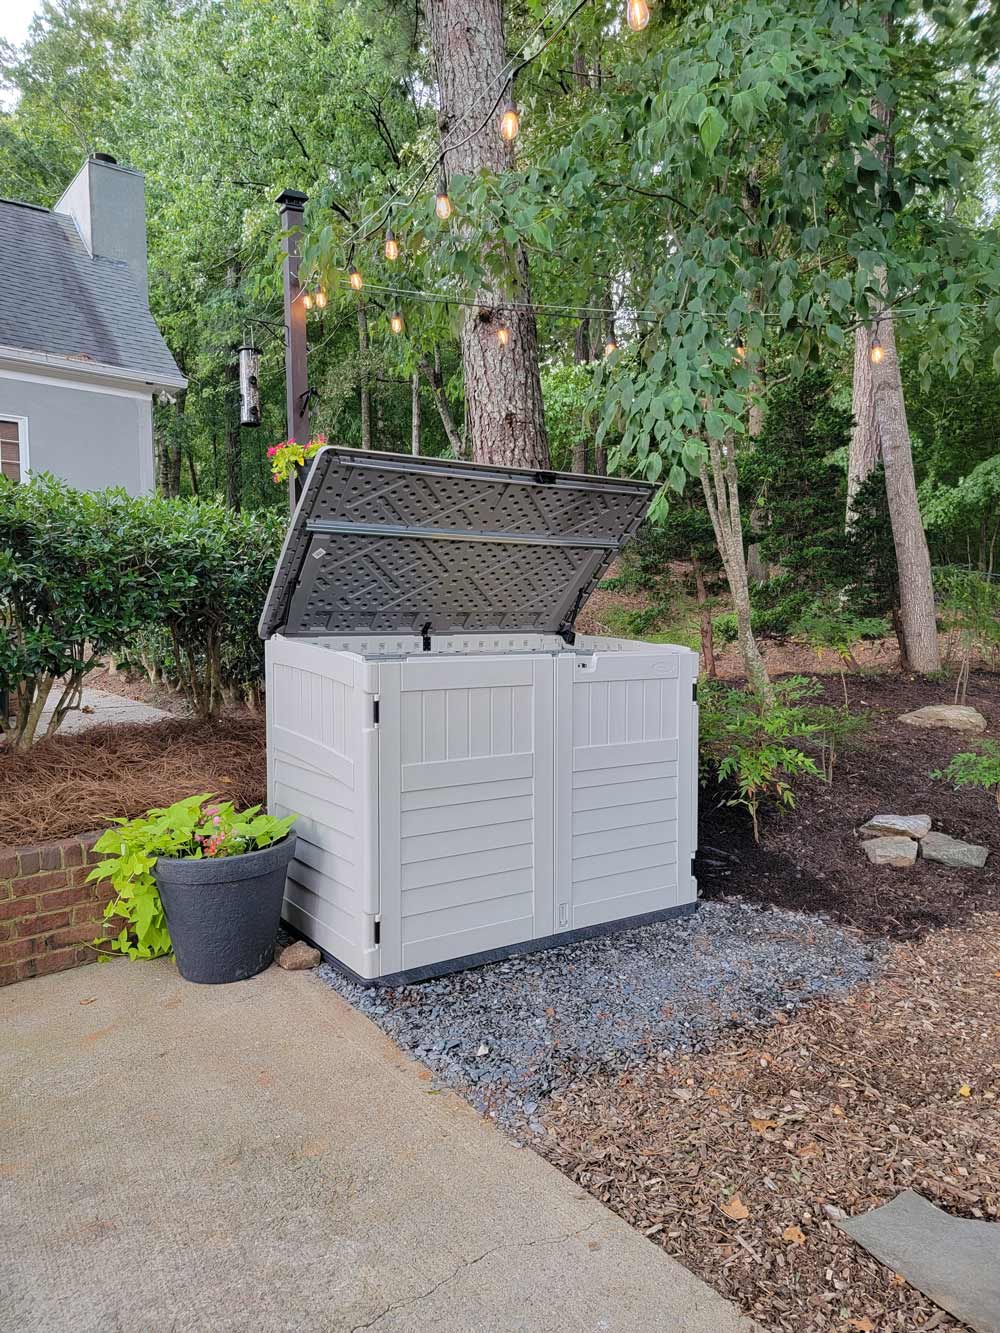
My daughter, who had been watching me work on this project from the start, suggested that we add a bird feeder to the post. I was pretty sure the squirrels and the chipmunks were going to enjoy the feeder as much as the birds so we added it. Finally we added a plant hook so we could hang a planter for some added color to the area. The Shed is easy to use with a lightweight lid that stays up once pushed and two doors which allow you to roll out the trash cans on trash pick up day.
Now when anyone arrives on our driveway they know they are welcomed. No longer do you see cans just hanging out, they are neatly tucked away in their shed and the lights welcome you with a warm glow.
This post was created in partnership with The Home Depot. The author may have received compensation for this article and associated images or video, potentially in the form of products and/or services. All expressed opinions and experiences are the author’s own words.


