Summer DIY Front Porch

Last updated August 21, 2024

Camila Pavone from Effortless Styles Interiors was born and raised in NYC. While her love for design is something that has always defined her personality, Effortless Style Interiors didn’t come to fruition until after years in the retail buying world. After gaining experience in the field, she finally decided to be a DOER and jumpstart a career in the field she loved: interior design. Her design choices have evolved since then, however her design philosophy has remained the same: A room should be an effortless reflection of who you are.
A Note From The Home Depot
Are you looking to create a front porch but not sure where to start? Join us as we follow Camila of Camila Pavone Interiors on her journey of DIYing a front porch from start to finish to create her dream house.
Table of Contents
How to DIY a Front Porch
Step 1: Start With a Clean Slate
Step 2: Foundation
Step 3: Frame It Up
Step 4: Top It Off! Let’s Add Decking
Step 5: Rails
How to DIY a Front Porch
You know that dream house that you have been thinking about since you were little? Little bits and pieces from all the homes you have seen in the past blended together into your perfect home. For me, part of that dream was to have a front porch. I have always been drawn to Southern home design and those wrap-around porches gave me all of the feels. I want to sit outside this summer on my own porch with a good book while watching my children play in the front yard and sipping on an Arnold Palmer.
However, when our house hunt started I had to come to terms that not too many homes on Long Island had the wrap-around porches of my dreams. Honestly, when it came down to really focusing on what was the most important part of our new home it all came down to location. We wanted to be close to family and in a great school district. We were lucky enough to find a home that checked that box but everything else needed to be tweaked to truly become that dream home. For the past two years, we undertook a full gut renovation of our home during a pandemic. It was trying, but totally worth it.
Our focus this summer has now been on the outside. We needed to get our curb appeal up and add all of that charm that I loved from older homes. Our main focus? Getting that front porch! Now, not only did we want a front porch of some sort, but we also wanted to tackle it without having to undergo some massive renovation and having to change our whole roof line. With pencil to paper and many trips to the Home Depot, we were able to make our dreams come true! We now have the perfect spot and a true extension of our home!
The Home Depot is our home away from home as DIYers and homeowners. We knew we would be able to get all of our supplies in one place at an affordable price point. We saved so much money by doing this project on our own. We got quotes in the 6k-9k range for this project and that wasn't even including materials! This is what the house looked like when we bought it. The charm was just not there.

We got to work during our renovation and had the roof professionally cleaned, painted the front door, painted the brick, and added shutters. It was a huge improvement. So, this is our starting point for this project.

Step 1: Start With a Clean Slate
For us, this meant removing all of the greenery and knocking down the concrete path. This is the part of the project we reached out to professionals for a little help. We hired a mason to remove the concrete and then build us a paver path. The greenery was all removed by my husband during one weekend. Everything got taken out and replanted in our backyard and the ground was leveled.

Step 2: Foundation
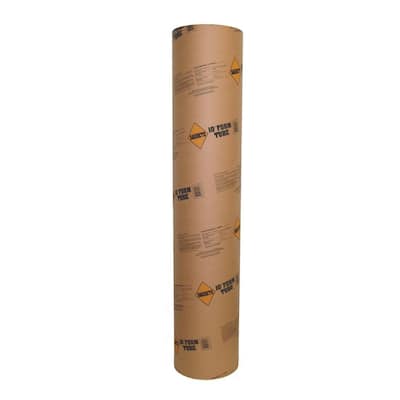
In order for a deck to be installed anywhere you need to set up a strong foundation to hold the weight of the deck. This meant that my husband got to live out one of his dreams and rent a massive auger from the Home Depot to make large holes for us to fill with concrete. You will need the auger to make holes that are below the frost line, this will vary depending on where you live. You will use a 10 inch auger bit for the 10 inch Concrete Form Tubes.

Once the holes are made and the concrete tubes are inserted you can fill the tubes with concrete. We couldn't get our tubes 4 feet down like we originally wanted. We ended up only doing 3 feet and since it's a ground-level deck we made the call that 3 feet was just fine. This meant we need to use our Ryobi Circular Saw to saw off the concrete tube to ground level before pouring the Concrete Mix.

Then you need to make sure everything is level and let the concrete set a bit (30 minutes) before inserting your Metal Post Base in the center of the tube. You will need to give it a little wiggle to get the cement around the bottom of the base.

Step 3: Frame It Up
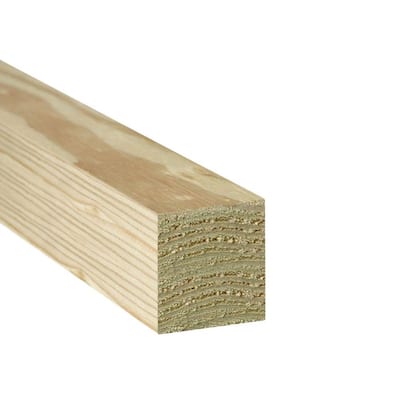
The most time-consuming part of the project was building the frame for the deck. How many pieces of lumber you need all depends on the size deck you are building in your home. We went with a 25 feet x 8 feet deck and concrete footings every 8 feet which is why in those sections we doubled up on our beams. See the circle in blue. These beams will carry the weight of the deck. Once your beams (sistered 2"x8")
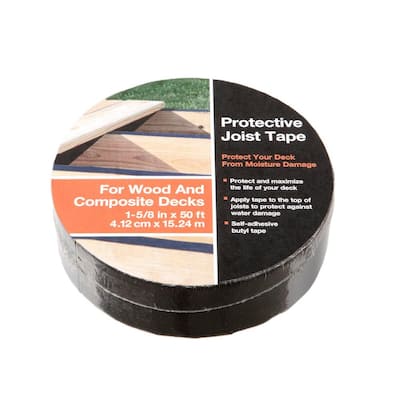
are installed you can then add your face joists aka the front and back of the deck and your remaining support joists every 16 inches. Then you will apply Joist Tape to your frame. It will prevent moisture from sitting in between your frame and decking material which will help extend the life of the deck.

If you are installing a railing as well then you need to install your 4x4 Posts at this stage. The spacing all depends on what railing kit you pick and your local town codes. In our case, we picked railing sets that had us installing the posts about 4 feet apart and since our deck was less than 16 inches high off the ground, we didn't need railings to abide by code. We just liked the idea of feeling a bit more closed in and private.

Step 4: Top It Off! Let’s Add Decking
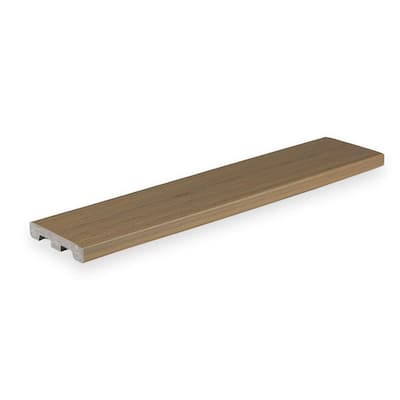
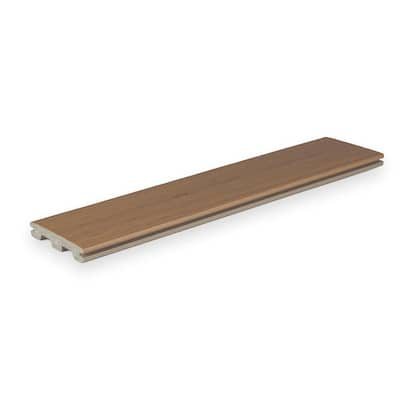
For the composite decking boards, the Home Depot had quite a few options to pick from that were able to be picked up right away! In taking into account the house color, roof color and path color we fell in love with Coconut Husk by TimberTech.

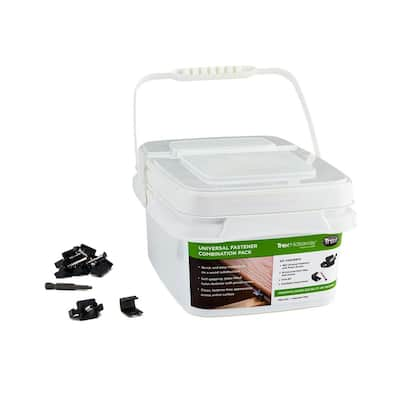
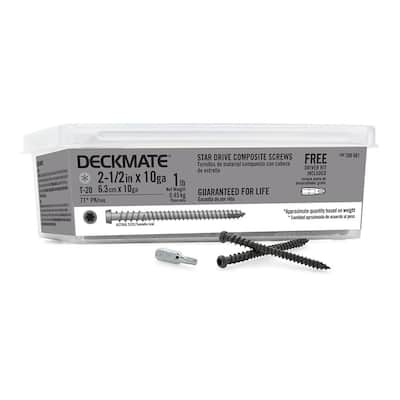
Once again installing the deck boards will vary on your size and the look that you want. We decided to go with a picture frame border and a center divider so that our boards don't meet end to end. For this, you need to get the Squared Edge Boards and Star Pan Head Deck Screws. Make sure to pre-drill the boards. For the rest of the deck, you will use the grooved edge boards and Trex Universal Hidden Fasteners which will give you the screws needed to drill the boards down and spacers.
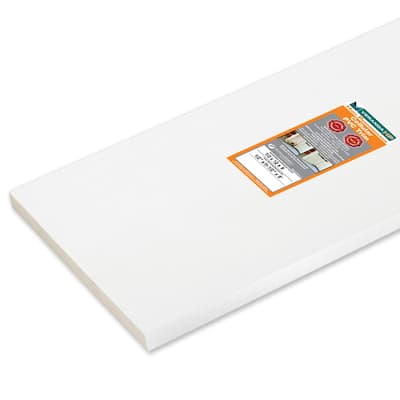
You will also need to wrap the front and the side bases of the deck with White Fascia Board to finish it up.

Step 5: Rails
Now a floating deck doesn't need a railing but in order to get that cozy wrap-around porch feel that we so badly wanted, we decided to add rails in order to close us in a bit more. It will also give us a bit more privacy and enable us to have our dogs outside with us. We are going to add an outdoor baby gate to keep them on the porch with us. They are still puppies and like to run off if they see a person that they think is dying to pet them.
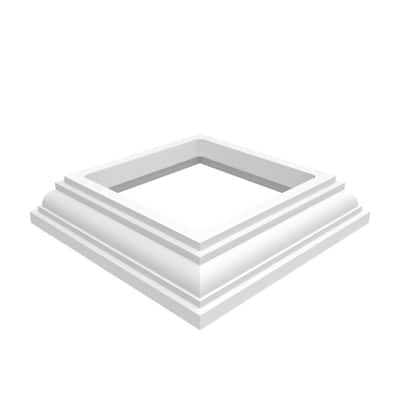
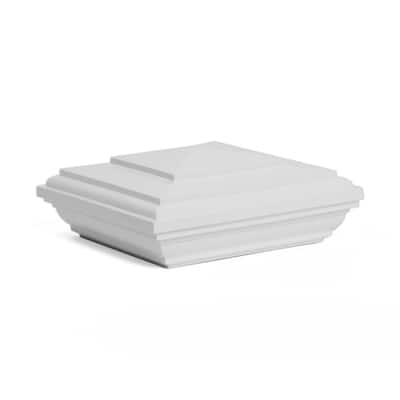
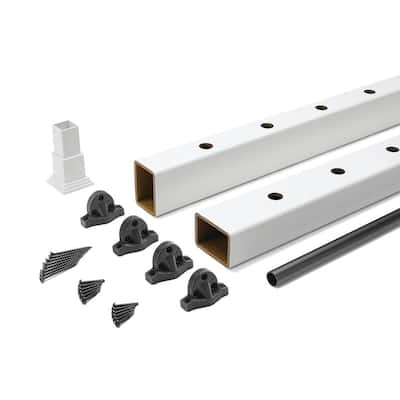
For rails, we went with Trex Enhance Horizontal Rail Kit for the sections of railings. For the posts, you will need to pick up Post Sleeves, Post Caps, and Post Base Trim/Skirts. It's all super easy to install with the instructions they provide.


Step 6: Decorate
In order to get the porch looking like an extra "room" to our home we need to decorate the space and add some layers. For this porch that meant I wanted the decor out here to give people a glimpse of what to expect when they walk in our home.
We flanked our front door ceramic blue and white ginger jar style Ceramic Stools and put out a chic Doormat that works perfectly with the decking.


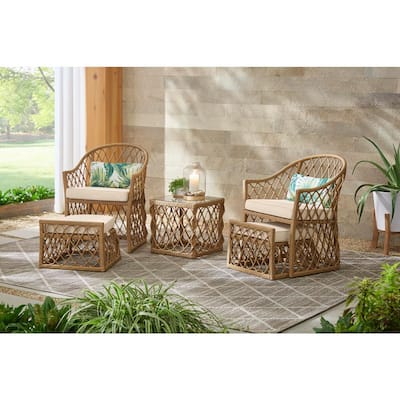
We are a family of four and I knew my two boys would want a seat of their own. So, I picked up two sets of the Long Beach 5 PC Outdoor Patio Set. Each set came with two chairs and two footstools that slide out from the base of the chair! The awesome cushions have velcro straps for the footstools so they won't blow away.
It's been so nice to sit outside with a good book and when it gets a little chilly a throw as well.

At the last minute, I felt like something was missing and wanted to throw in another pattern. I quickly popped into my local Home Depot and I found the perfect Outdoor Rug that worked perfectly with the colors in my pillows! I still get to see most of my beautiful decking but now I had another little dose of pattern.

I wanted to tie in the color of our front door and shutters and have everything make sense. I was delighted when I found these pillows called Butterfly Bouquet Seabreeze Pillows. They featured the exact colors I needed. I have never hit add to cart so quickly! I paired them with these Dotted Striped Orange Lumbar Pillows. It's always nice to break up a busy design like the butterfly with a graphic design like a stripe.

Step 7: Flower Power
The perfect home decor accessory is always flowers in my opinion. Fresh flowers will never go out of style. They are a classic. For this space, we wanted flower boxes at the windows and then added a flower bed at the base of the deck.
I love the Flower Boxes we picked out. They are available in black, brown and white and are made out of polyethylene which means they stand the test of time outside. They also have a self-watering feature where you can fill it with water, which is amazing because I can be a bit forgetful when it comes to plant care.


I wanted to continue the flower love and left an area in front of the deck to add some annual flowers. My favorites have to be the Peony Bushes. I have been known to snap a neighbor's peony bush once or twice in my life. So, I'm happy to have my own bushes to snip from. I also added some Pink Hydrangeas into the mix. They can get so lush and full of blooms. I made sure to add Miracle-Gro Garden Soil to make sure I get these plants off to their best life in our yard. Then to finish it all up I spread Earthgro Brown Wood Mulch for a uniform base and to prevent weeds from sprouting.

Step 8: Enjoy!
It's time to have friends and family over to enjoy your beautiful new outdoor room!


This post was created in partnership with The Home Depot. The author may have received compensation for this article and associated images or video, potentially in the form of products and/or services. All expressed opinions and experiences are the author’s own words.